Super Cute Holiday Photo Garland DIY Gift Idea
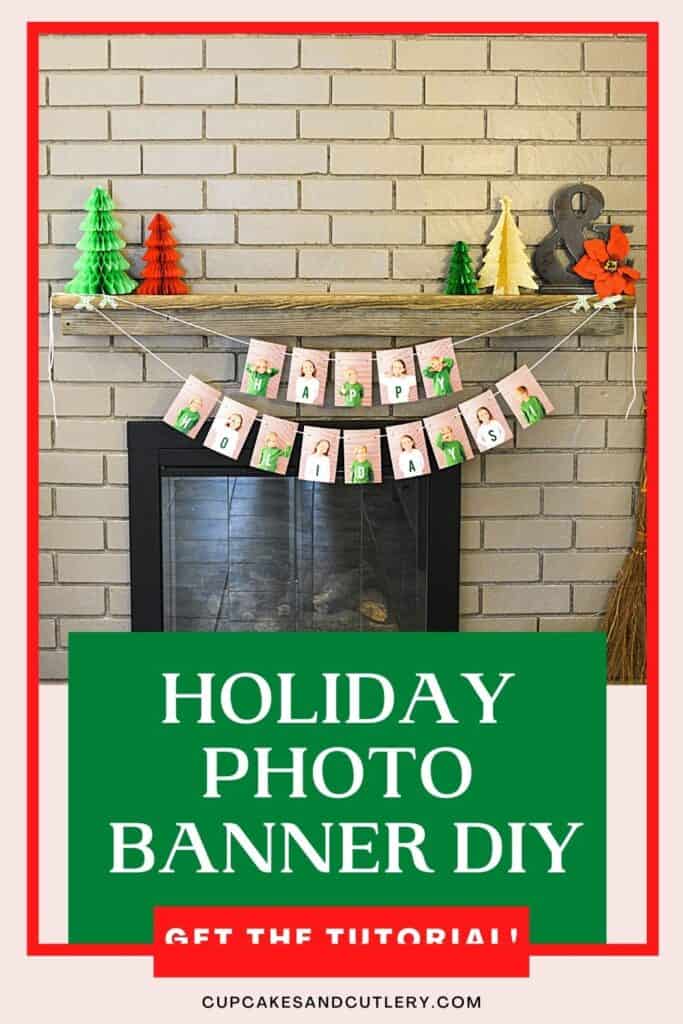
Make a photo garland from images of your kids! It’s a beautiful (and simple) way to show off your darling family. I created this DIY photo garland as a Christmas decoration but you can make one that is suitable to display all year. The steps are easy and makes a great gift idea for friends and family.
This photo garland is a great DIY picture gift
This homemade photo banner DIY, with its holiday colors is a super cute Christmas decoration and makes a great gift idea for loved ones!
Homemade gifts are so fun to give and personalizing them with personal photos makes them extra special. This is one of my favorite picture gift ideas!
Photo gifts are always a great idea, especially at the holidays! And this photo banner is such a fun way to dress up any space for the holidays.
I gave these to the grandmothers a few years ago and it’s so much fun to see them hanging in their homes every holiday.
Related: How to Make Photo Balloons
Garlands, in general, are a simple way to decorate, no matter what time of year and I especially love crafts that can do double duty as decor and present.
This photo garland is a personalized gift, with photos of your kids, and is such a great sentimental gift idea.
The best part about this DIY photo garland is that you can easily make several of them at once!
Supplies
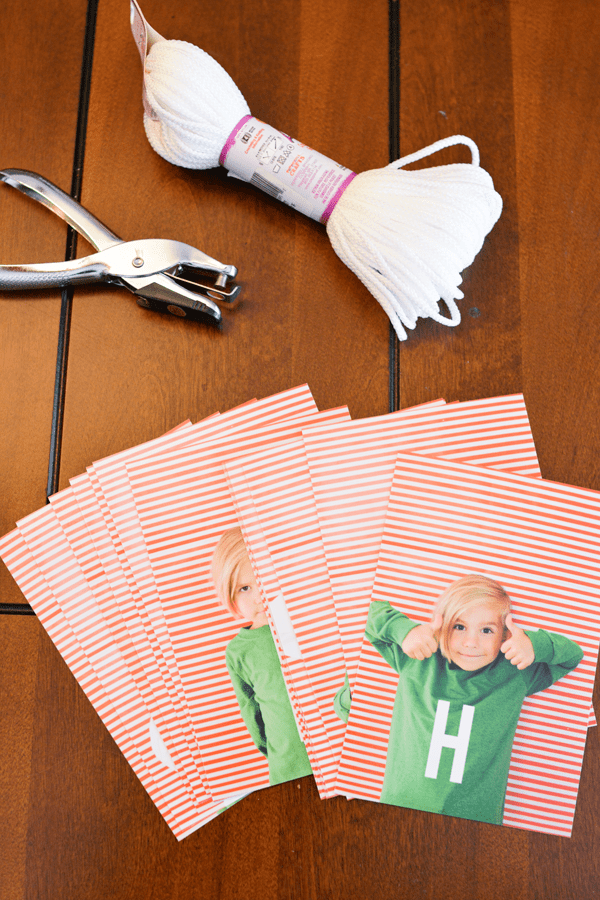
To make this easy do-it-yourself photo gift, you just need to take photos of your kids with letters (I’ll tell you how to do this below!) and get them printed.
Once you have those ready, you need a hole punch, some string and scissors.
Washi or paper tape makes attaching it to a wall really easy.
How to Make a Photo Garland
There are two ways to make this. The first way is if you have a little bit of photo editing background. My skills are minimal at best so I tried to keep this as easy as possible.
But there is an alternate method, using a free Canva photo garland template I made. Use which method you feel most comfortable with!
1. Take the Photos
To make the photos perfect for the DIY holiday garland, there are a few things to keep in mind.
If you can, try to use natural lighting. It is so flattering on the face and will mean you have to do less editing.
Turn off overhead lights which tend to cast a yellowish glow. And if you can at all help it, DON’T USE THE FLASH!
Using a flash will add more shadows to the backdrop and make everything look stark.
Create a photo backdrop
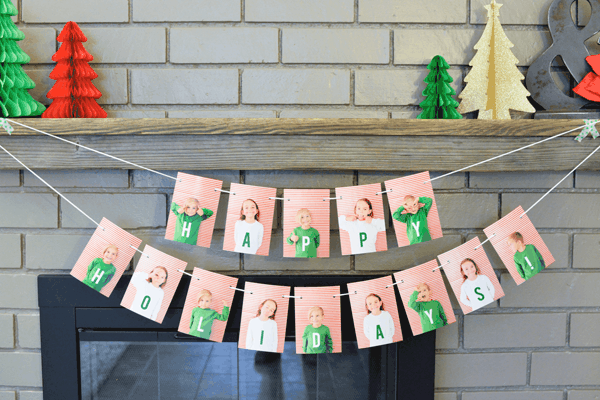
I used red and white striped wrapping paper and taped it to a wall in our house. I love stripes and thought it would work well.
Or, use a plain white wall and dress your kids in a striped t-shirt.
You can also invest in a more expensive vinyl background but I discovered the wrapping paper works really well.
The pattern doesn’t have to be striped but it keeps the photos looking really colorful and crisp. A holiday pattern might get lost and look busy.
Dress the Kids
I picked up plain, long sleeve green and white T-shirts for the boys to wear. I wanted something plain so the letters would show up really well.
If you are looking for something more formal, you could try a polo shirt or even a plain button-up shirt.
Especially if you use a busy background, you’ll want the shirts to be basic.
Use a Tripod
I set my camera up on a tripod to keep the photos consistent.
If you don’t have a big fancy camera, your phone will work fine. This is the tripod I use with my phone.
I framed the photo making sure that you couldn’t see the edges of the paper backdrop.
I set the camera, based on one kid at a time, and then shot all their images back to back. That keeps everything the framing uniform. I took tons of photos to ensure I had enough to choose from before moving on to the next kid.
I just had to move the tripod a little for him, but everything stayed in focus and still with the tripod.
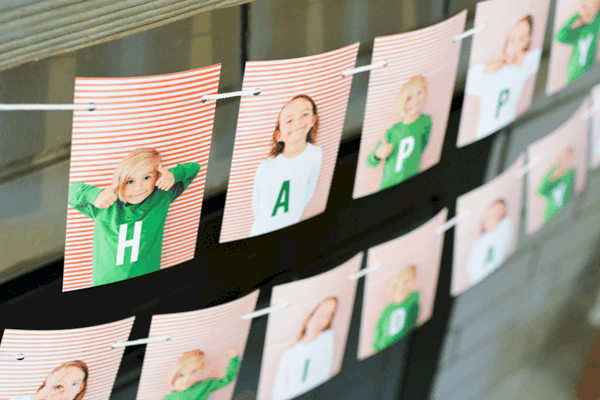
The holiday picture garland idea looks the best when it feels organized. I left a little extra space above their heads in the photos to allow for room for the string and holes.
Encourage the Fun
Let the kids go to town with cute smiles and funny faces.
Ask them to do silly poses, serious poses, and anything that brings out their personality!
One child gave a good face for the camera. The other barely allowed me to photograph him. Isn’t that always the way?
If you don’t have the time or energy to do a photoshoot, you can use any photos you may already have of your kids.
2. Edit the Photos
Even if you aren’t a professional photographer, it’s easy to make photos look their best.
Use a program (on your phone or desktop) to make a few small tweaks.
If you have a Mac, you can edit right in Photos. Or use a free editing app on your phone (I like Snapsneed).
Many of the programs use sliders so it’s easy to make changes and see what you are changing as you are doing it. And most programs have an “auto” which may look good.
Just make sure all the photos look as similar as possible.
*You could also use the cute holiday pictures you’ve taken in the past and add letter to them!
Lighten the Photos
Usually, adding a little extra brightness really helps a photo to look better.
Then bring up the shadows. This will help to make everything look more even depending on where your light source was.
Do what your eyes like best. If all else fails, you can always reset and leave them as they started.
Plan the DIY Picture Banner Layout
Figure out what you want the holiday photo banner to say first.
Make a note of how many letters are in the words and think about how you will hang the banner.
Next, look at your photos and plan out the order you want to use. I have two kids so I alternated them.
Add the Lettering
Adding the wording is really easy to do with a free program like Canva or PicMonkey.
Most of the programs work with layers so you will use the photos as the bottom layer and then add a letter as a layer above.
You’ll work one photo at a time and save it as it’s own file when it’s done.
If you’re too nervous to try your hand at editing, you can ask your kids to take pictures holding up each letter in “Happy Holidays”.
Or you can use stick-on letters to create the wording.
3. Print the Photos
Most people can now print photos right on their home computers. Use a matte photo paper. A matte finish works best and has less reflection from lights.
I prefer to have them printed for me at a place like Shutterfly.
I like the weight of the photo paper they use. It will also help to make the photo banner reusable year after year.
Walgreens, Costco and Walmart are other places I’ve printed photos. You will have as many copies printed of each photo as the number of finished banners you want to make.
Optional: Free Canva Template
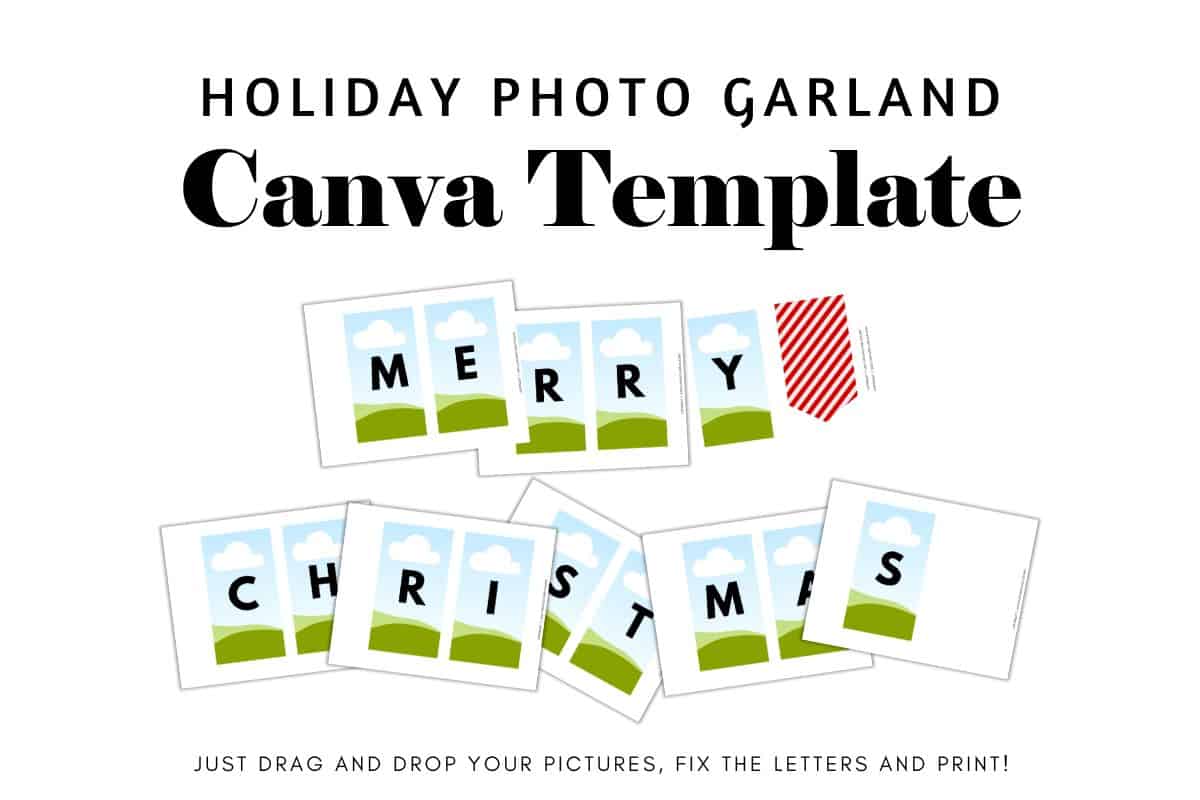
In case the idea of editing images freaks you out, I created this quick photo garland template in Canva (you just need a free account to use it!).
Click here for the Photo Garland Template
The first page has quick instructions but basically, once you upload photos of your kids, you just drag them and drop them into the garland template. Then just move the letters around to where they fit best in the photo.
Printing out the images from Canva will use a bit of your printer ink. If you plan on making a few of these, I suggest having the photos printed to save money.
You will just want to save the images as jpeg files and then you’ll need to upload them to a site like Shutterfly.
4. Putting it All Together
- I used a hole puncher to make holes in the top two corners of each photo.
- Layout the photos on the ground to see what order they need to go in.
- Start with the last photo first, and put the end of the string through the first hole and back out the second hole, so the majority of the string will end up behind the photo. (See image above).
This lets the photos be the star of the holiday garland and not be covered by the extra string. It sounds so much more difficult than it really is!
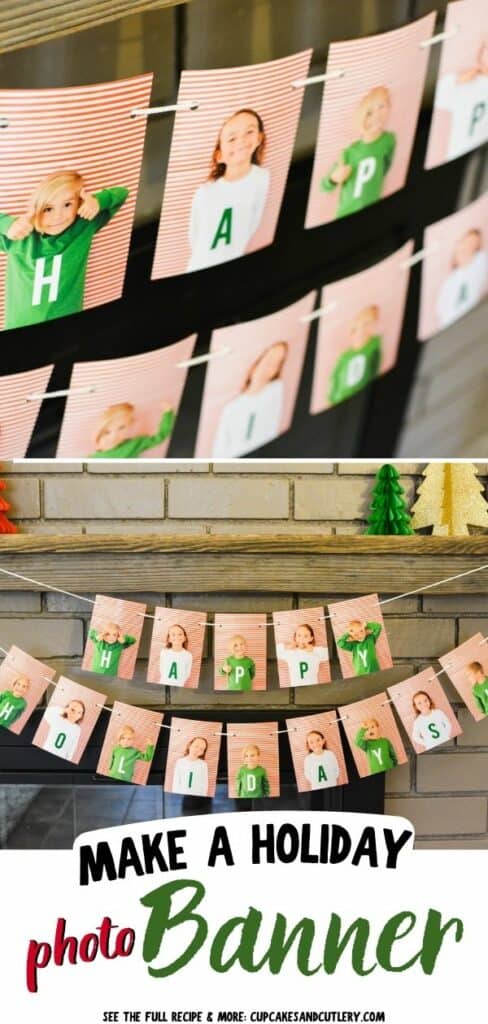
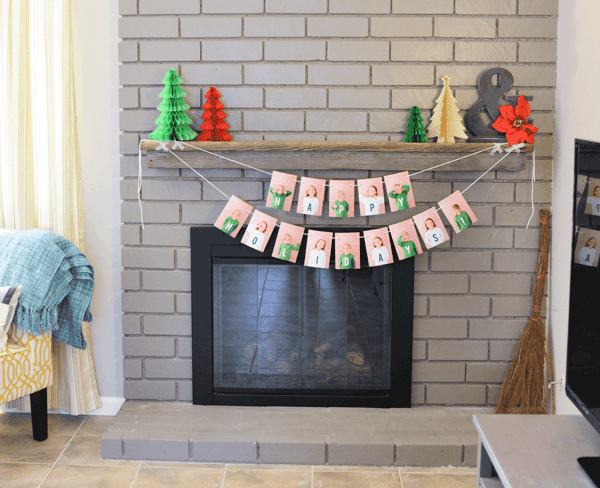
The DIY photo garland for holiday is ready to be displayed and gifted!
I love this because the kid’s personalities really come through in these photos.
Using the holiday colors makes it festive and perfect for the holiday season.
5. Hang it our Wrap it Up
You’re going to want one of these for yourself so make sure you print several copies of each of the photos.
If you’re wrapping it up as a gift, carefully string the photos making sure to leave some slack in the string so you can accordion fold the photos together.
Then put the holiday photo gift in a bag or box and add whatever festive touches you want.
A DIY Photo Gift For Any Holiday
This cute holiday photo garland DIY is a fun decoration and Christmas gift idea for close friends and family. If you’re looking for fun photo garland ideas, this one can actually work for any holiday or special occasion.
If you don’t want it to be Christmas-themed, you can change up the colors of the shirts and backdrop.
You can change up the message in photo editing and even make each recipient’s gift different.
Need birthday garland ideas? This is a great DIY for that too. And how awesome would this be for a teacher’s birthday using pics of the kids in the class?!
It’s also perfect for a baby shower, bridal shower, anniversary, or retirement. It’s super versatile and sentimental.
And if you don’t want to make your own, you can buy some cute photo garlands!
Pair it with a winter garland for a cool look that you can reuse year after year.
Hang them in your house, next to some snowflake balloons and you’re house will feel super festive!
And all of this can be done while watching Hallmark movies. If you’re into that kind of thing. And I totally am.
Related Posts
- Candy Trains for Christmas
- Homemade Christmas Ornaments
- Holiday Room Spray with Essential Oils
- Printable Labels for Holiday Room Spray
- DIY Balloon Chandlier
- Photo Booth Props for New Year’s Eve
Photo Garland DIY
Equipment
- 1 Scissors
- 1 Hole Punch
Ingredients
- 14 photos of your kids
- 3 feet string
Instructions
- Decide which method you want to use. Do you want to have photos printed or use my free Canva template that you can download here: Canva Template
- Take photos of your kids (consider buying a plain t-shirt for them to wear and posing them in front of holiday wrapping paper taped to the wall for an easy backdrop). Try to take them in natural light.
- Edit the photos. (Add some brightness or use "auto").
Method 1: Getting Photos Printed
- Use a design program to add one letter to each photo.
- Have the photos printed online or your local photo developing center. This may add a few days onto the total time to create the garland.
Method 2: Use Canva Template
- Upload edited images to Canva and drag and drop them onto the template.
- Move around the letters on the template where they look the best.
- Print out the banner on cardstock and cut out each image.
To string the banner
- Add a punched hole to each top corner.
- Lace them onto a long piece of string to create a garland.
Notes
This post was originally published in December of 2015 and has now been updated with better instructions so you can make these perfectly every time.
I love this! Pinning to BHG!
Thanks Julie!! Hope you had a great holiday!
OMG love this idea!!
This is too cute!!
I love love love love this. And now I want it too.
OMG I love this !!! Totally doing it :)
You should! Your photos would be AMAZING!!!!