Non-Alcoholic Pina Colada Slush Recipe
This non-alcoholic Pina Colada Slush recipe is the perfect summer mocktail for your kids. With coconut and pineapple flavors, this frozen drink is tasty and SO refreshing. Make this tropical treat for all your parties and barbecues. It’s great for a crowd!
Let’s make this easy frozen drink recipe for summer
This frozen Pina Colada Slush recipe uses just 4 ingredients to create a flavorful mocktail that the whole family will love.
Pineapple and coconut are made for each other. Plus the club soda gives it just the right amount of fizz and keeps it super refreshing.
Prep is quick and easy and then the freezer does the rest of the work for you. All you have to do is sit back and enjoy!
Related: Non-Alcoholic Soda Sangria Recipe
Just know you need to plan ahead (make it at least the day before you want to serve it) to allow for freezing time.
Kids can help make this drink and it makes a lot so it’s great for summer parties and playdates.
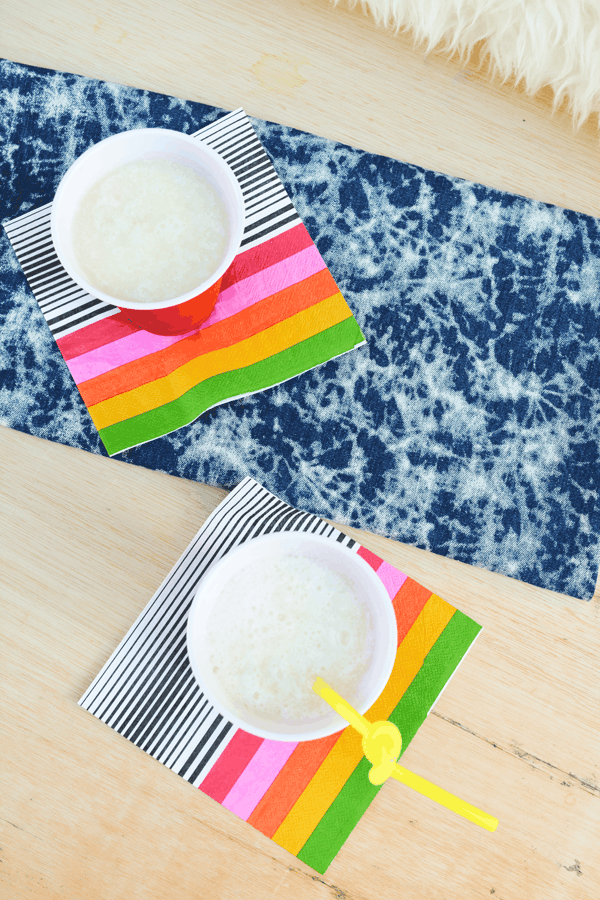
It’s sweet, frosty, and a total vacation in a glass. It’s easy to make and is the perfect summer recipe.
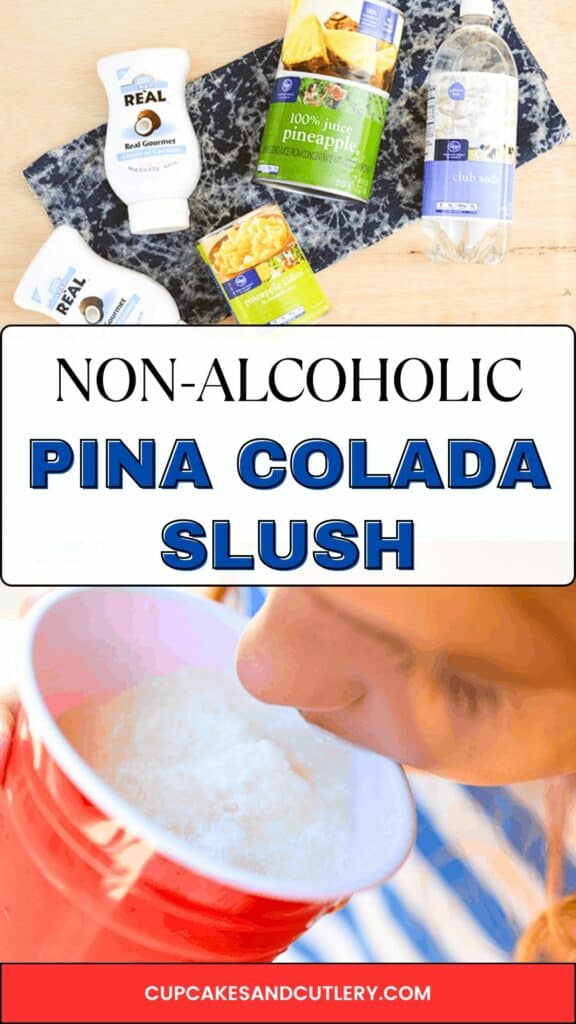
Ingredients
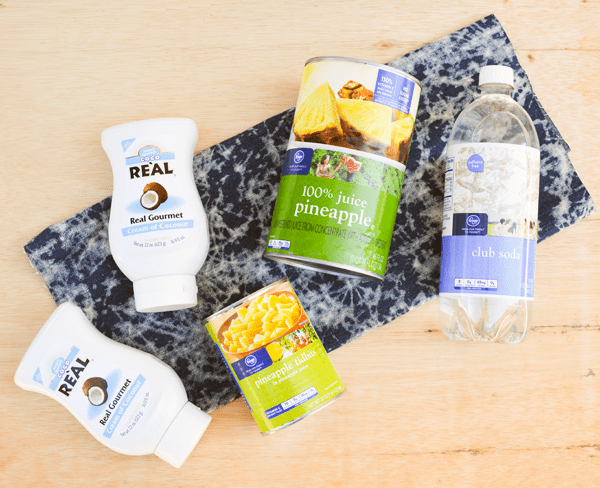
The ingredients are basically what you would find in an adult version of a pina colada. Only this one is non-alcoholic and slightly fizzy.
Pineapple juice and pineapple tidbits bring some texture and sweetness. The original recipe says to use crushed pineapple but since you are blending it up anyway, tidbits work too. (As long as you have a powerful blender like a Ninja).
The cream of coconut is essential for the creamy, bold and sweet coconut flavor. You will not get the same flavor from coconut milk, coconut cream or water. You can find it in the liquor area of your grocery store (but it does not have any alcohol in it).
Club soda adds the perfect fizziness without adding flavor, but if you wanted to drive up the pineapple intensity, you could see if you could find a pineapple-flavored sparkling water. Although once you taste this recipe as is, you’ll see you won’t need to.
Directions
NOTE: Remember to account for time in the freezer (24 hours)! This first part of the recipe should be made the day before you plan to serve it.
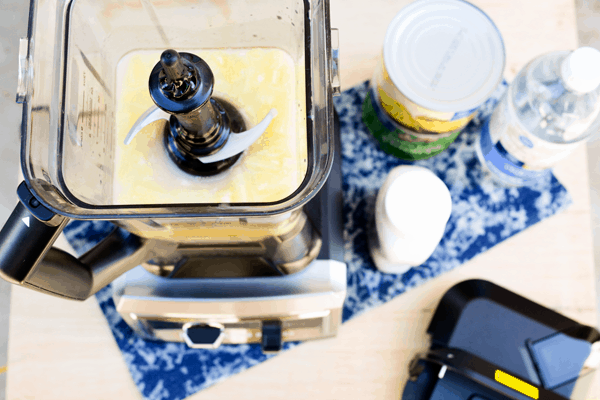
Step 1
In a high-powered blender, add the canned pineapple and the cream of coconut. Blend until it’s pretty smooth.
*I totally pulled a Sharon and got pineapple tidbits even though my list said to get crushed…I don’t think it really matters, although there might be a little more liquid in the tidbits. Long story short, I didn’t ruin it. It still turned out delicious.
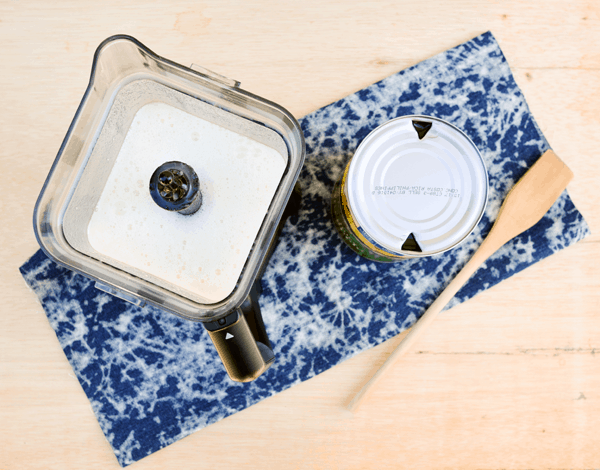
Step 2
Add the pineapple juice to the blender and blend to completely mix the pina colada punch.
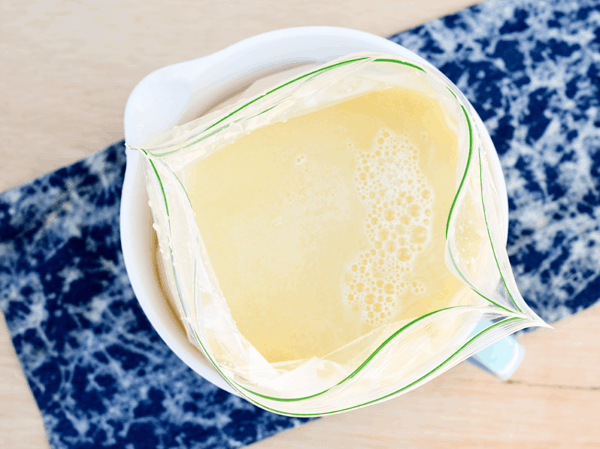
Step 3
Place the punch in a storage bag.
I doubled the bag to make it a little stronger. And I put the bags in a bowl to give it a little bit more support. It was REALLY full so I didn’t feel good about laying it flat in the freezer.
Although I could have laid it on a cookie sheet, I guess…I just had visions of it leaking ALL over everywhere…and I’m totally mess-averse.
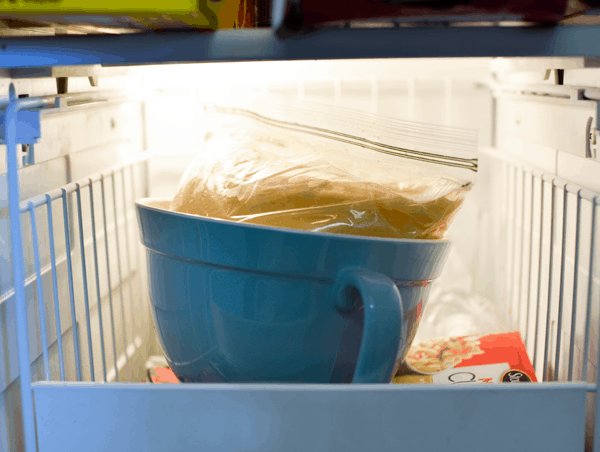
Step 4
I put the bowl and bags right in the fridge.
It’s supposed to freeze for 24 hours. Mine was not frozen all the way through, probably because of the thickness.
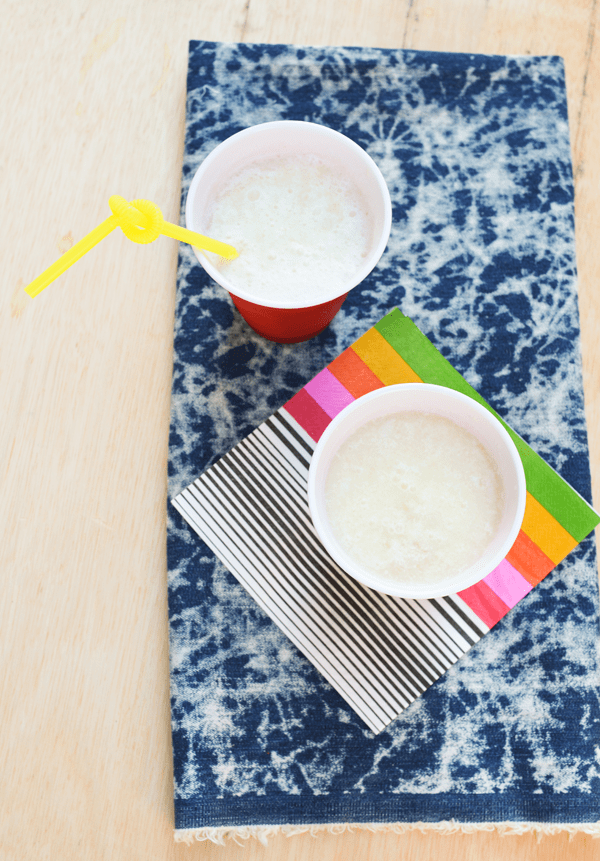
It was the consistency of a sorbet that was slightly softened, so it was actually perfect.

To serve
Let the frozen punch sit out for about 5 minutes to half an hour before adding the club soda. It will depend on if your Pina Colada punch is frozen solid or not.
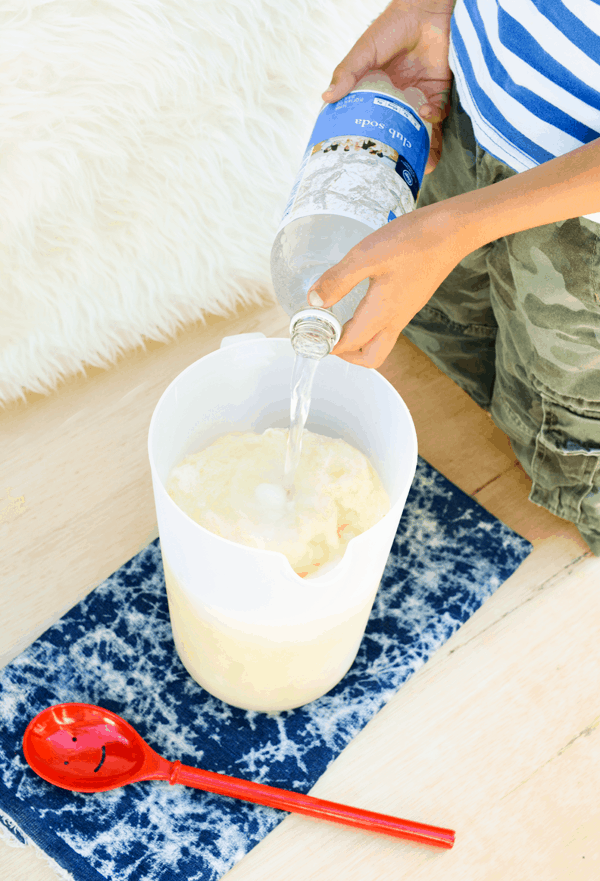
As this is called a slush, I wanted to make sure it remained slushy and it was a pretty hot day. In any event, you want to add the club soda just before serving.
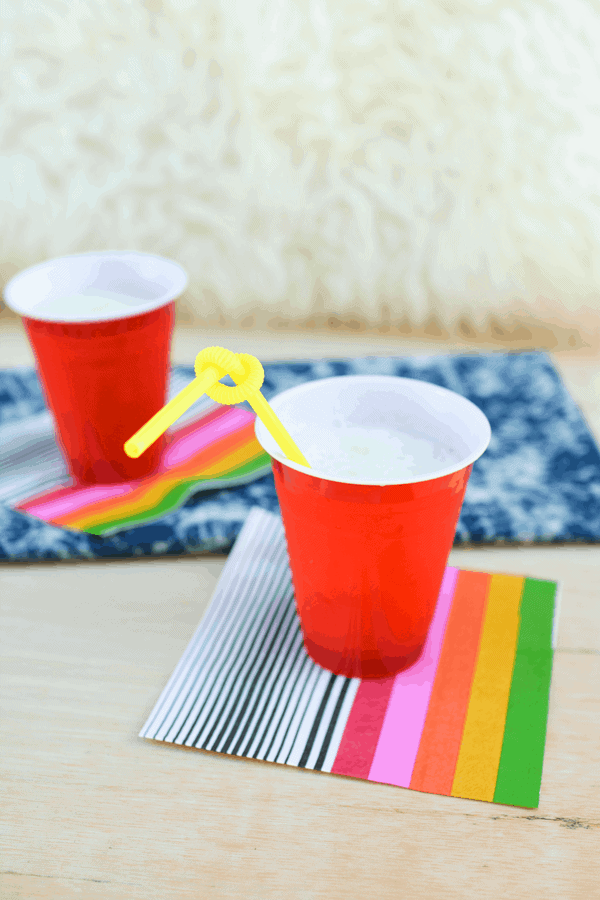
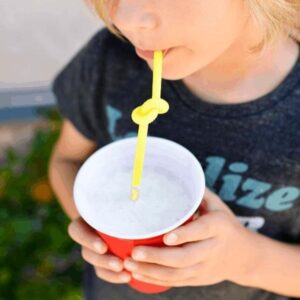
For this part, I transferred the pina colada mocktail to a large pitcher to make it more manageable. And then I let my son pour in the club soda.

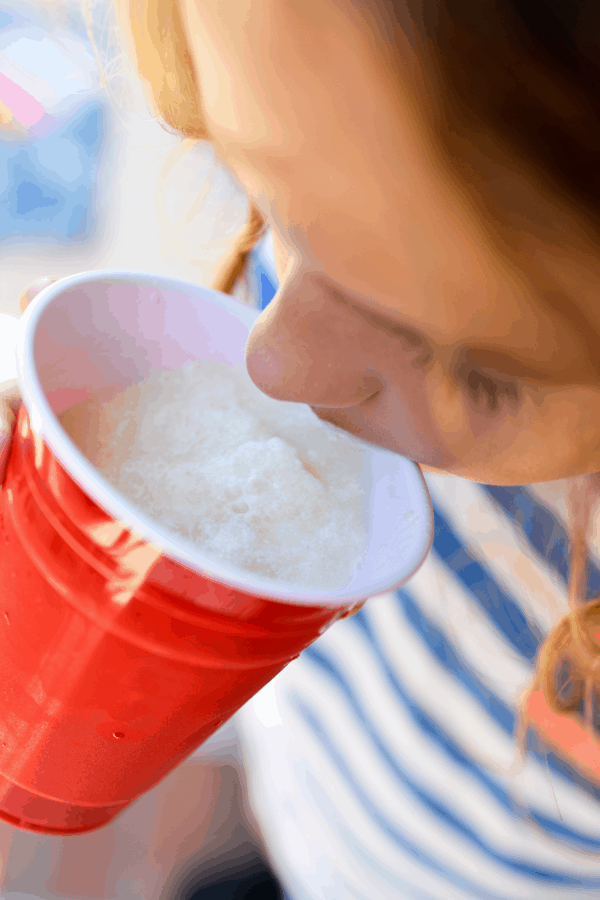
He gave the non-alcoholic slush a little stir and then I checked the consistency. While there is a lot of liquid, there are also several pockets of extra slushy deliciousness.
It makes a ton! So this Pina Colada slushie is great for summer parties and family get-togethers.
This Pina Colada Slush is like stepping back into my childhood when I drink it. I remember eating this in the backyard with our feet in the pool on warm summer evenings.
When you have kids there are so many things you can’t wait to share with them. For me, it’s the stuff that makes me super happy. Things like a beloved family vacation spot, music, TV and movies from my youth, and delicious goodies my mom used to make for me and my sister.
I was flipping through my “family cookbook,” which is a binder of recipes my mom put together for me when I moved out of her house. I came across this crazy delicious Pina Colada Slush recipe and knew I had to make it for my kids (and you guys!)
Frequently Asked Questions
As long as you haven’t added the club soda step of the recipe, you can keep any leftovers in the fridge.
There will be a separation of ingredients so mix before re-serving. It won’t stay slushy but the flavors should still be there. You can serve over ice and top with club soda. I wouldn’t keep leftovers longer than overnight.
I wouldn’t. The cream of coconut has a sweet and bold coconut flavor. If you substitute with another coconut product, you will need to account for the missing sweetness and need to try to rebalance flavors.
Of course, if you’re just serving this to adults a splash of rum (white, dark or spiced would be delish!) will easily transform this from a mocktail into a cocktail!
Adding club soda to the frozen pina colada will help it to melt faster so keep that in mind when trying to figure out how much time to let it soften once taken out of the freezer.
Yes! Garnish with chunks of pineapple and paper umbrellas for an even more tropical feel!
Sometimes I also turn it into a lava flow which looks so pretty in the glass by blending up some sweetened frozen strawberries with a little bit of water then adding to the top or bottom of the glass you will serve your pina colada in.
Tip
If you have space in the freezer, you can make several batches and have them ready to go ahead of time!
More easy mocktails
- Moscow Mule Mocktail
- Strawberry Mocktail with Rosemary
- Grapefruit Mocktail with thyme and cucumber
- Cherry Fun Dip Drink (Fun Dip Mocktail)
- Simple Blueberry Lemonade Recipe (Easy Ingredients!)
- Strawberry Mocktail
- Non-Alcoholic Espresso Martini Recipe
More frozen drinks
- Frozen Vodka Sunrise Cocktail Recipe
- Best Frozen Margarita Recipe
- Frozen Gin & Tonic Recipe
Save this and Pin it for later!
If you want to save this recipe make sure you Pin it for later! You can also follow me on Pinterest, as well as keep up with me on Facebook, Instagram and YouTube. If you make this recipe make sure to tag me in your photos and leave a star rating below!
Pina Colada Slush
Ingredients
- 20 oz. can crushed pineapple
- 30 oz. cream of coconut I think it only comes in plastic squeeze bottles now and can be found in the liquor area of your grocery store
- 46 oz. can pineapple juice
- 32 oz. bottle of club soda
Instructions
- Combine crushed pineapple and cream of coconut in a blender jar.
- Blend until smooth.
- Add pineapple juice and give it a quick stir.
- Pour in to a gallon freezer bag and place in freezer, at least overnight but up to 24 hours.
- Depending on how frozen your drink mixture is, you may need to let it stand for 5 minutes up to an hour, checking often to find the desired consistency.
- Add club soda just before serving.
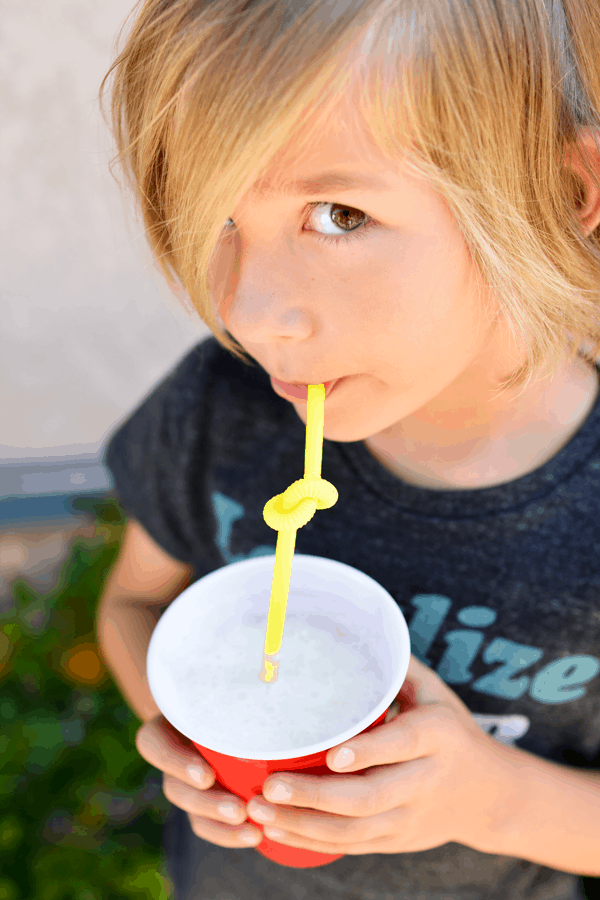
- Give it a little stir then pour in to serving cups.
Notes
- You can use pineapple tidbits instead of crushed pineapple as long as you have a powerful blender.
- You can lay the bag of slush in the freezer to freeze to take up less space, just ensure your zipper bags are quality and will not leak.
- Add club soda to the frozen pina colada will help it to melt faster so keep that in mind when trying to figure out how much time to let is soften once taken out of the freezer.
- For a party you can make several batches ahead of time and pull them from the freezer as needed.
- Easily turn it into a lava flow by blending up some sweetened frozen strawberries with a little bit of water then adding to the top or bottom of the glass you will serve your pina colada in.