DIY Homemade Birthday Poster with Photo Idea

Get ready to celebrate with a DIY homemade birthday banner, without complicated crafts! It will take almost no time to learn how to make a birthday poster at home with just a few supplies and for around $10. Your guest of honor will love it!
Homemade Birthday Poster DIY
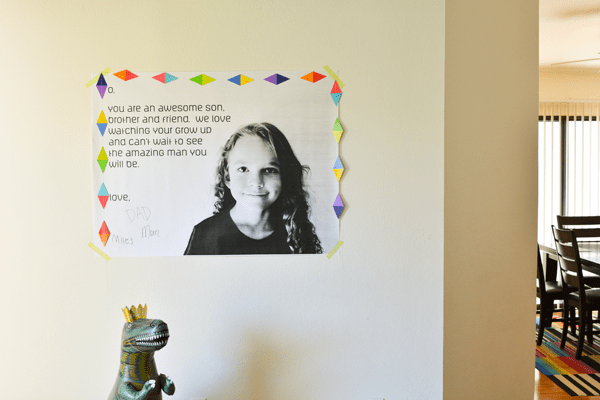
So here’s the deal. There’s a typo in this Happy Birthday sign. And I’m cheap and lazy and didn’t want to go back to the print shop to have them reprint it. Now that we’ve gotten that out of the way, isn’t this DIY birthday banner SO cute?!
Related: DIY Table Runner Birthday Idea
I made this for my son’s birthday and put it up after he went to bed the night before his special day. It was a fun surprise for him on his birthday and I know your kids will love it too!
How to Make a Birthday Poster Craft at Home
Supplies Needed
- Camera or phone camera
- Photo of the guest of honor on a light background
- A photo program like Illustrator or Canva
- A Sharpie marker
- Colorful garland or border (optional)
Instructions to make a DIY Happy Birthday Sign
I like to look for little ways to make celebrations a little more fun. I knew a giant birthday card would be unusual and exciting, but I also wanted to make sure it was easy.
Step 1
Since I am not a graphic designer, I took a photo of my son against a blank wall so I didn’t have to worry about trying to cut out a busy background. I did this just a few days ahead of his birthday and made up an excuse as to why I needed the photo.
Step 2
To add the text, I used a program called Illustrator. But you could also use a free program like Canva or even Word. Just make sure you set up the document to match the finished size you want.
Step 3
When I was done with the wording, I saved the file to a thumb drive and took it to my local Kinko’s/Fed Ex store. Printing can be expensive but to keep costs down, have them print out a blueprint copy.
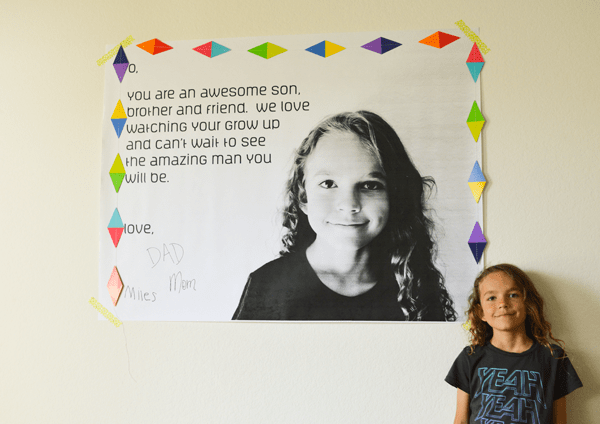
This size is 4′ x 3′ and costs $9. They printed out some smaller-sized ones for me as well (I think the 3′ x 2′ option was only $4 and still perfectly large enough to hang on a wall.)
Step 4
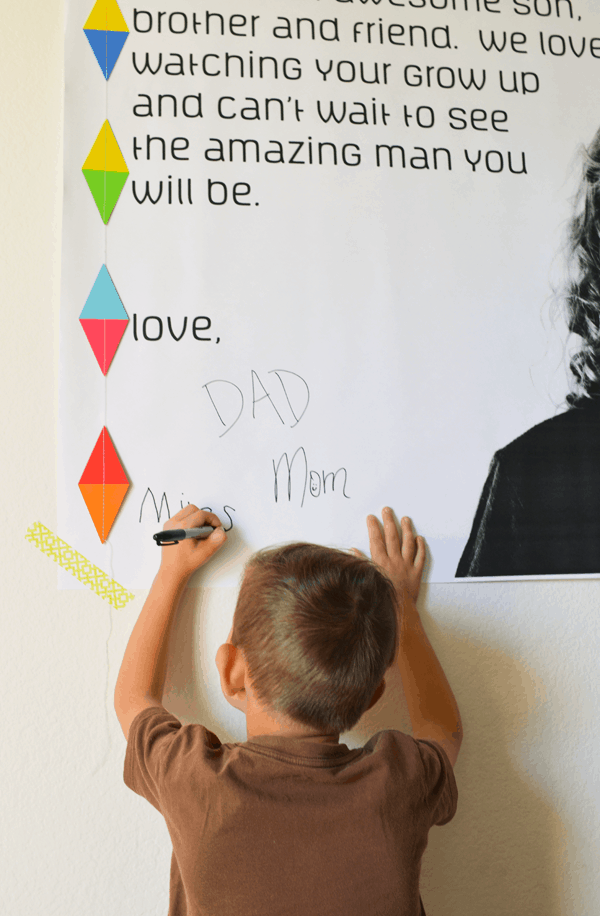
The rest of the family signed the Happy Birthday sign and then I used decorative masking tape to hang it on the wall. I found a super cute paper garland at Target to frame it with and add some color.
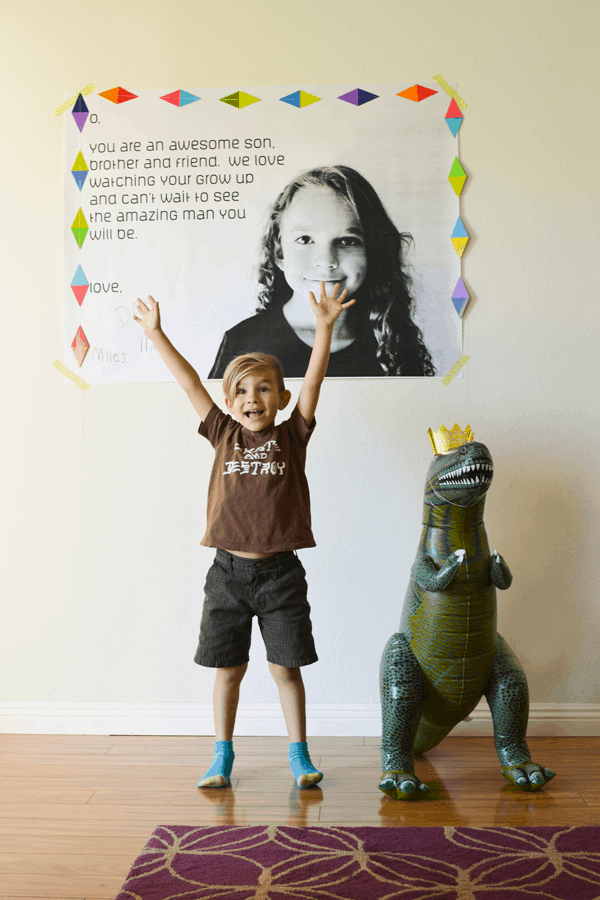
This is not the birthday boy. But as you can see, we were all pretty excited about this wall card.
My son loved it!! But really who wouldn’t love seeing their face this large on a wall in their house? ;)
This Happy Birthday banner idea doesn’t have to just be for birthdays. It would also be a really great way to acknowledge a big accomplishment for a kid, like a great grade on a test, too.
More Easy Birthday Ideas
- DIY Balloon Sign for a Party (Easy Balloon Decoration)
- DIY Minecraft Birthday Banner
- 50 Birthday Dinner Ideas {Delicious Recipes for Celebrating at Home}
- Fun Drink Ideas for Parties
- DIY Cake Topper Balloon

DIY Homemade Birthday Banner with Photo
Equipment
- A Sharpie marker
- Colorful garland or border (optional)
- Camera or phone camera
- A photo program like Illustrator or Canva
Ingredients
- Photo of the guest of honor on a light background
- Garland optional
Instructions
- Take a photo of your guest of honor against a white or light background a few days before your celebration.
- To add the text, you’ll need a program like Illustrator or a free program like Canva or even Word. Just make sure you set up the document to match the finished size you want. This size is 4′ x 3′. (I also printed out some smaller-sized ones as well I think the 3′ x 2′ option was only $4 and still perfectly large enough to hang on a wall.)
- Save the file to a thumb drive and take it to your local Kinko’s/Fed Ex store. Printing can be expensive but to keep costs down, have them print out a blueprint copy.
- Have the rest of the family sign the Happy Birthday sign and then use decorative masking tape to hang it on the wall.
- OPTIONAL – Frame it with a garland.
This is too cute, even with a typo. ;) Yes, Target has stepped it up and that line rocks!