How to Bleach a Sweatshirt {Tie-Dye with Bleach}
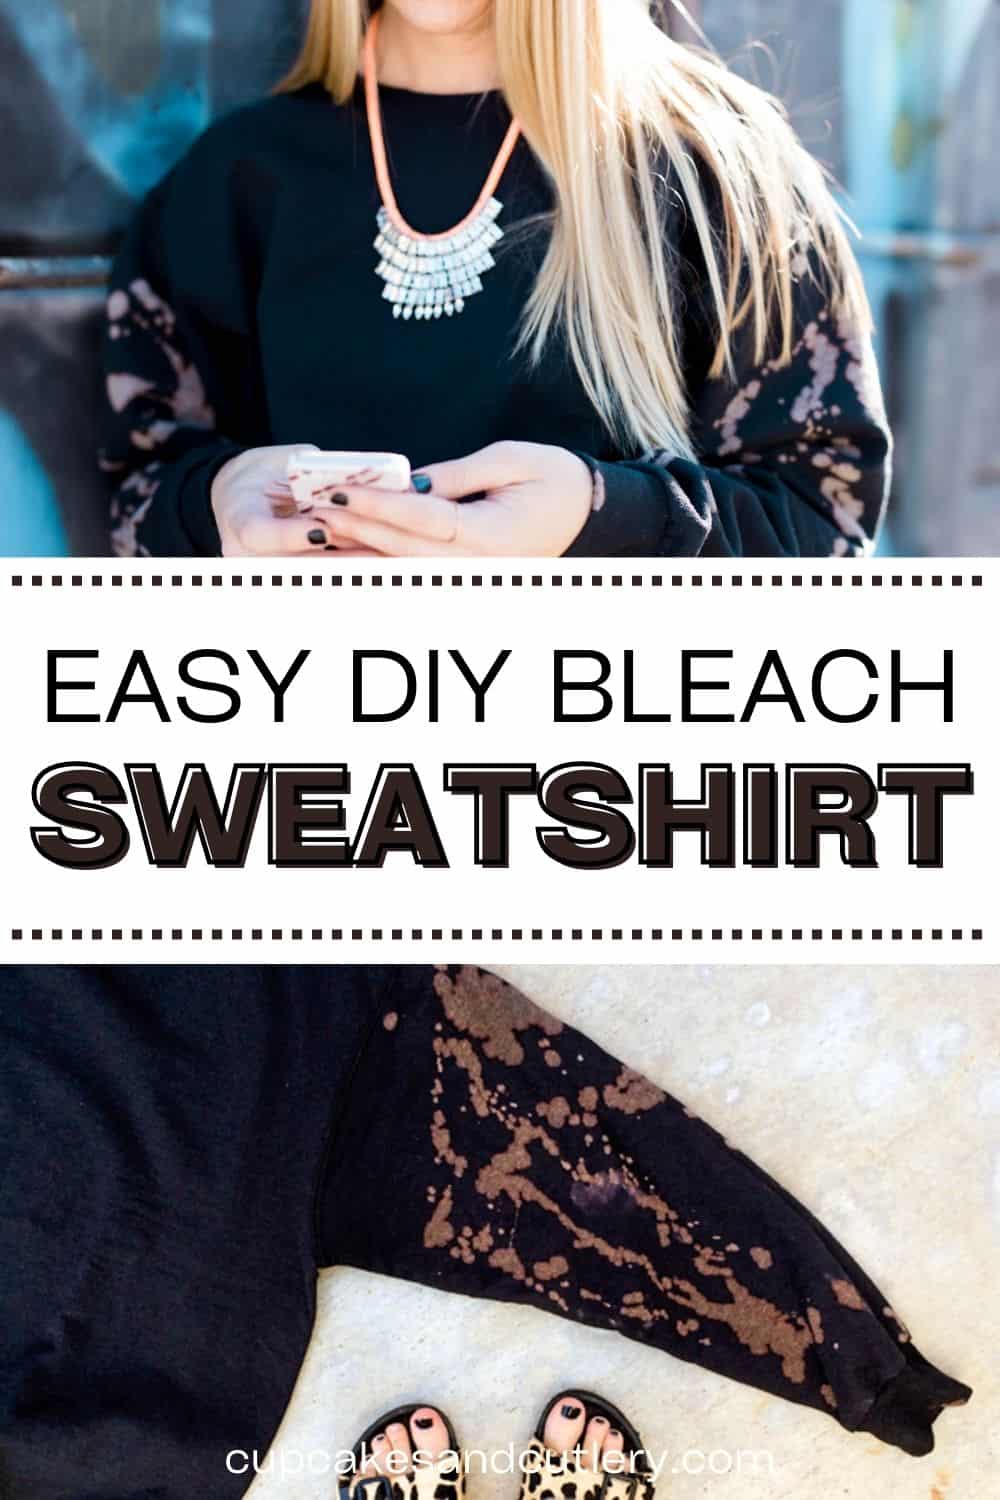
Want to know how to bleach a sweatshirt? It’s so easy! It’s a fun DIY to make cozy custom sweatshirts and hoodies for everyone in your family. A bleached black sweatshirt is cool and casual and matches anything. And it looks like tie-dye with bleach.
With an inexpensive sweatshirt and a little bleach, you can create a fashion statement in minutes.

Why I love this bleach splatter sweatshirt idea
A bleach sweatshirt is so fun to make at home. It’s the perfect level of DIY (low-skill, not a lot of supplies) that you can do over and over again.
I love to be cozy and sweatshirts are my go-to topper when the weather is cool. I started seeing these cool, almost reverse tie-dye sweatshirts at my favorite shops.
But, OMG, they were $90! I knew that it wouldn’t be that hard to make my own at home so I gave it a shot and loved how it turned out!
The bleach tie-dye effect, where the bleach removes color from the shirt, is one of my favorite things to do with old sweatshirts! And it’s a quick, inexpensive project that is super easy!
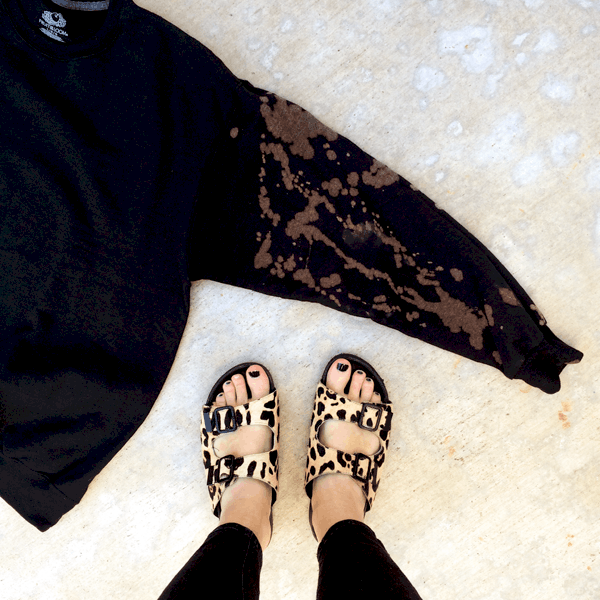
Plain sweatshirts can be a little boring. Removing some of the colors is a simple technique you can do with bleach, to give it a brand new look. And while I like to do only the sleeves of the sweatshirt, you can absolutely do the whole thing.
I did this with my niece’s when they came to town to visit and they had no problems with it. The only real issue is the bleach so this DIY just needs a little supervision.
Supplies for this Inexpensive Bleach Sweatshirt DIY
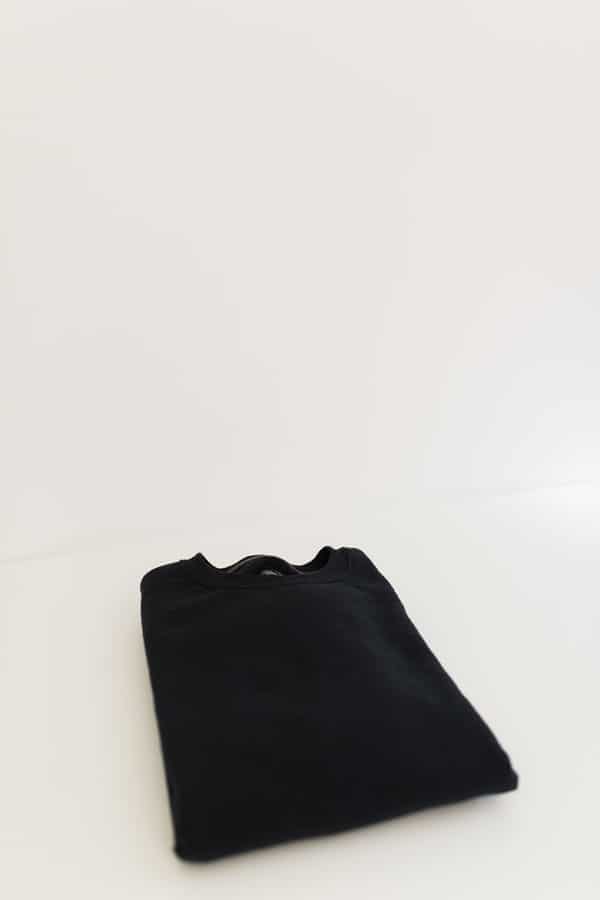
- Black Sweatshirt
- Bleach
- Empty Water Bottle with a hole poked in the lid
- Scissors
I, legit, am obsessed with plain sweatshirts. Every season I pick up a few for every member of my family.
Basic ones from the men’s department at Target or on Amazon ($7 – $8 apiece, yo! It’s a bargain!). You can’t go wrong.
Last year I even bought myself 2x and 3x sweatshirts to be super cozy in and they were so comfortable.
I like to use black but you can use any dark-colored sweatshirt.
You only need scissors if you want to cut the neck out which I don’t need to do if I buy the sweatshirts extra large.
How to bleach a sweatshirt
If you’re worried about ruining the ground, you’ll certainly want to cover it with something like newspaper or a plastic tarp.
- Lay the black sweatshirt out flat on the ground, outdoors, with the sleeves fully extended.
- Fill the empty water bottle with some bleach.
- Shake the bottle over the sweatshirt wherever you want the bleach to be.
- If you want to ensure that you don’t get bleach on certain parts of the sweatshirt, make sure to cover it with plastic bags or a trash bag.
- Shake the bleach on the front side of the sweatshirt and then flip it over to do the backside.
- Let the bleach sit to “develop” for about half an hour.
- If you don’t leave it on long enough, the bleached areas will look orange. Leave it on as long as possible to make it turn more white. (You will have areas that will be orange but I really like how that looks and gives it that tie-dye effect).
- Wash the sweatshirt in the washer.
Tips
Make sure you mark the empty water bottle that you use for the bleach. I took the label off and drew a skull and crossbones on it to make it my “bleach bottle”. I have had many conversations with my children about this bleach bottle and how dangerous it is.
I made a small hole in the cap and that’s how I dispense the bleach onto my projects. You can also pour the bleach directly on the shirt for larger splotches.
If you end up getting some bleach on one of the parts you didn’t intend, do not try to brush it away with your fingers, like a moron. It only smears it and makes the spot bigger when in reality it would have been a cute little dot…
I had my son help me flip the sweatshirt over. The extra hands helped make sure that the bleached material didn’t touch the parts of the sweatshirts I didn’t want it to.
There really is no way to mess this up. I mean, don’t get the bleach in your eye, keep out of reach of children, make SURE you mark your bleach bottle REALLY well.
Do you guys remember that scene from the movie Nadia? Not good. Never ever put bleach in a coffee cup.
Use bleach at your own risk. I NEVER use bleach on my laundry because I’m afraid of ruining everything. I only keep it on hand for crafts, especially this one where I’m trying to remove the color on purpose.

So anywho…once you have washed the bleach out of the sweatshirt and dried it, I like to cut out the ringer in the neck.
I find them to be super uncomfortable and constricting. My neck wants to be free, man.
To cut out the neckline, I just follow around the seem of the ringer with sharp scissors (you can see how I did it to make this muscle shirt). Boom. You’re done.

And just like that, you have this super awesome warm comfy bleached sweatshirt, with cooler sleeves, to add some style to your winter wardrobe.
Pair it with jeans, sweatpants or pull it on over a long dress. It’s super casual and totally cool.
This reverse tie-dye technique works on hoodies too
Have an old hoodie that you want to update? No problem. This easy bleach splatter technique works on hoodies too!
The process is the same if you choose to do this DIY with a hoodie instead of a crewneck. And it also works on black T-shirts.
Why isn’t my black sweatshirt bleaching?
Once in a while, the bleach doesn’t remove the color from the shirt you are trying to DIY. I am not an expert in fabrics or materials but here are a few things to help you troubleshoot so you can make your own bleach splatter sweatshirt.
- Wash your shirt. If you are using a new shirt, you may need to wash it first! Often they put some treatment on them which won’t allow the bleach to get into the fibers.
- Use straight bleach. Don’t dilute the bleach with water. While bleach is harsh on fabrics, diluting it may mean that it won’t be strong enough to do what it needs to do.
- Your bleach may be old. Bleach, if in a container that has been opened for more than 6 months, may not be effective. I didn’t know that bleach could be old but turns out it can.
- Check sweatshirt materials. I’m pretty sure that 100% cotton sweatshirts work best. Sometimes polyester or other synthetic fabrics won’t behave properly.

You know what’s not cool? When you’re outside taking your photo and then a construction worker comes out to use the outhouse a few feet away from you…Gross. Photoshoot over.
Seriously, this bleach sweatshirt couldn’t be easier! I love that these look like tie-dye but are totally low effort.
All photos by Dez and Tam.
This quick and easy reverse tie-dye project makes it simple to create your own DIY bleach sweatshirt to wear all year long.
More posts you may enjoy
- Yarn Bracelet
- DIY Keychain for Essential Oils
- DIY Wearable Keychain
- Snap Swivel Bracelet
- Yarn Wall Hanging
- Streetwear Inspired Vans DIY

DIY Bleached Sweatshirt
Equipment
- Scissors
Ingredients
- Black Sweatshirt
- Bleach
- Empty water bottle with a hole poked in the lid
Instructions
- Lay the black sweatshirt out flat on the ground, outside, with the sleeves fully extended.
- Fill the empty water bottle, with a large-ish hold poked through the lid, with some bleach.
- Shake the bottle over the sweatshirt wherever you want the bleach to be.
- Shake the bleach on the front side of the sweatshirt and then flip it over to do the backside.
- Let the bleach sit to “develop” for about half an hour.
- Wash your DIY bleach sweatshirt in the washer and dryer, as normal.
- Optional, cut out the neck of the sweatshirt (use really sharp scissors and cut just outside the seem of the neck seam).