DIY Upcycled Milk Jug Planters
Spring is here so let’s garden! Milk Jug Planters are a fun DIY project to make and get the kids involved in growing plants and flowers. These homemade planters are made out of upcycled plastic containers and can be made in just minutes.
A milk jug garden is easy to make and can be used indoors or out!
Every time my kids finish a container of milk my head spins. Those big old containers have got to be good for something! I know they can be recycled but I figured they could be so much more useful.
My father-in-law used to be in the “plant business” so I had the perfect mentor to help us with this craft and learn how to replant plants in general. It should be known that I have the blackest thumb ever. I figured we could keep at least a few of these milk jugs out of a landfill and teach myself and my son something that could come in handy later.
Why Make Milk Jug Planters
Both of my kids have expressed an interest in planting our own food, so this lesson will surely come in to play again. got milk? asked me if I could come up with a craft that would share how milk and healthy habits can be worked into your everyday living.
And I really think this DIY garden idea does just that.
This is just one part of his yard where he grows his plants. And yes, that is a greenhouse back there. The kids have KILLER Easter egg hunts back here.
These are great for teaching kids about gardening and it is so inexpensive!
Supplies
- Empty Plastic Milk Jugs
- Scissors
- Dirt
- Plants
- Water
All you need is an empty, cleaned (for the love of all that is good rinse these out well! If not, SO SMELLY!) plastic milk jug and scissors.
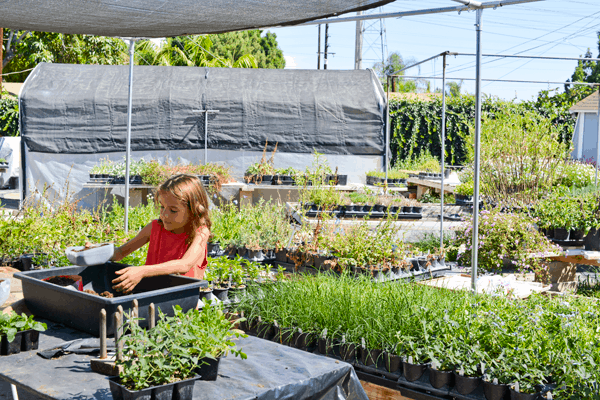
Grandpa Al used to run a nursery out of his backyard and sold cottage garden plants to mom and pop nurseries in and around Orange County (read this great article the Register wrote about him).
So when it comes to anything with plants, he’s the man. We brought over our plastic milk jugs and he and my son got to work turning what would have been trash into something useful.
I had wanted to plant some herbs, as I really enjoy using them in cooking, but Grandpa Al doesn’t grow herbs. And while he used to grow heirloom vegetables, he has since changed his focus to cottage flowers.
I decided that since I’m such a gardening novice, I would let him show us with his regular plants and then my son and I will be able to purchase some herbs and create an herb garden together in our recycled planters.
How to Make a Milk Jug Planter
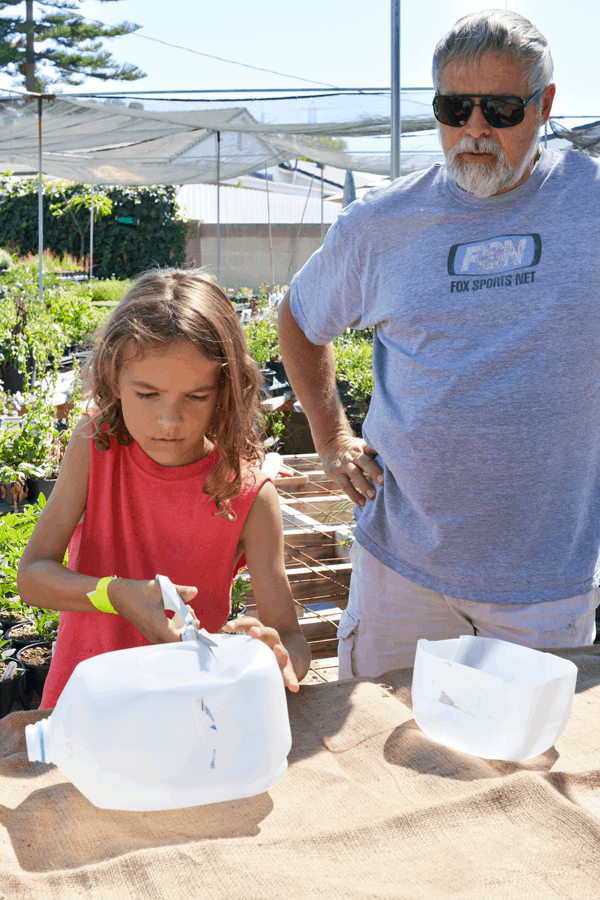
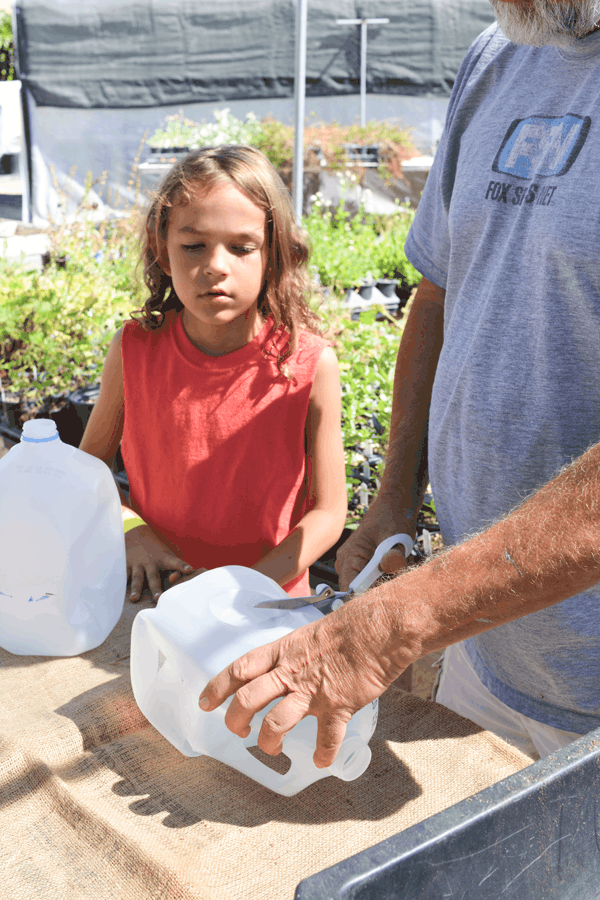
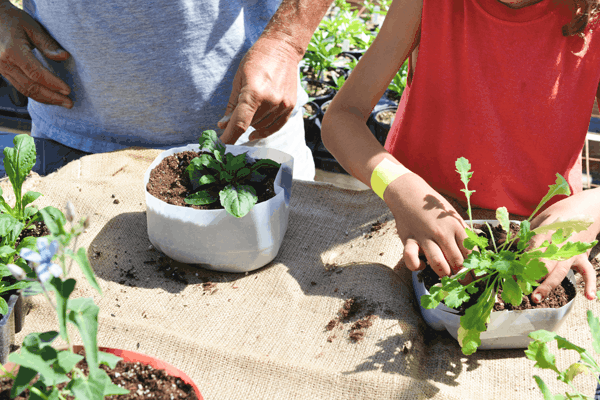
These milk jug planters couldn’t be any easier. With a little supervision, my son got his turn to create his own homemade planters.
With the scissors, cut the top part of the milk jug off. I like to leave about 4-5 inches from the bottom.
The adult may need to help get the cuts started.
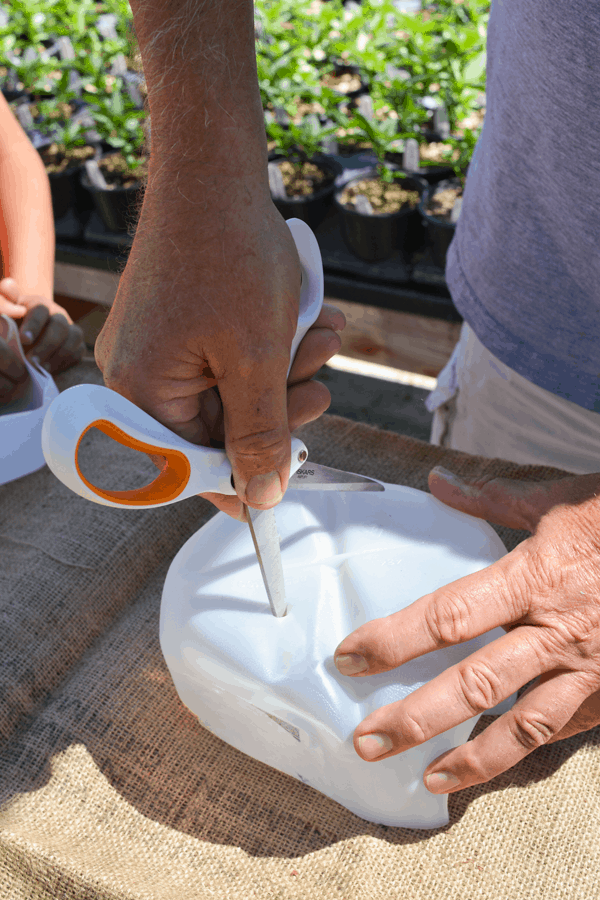
You must add some drainage holes to the bottom which are super easy with a pair of scissors. You poke a hole and then turn the scissors in a circle to open up the plastic a bit more.

Next you fill the planters with soil. You don’t want to pack it in, but you will fill it to just about the top edge.
Next my son created a hole in the center of the plastic milk jug planter where the plant would go.
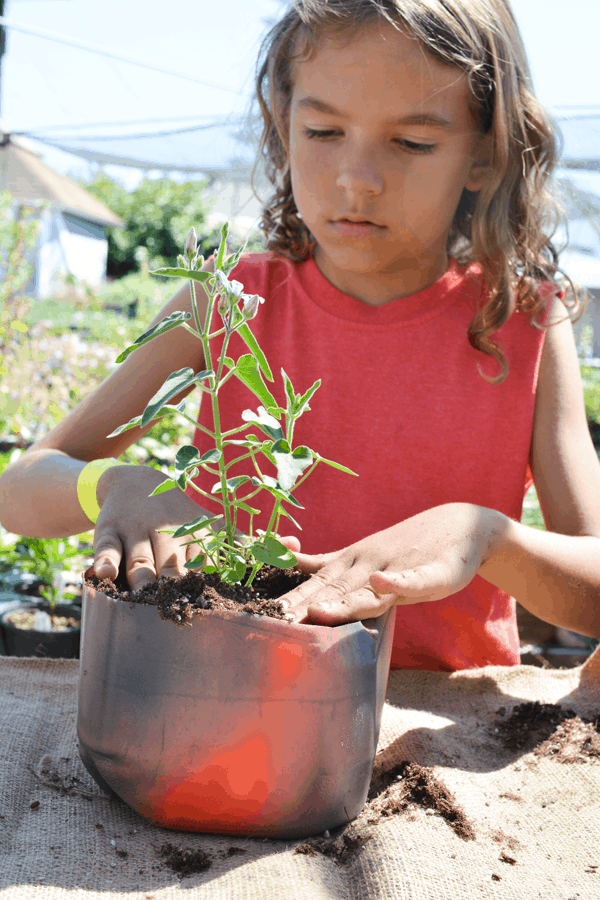
After setting the plant in the hole, you top it with a little bit more dirt and then pack it tightly around the base of the plant that is poking just above the surface of the soil. Notice I’m not calling it dirt. It isn’t dirt.
I can’t tell you why, I just know that I have been corrected on more than one occasion. Not going to make that mistake again! And the steps will be the same when we plant our herbs.
My sons are not as big of fans as herbs as I am, but having them come with me to pick some out will make them more likely to want to eat them. I love herbs because they add so much flavor to a dish without adding too many calories.
This is something I really want to teach my kids about as they grow up. Food should be flavorful but doesn’t need to be full of extras like fats, chemicals, etc.
Planting our own herbs, and maybe someday our own vegetables will show my kids how good fresh food is and how they can do it for themselves.
This is a great craft to get that conversation started and lead to even more discussions on nutrition and how fresh, healthy food and milk in our diets will help us to be at our best and keep our bodies running the way they should be. That’s a great life lesson right in this milk jug DIY planters.
Making the planters and replanting the plants was really quick. It took about 10 minutes for all of them. It took us longer to drink the milk. And although I probably could have figured out how to replant these myself, it was really helpful to listen to grandpa teach my son.
Plus, I didn’t have to get my hands dirty…
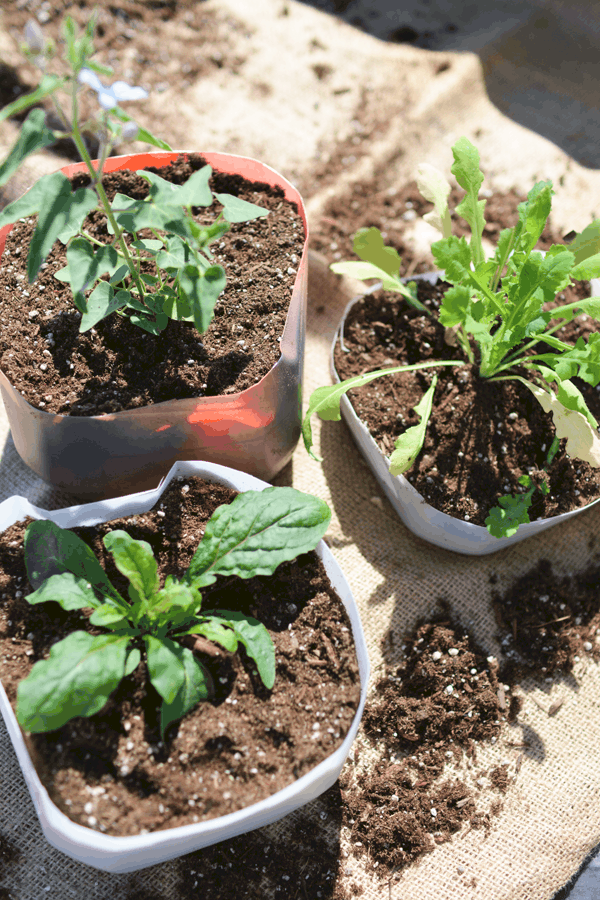
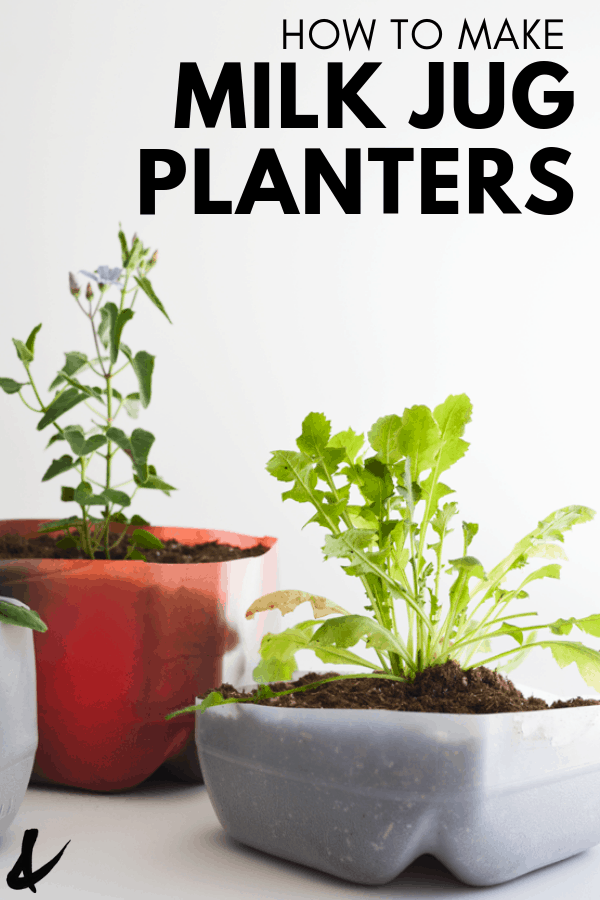
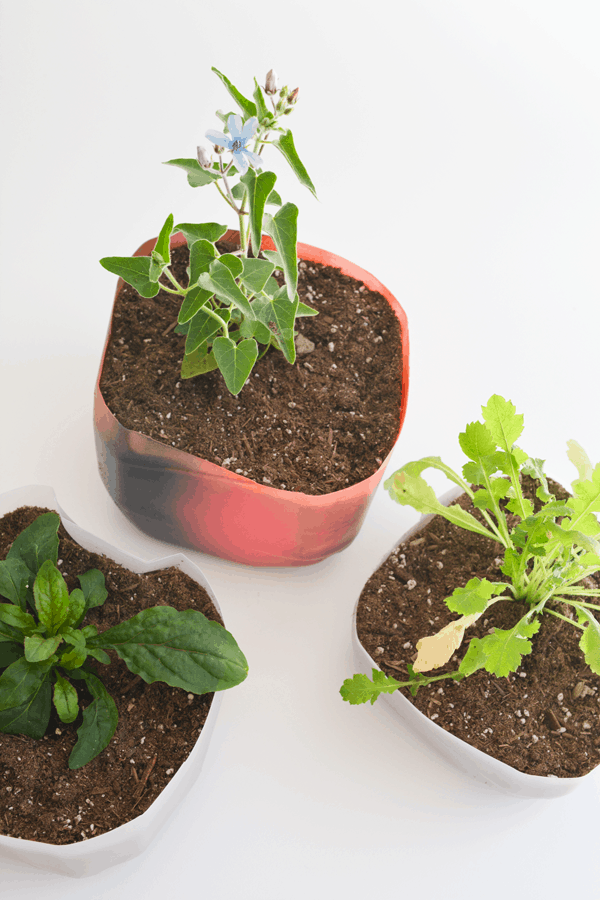
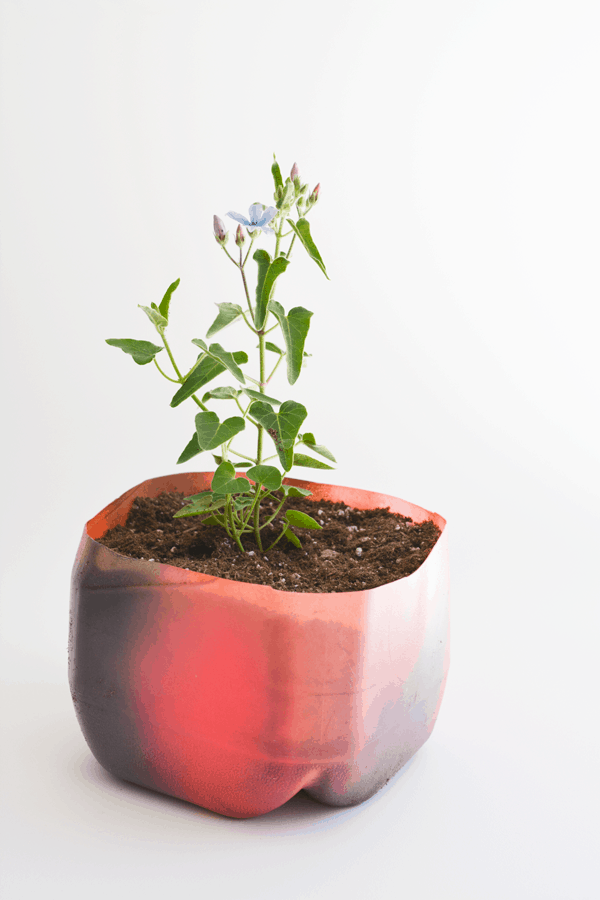
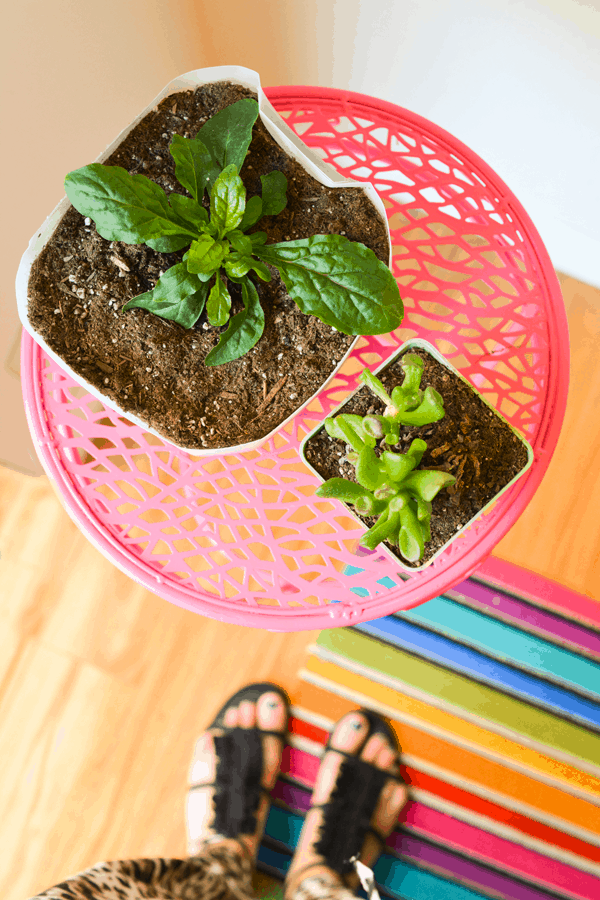
I really love how these plastic milk jug planters came out. When I thought of this project, in my head, all the containers were cut at exactly the same height, but I actually really like they each turned out a little bit different. There really is no wrong way to do this.
Except if you don’t care for them correctly…Per Grandpa Al, they should be in part sun, part shade and get a bit of water every day. And I totally had to get some clarification on this because I didn’t know what that meant.
It means the plants should be in the shade part of the day and the sun part of the day…Am I the only one who didn’t know what that meant?
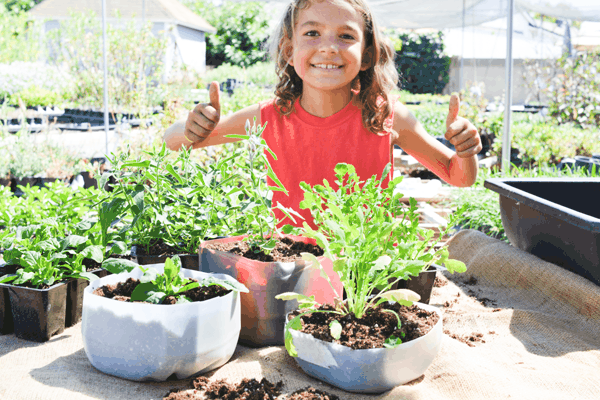
My son was really happy with how this milk jug craft came out! It was fun to watch him learn something with his grandpa. And since he made these, I am hoping he will help me keep the plants watered.
I am a menace to plants so hopefully, my son will be their ally. As soon as we get some more milk finished we will start creating our herb garden. I’m going to plant mint and basil for sure.
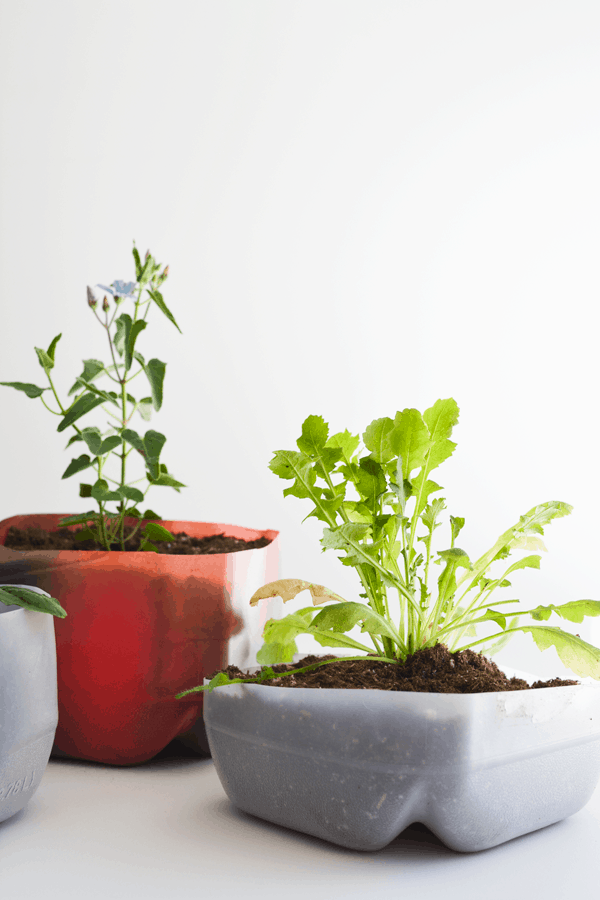
I really love how these upcycled milk jug planters turned out! And I even love them totally plain, just the standard white opaque plastic.
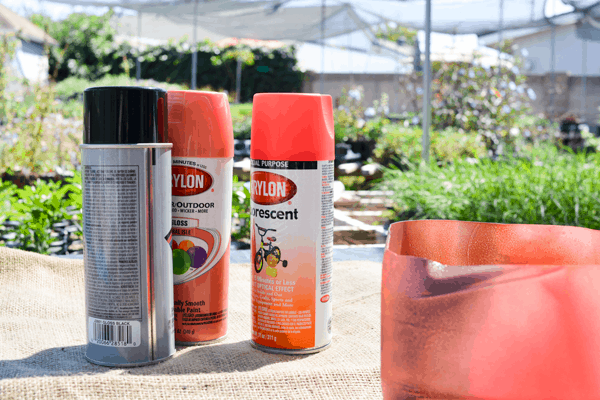
But if you want to jazz them up a bit, I just used some spray paint. I painted the inside of the jug with no real pattern and kept it pretty thin so that it was kind of see through. I did the paint on the inside so that the color wouldn’t be shiny like if I did it on the outside. I like that the milk just sort of mutes the color a little bit.
These are a great kids craft idea and would make great gifts for the kids to give. They would also make great party favors or party decor. I am pretty sure a smaller, cardboard milk carton would work as well.
You would still need to make sure to poke holes in the bottom for drainage, but the rest of the tutorial would remain pretty much the same.
These upcycled milk jug planters probably wouldn’t work in every decor but they work really well in mine.
Thank you for supporting the brands that let me do what I do and keep you healthy too. got milk? is a great resource for sharing what makes milk the key to a brighter future.
The site also talks about what makes milk so good for your body like the 9 essential nutrients and how great it is for healthy hair. Be sure to check it out. You should definitely put these DIY milk jug planters on your to-do list!
Related Posts
These easy concrete planters are fun to make with the kids!
If you’re looking for a super easy craft, make this DIY Lava Stone Diffuser!
A DIY Bleached Sweatshirt is a cool way to customize a new or old sweatshirt.
Make-your-own mini Heart pillows are fun to make for Valentine’s Day or beyond.
Milk Jug Planter
Equipment
Ingredients
- 1 Plastic Milk Jug, empty and cleaned
- Dirt
- Plant
- Water
Instructions
- Clean out the empty milk carton.
- Use scissors to cut off the top part of the milk carton. Leave about 4-5 inches from the bottom.
- Use scissors to poke a few holes in the bottom of the milk jug.
- Fill the planter with dirt.
- Make a hole and add the plant.
- Add some water to make sure the soil is damp.