Skip to content
Grab a copy of my
GATHER AT HOME GUIDE
!
Contact
Instagram
Facebook
Pinterest
PRINTABLES SHOP
Recipe Index
Christmas
New Years Eve
Cocktails
About
Search for:
Search
Toggle Menu
Search for:
Search
Home
»
craft
craft
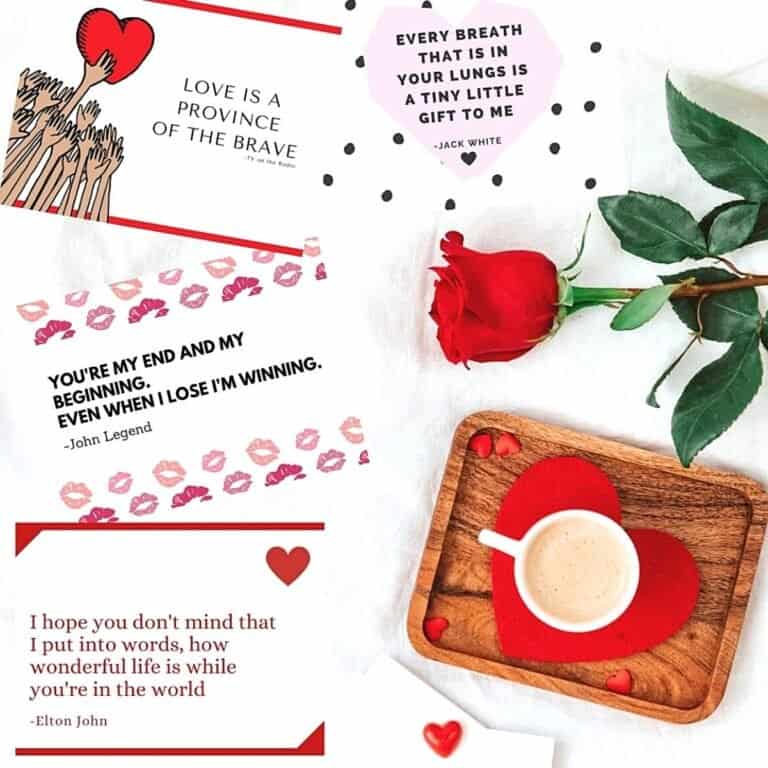
Free Printable Valentines Cards with Song Lyrics
DIY Table Runner Birthday Idea
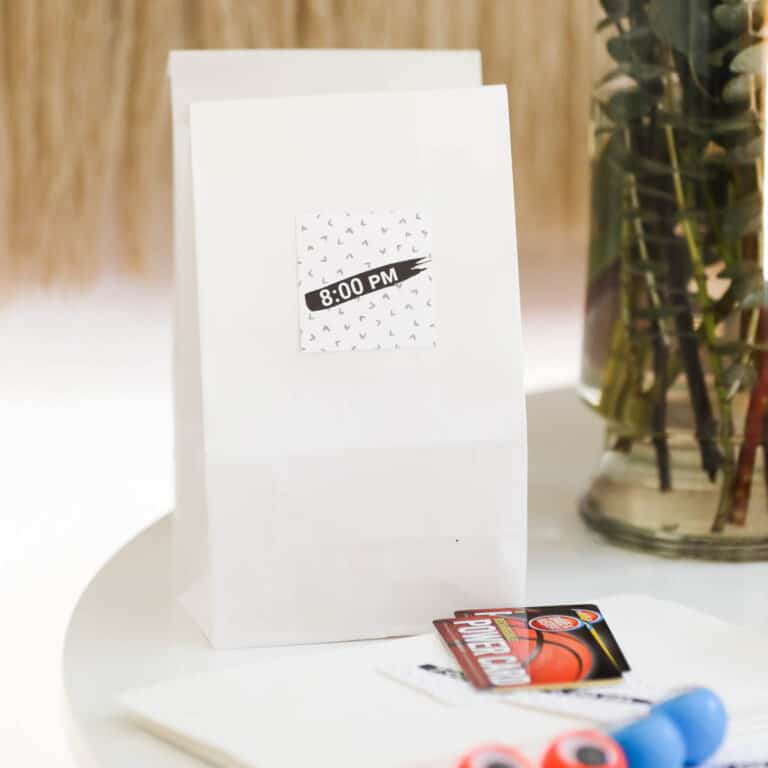
New Year’s Eve Countdown Bags for Kids (Surprise Bags)
How to Make a Reusable Cold Compress for Headaches Tutorial
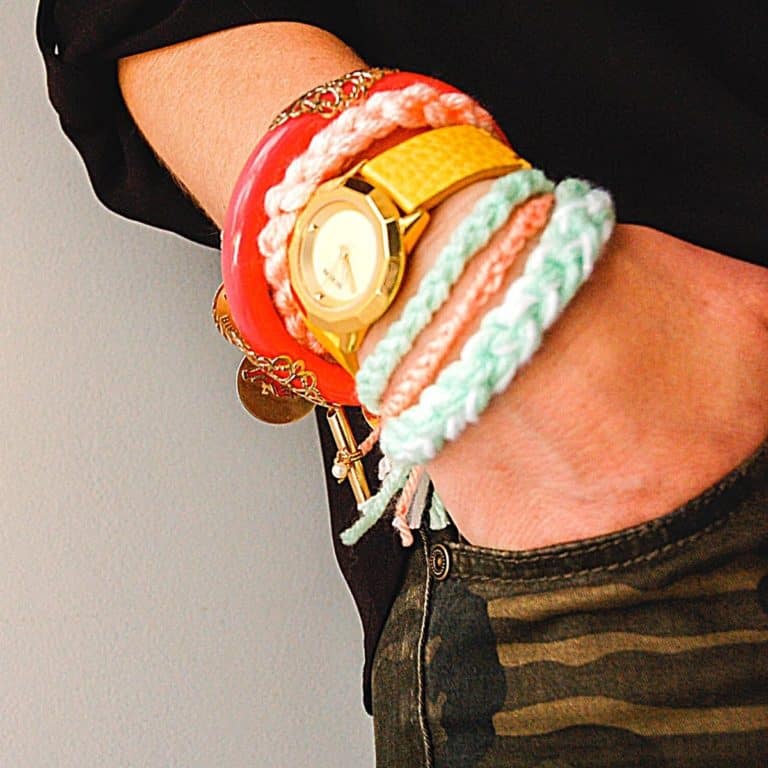
DIY Bracelets with Knotted Yarn
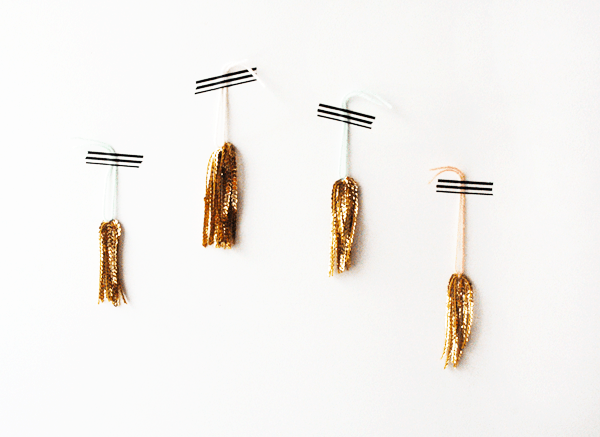
Sequin Tassel DIY
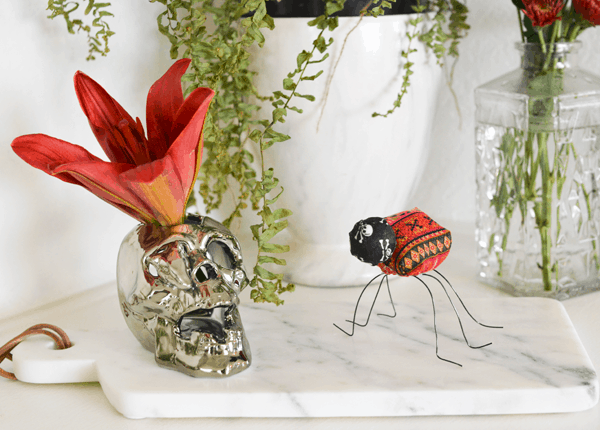
Cute Stuffed Fabric Bugs Craft for Halloween
Easy Vampire Teeth Halloween Mobile Decoration
Recipe Index
Cocktails
Christmas
New Years Eve
Subscribe
About
PRINTABLES SHOP
Facebook
Instagram
Pinterest