Panoramic Sugar Easter Eggs
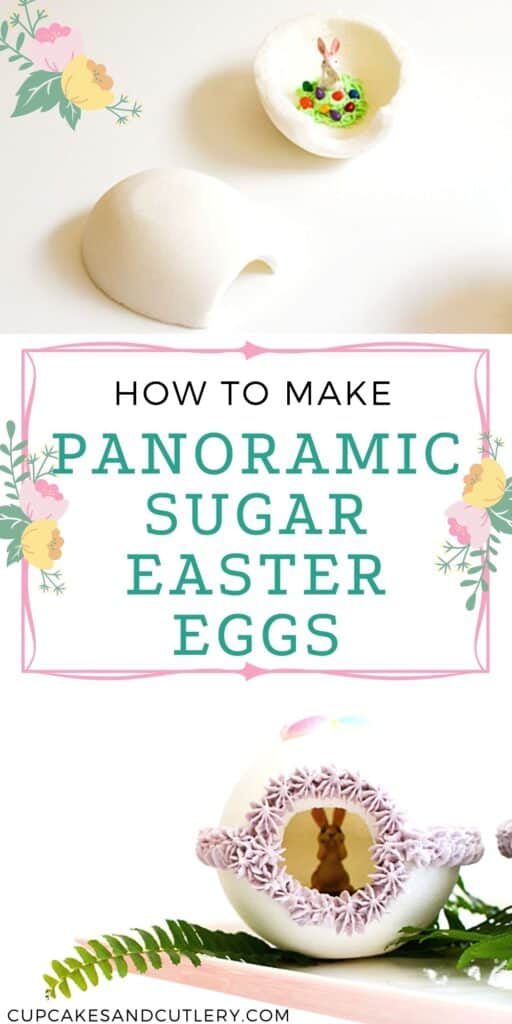


Panoramic Sugar Easter Eggs are a fun, old-fashioned activity to do with your kids at Easter. These decorated hard sugar eggs are meant to be displayed and fun to customize with little scenes using edible decorations and miniatures.
Why this tutorial works
These Panoramic Sugar Eggs for Easter aren’t the easiest things to make but they are super awesome.
With easy-to-follow instructions, this post will show you how to make sugar eggs to use as a centerpiece idea for your Easter brunch or as a holiday decoration.
Once the sugar has been molded and scooped out, the kids can take over and decorate their hearts out. It can be your Easter version of a Candy Bar Train or Gingerbread House.
There are a few supplies that you will need to plan ahead for, which are all linked below. And while I like to share my family’s traditions with you, you are free to infuse your own memories and ideas in this nostalgic craft.
What are Panoramic Sugar Eggs?
It’s hard to find any real information on the history of these cute Panoramic Easter Eggs but they seem to have been first created in Eastern Europe. And dang, panoramic sugar eggs are super cool.
They are hollow eggs made of molded sugar that have the center scooped out and have a diorama-like scene with miniatures inside.
Packing sugar and water into a sugar Easter egg mold creates a shell that hardens as it dries. Sitting upright or on their side, sugar eggs can be decorated on the inside and out.
These peek-a-boo eggs are a bit time-consuming and pretty fragile, but the end result looks totally elaborate, it makes the work worth it.
If you’re looking for something a little bit easier to do, try these Plastic Milk Jug Planters or No Sew Heart Pillows.
Note: Make sure you read through these directions before you decide to make panoramic sugar eggs as they need several hours of drying time to be sure the molded sugar sets up and hardens as much as possible.
Panoramic Sugar Egg Supplies
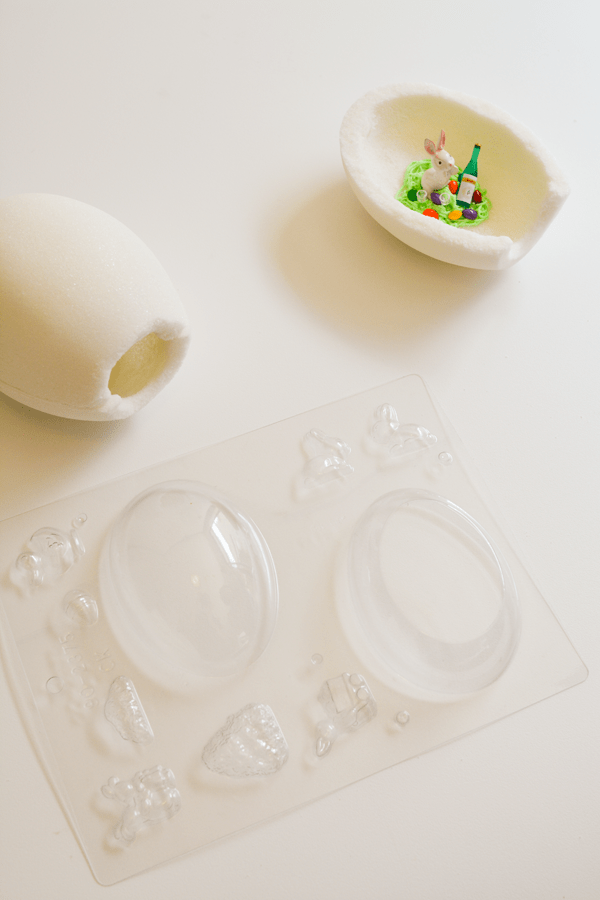
A sugar mold
To start, you want to make sure you have an egg mold to use. I found this mold on Amazon, but you can sometimes find them at cake stores or hobby stores. You could also use a large plastic egg container as long as it has two sides that can fit together.
Sugar
You’ll need lots of white sugar (about 6 cups) and some cold water (3 TBSP)to create the panoramic sugar egg form but it will depend on the size mold you use.
Decorating Supplies
You will also need Piping Bags and Tips to decorate the eggs and “glue” the two sides together.
You’ll need a spoon and butter knife to help scrape out the center of the hardened sugar. I also used a nail file to make sure the edges were nice and smooth where the two sides met.
Sugar decorations for the outside, like sugar flowers and sugar bunnies, add the perfect holiday touch.
Easter Miniatures plus dollhouse miniatures create fun scenes inside these panoramic sugar eggs. And Chocolate Covered Sunflowers Seeds look like little Easter eggs!
How to Make Panoramic Sugar Eggs for Easter
We made the eggs pink so it would be easier to show the first steps. I like making my panoramic eggs white so the decorations really stand out but you can totally make them any color you want.
Step 1: Make the Whole Sugar Egg
Put the white sugar in a bowl in a large bowl.
Add cold water to the sugar, a little at a time (start with a TBSP) and mix (by hand or with a spoon). You want the sugar to hold together when you squeeze it in your hand. Add more water (by the TBSP) as needed.
The water must be cold and added in small amounts so that it doesn’t dissolve the sugar.
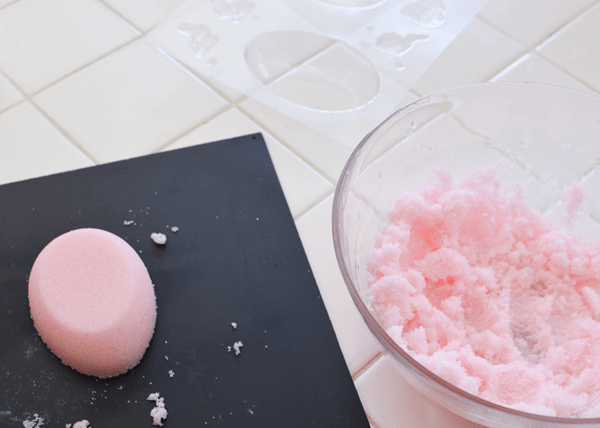
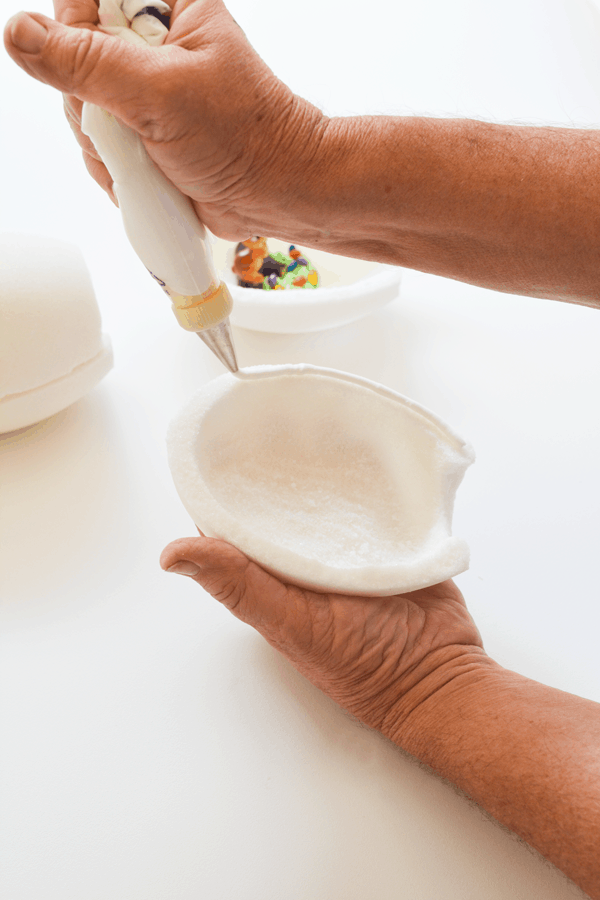
Once the consistency is right, pack the sugar into the mold, making sure the mold is filled completely full. Pack both sides of the egg container or mold, whichever you are using.
Use a knife to level the top so it’s smooth.
Invert the mold and carefully remove the egg.
Step 2: Hollow Out the Sugar Egg
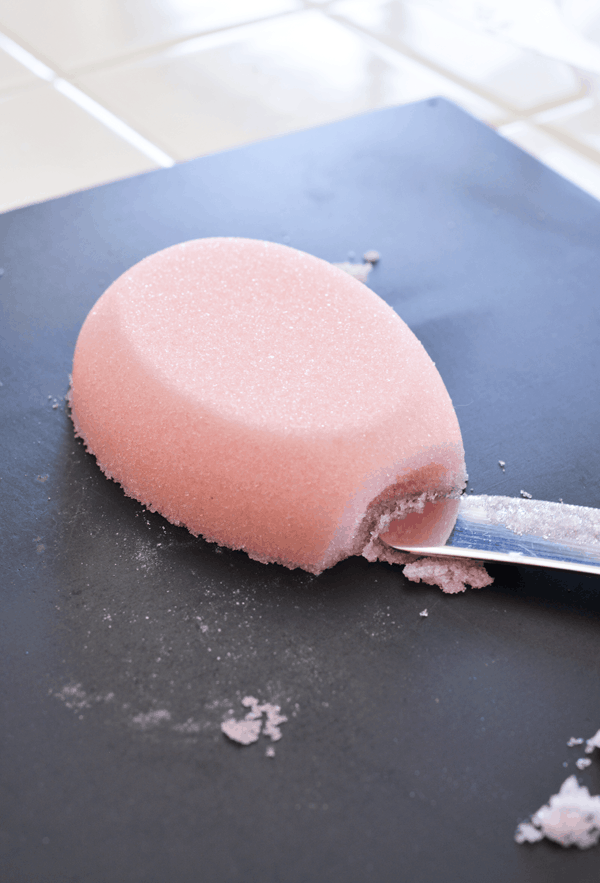
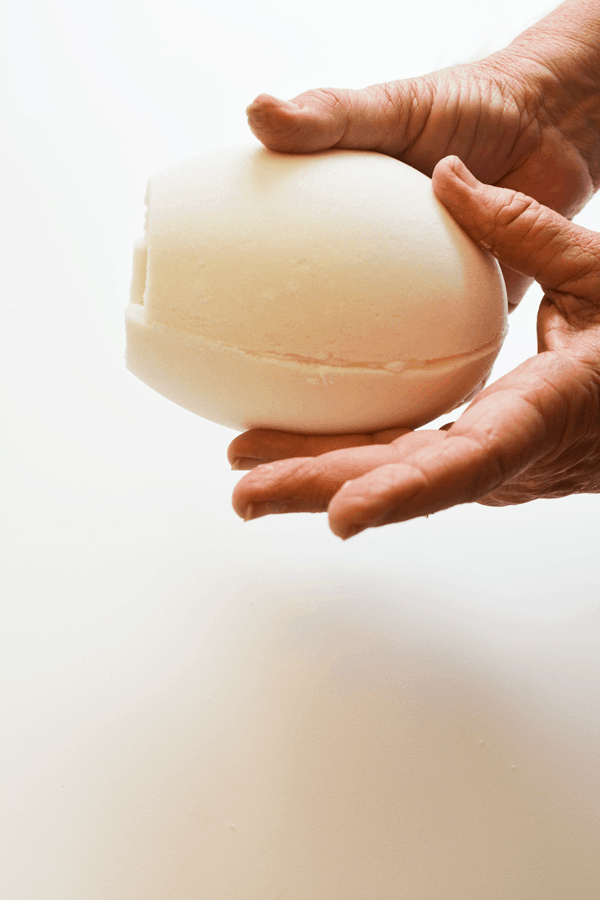
Cut the flat edge off that will be the front window to the panoramic Easter egg. As you can tell, this is a smaller mold and the window is pretty small. The real magic happens on the inside though.
Dig out a little section, which will help you get started scooping out the rest of the middle, later.
The eggs will need to set up for about 6 hours before scraping the rest.
After about 6 hours, the outside of the egg should be hard while the center is still a bit soft and can be scraped out. Do not wait too long, if the sugar hardens too much, they can’t be scraped.
As you can see from the image above, the mold I used gives one side of the egg a flat surface to it can sit steadily on a table. That will be the bottom side that you create the scene inside of.
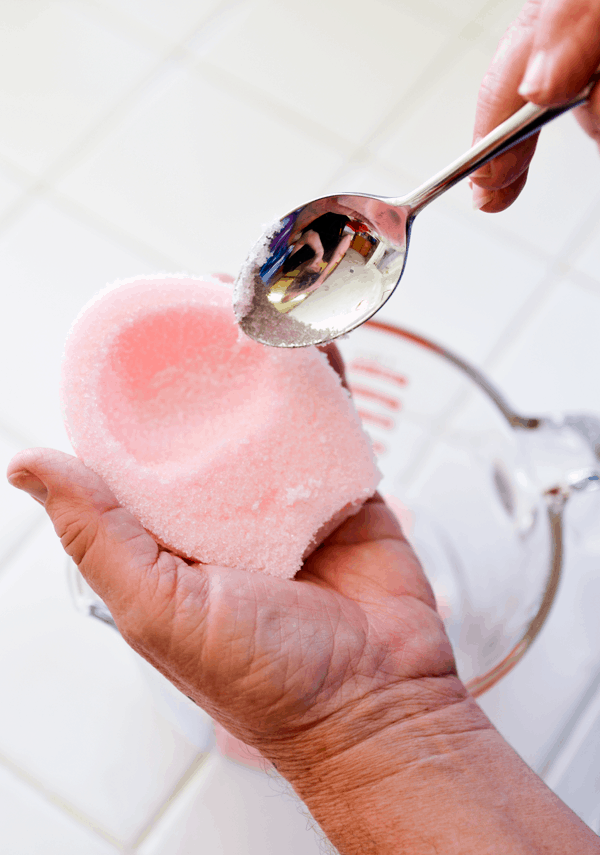
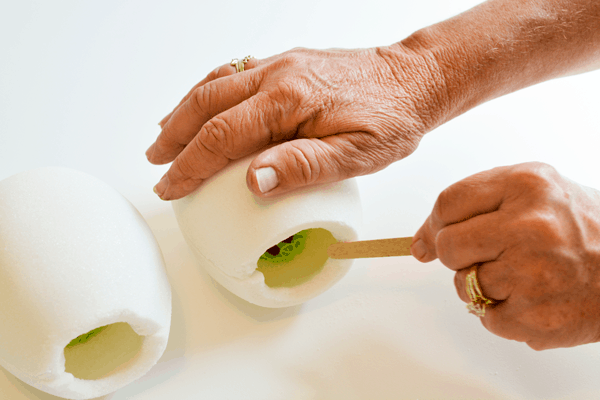
Using a spoon, scoop out the middle, leaving enough around the outside so that it doesn’t collapse (about 1/2 inches).
Do small sections at a time being extra careful near the front section, which you previously cut flat.
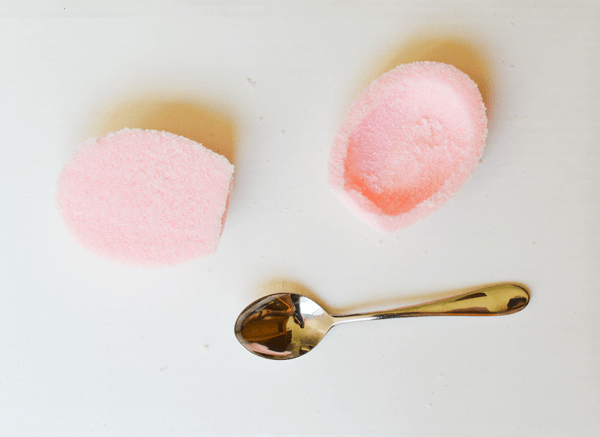
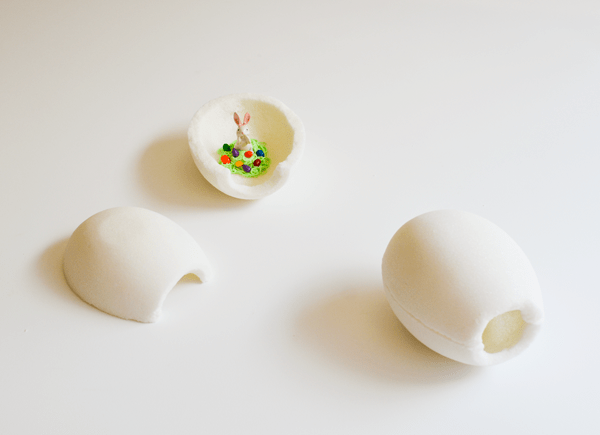
The egg on the right is scooped out and the other side is not.
Once it is all scooped out, let the eggs sit to harden for a day.
Step 3: Decorate the Inside of the Egg
Once the sugar eggs are hard, you can start getting really creative with them. I’ve switched to our white egg to decorate which is larger than the pink one we made as a demonstration.
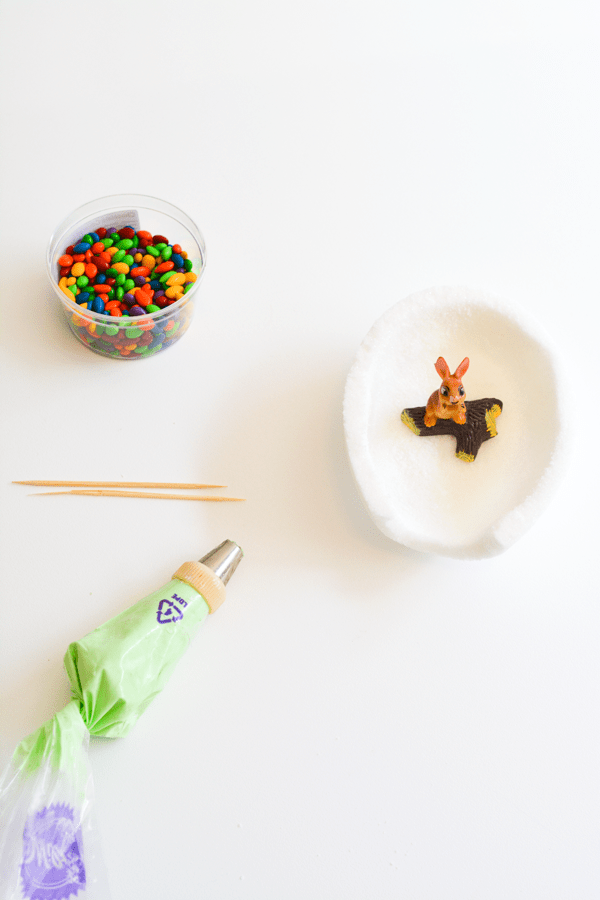
You will need miniatures, royal icing in various colors and bright candies to decorate with. Chocolate covered sunflower seeds are super cute and look like little decorated Easter eggs!
Just make sure the miniatures are short enough that you can put the other side of the egg on without interfering.
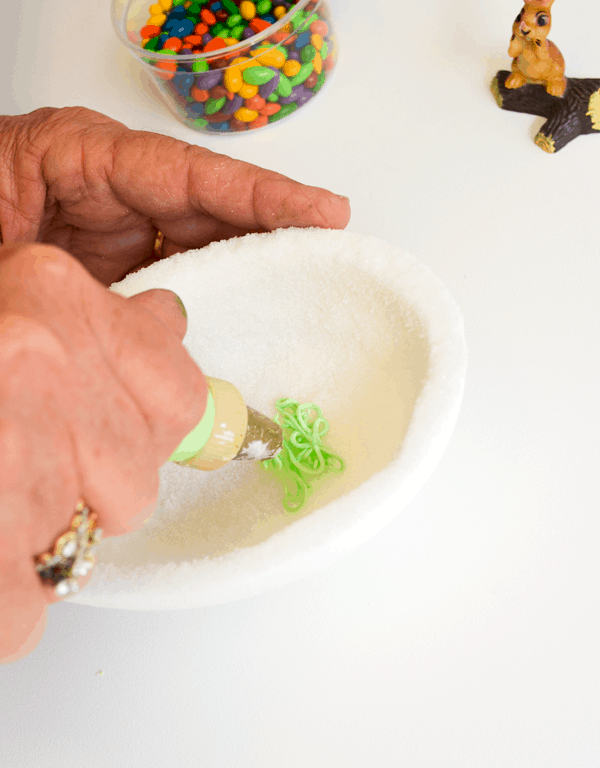
We added a little grass using green royal icing. The royal icing works, not only to hold the two sides of the egg together but also as the glue to hold the scene, with the miniatures and bunnies, inside the eggs.
If I was doing this myself, since I have no baking or decorating skills, I would color some coconut and use it for grass instead.
Make sure the flat side of the egg is sitting on the table as you decorate. You want the full, round egg part on top.
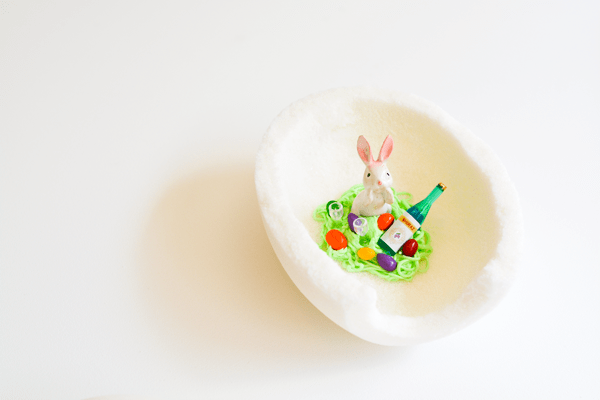
Oh hey there drunk bunny. I found this miniature wine bottle and glasses at the craft store and knew I had to pick it up.
I think it worked out pretty perfectly with this little bunny. Nothing says Jesus is risen like a bunny drinking wine. Amiright?
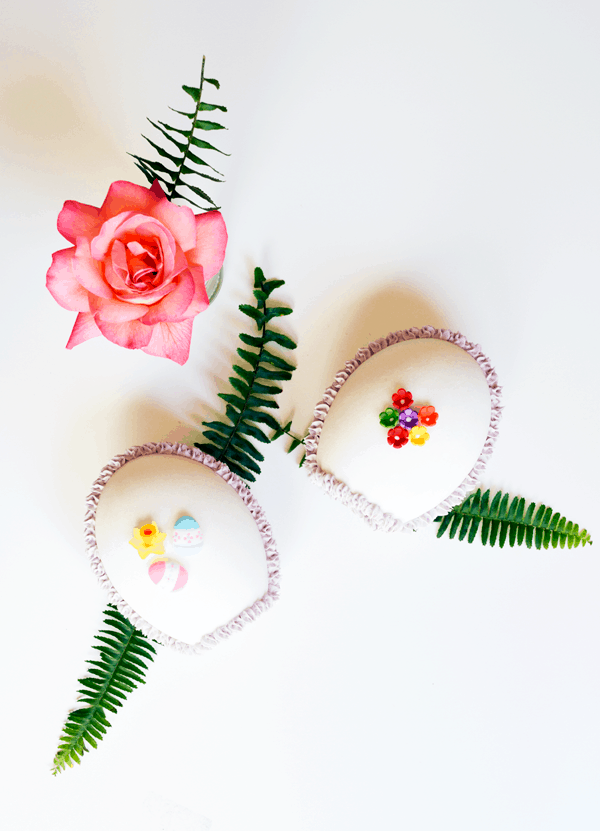
Step 4: Put the Egg Pieces Together
Once your scene is complete, you can then start to put your eggs together and decorate the outside.
Use royal icing to “glue” the two halves together. Run a nice ribbon of icing along one of the edges.
Try to match it up as close as possible. Don’t worry if it doesn’t match exactly. You’ll be able to hide the seam with piped icing.
You can use a nail file to file down the sugar and make the edges match up a little better. Just be careful! It’s fragile! And again, you can hide flaws with the icing.
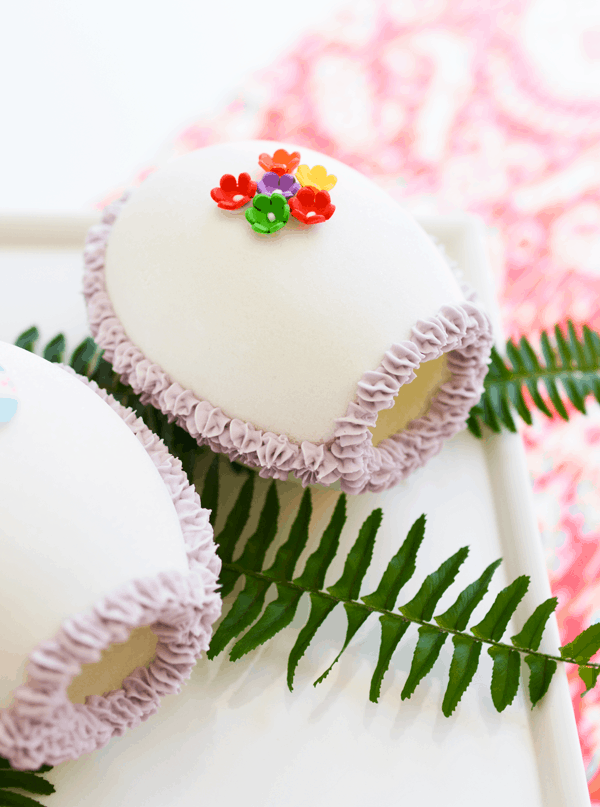
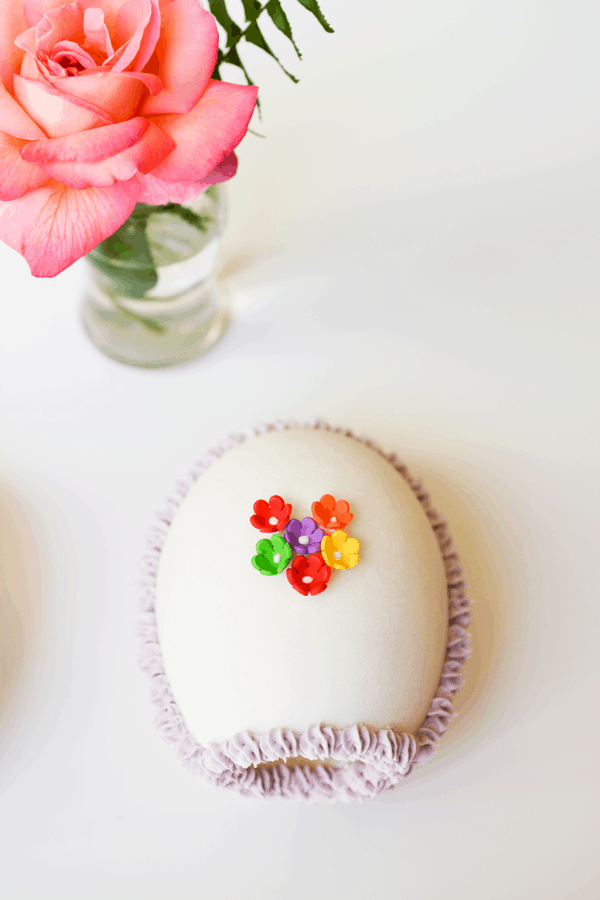
Step 5: Decorate the Outside
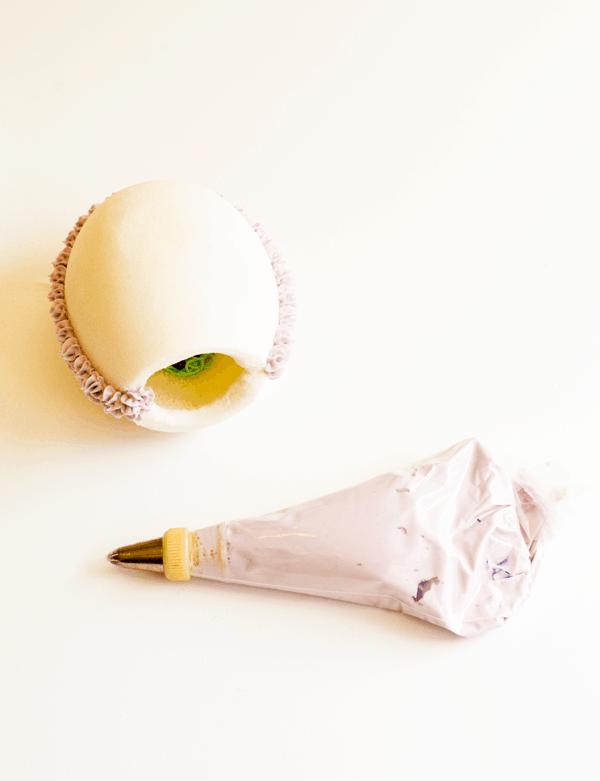
A simple star tip creates a decorative way to hide the seam. Wilton has an easy tutorial for How to Pipe a Star here.
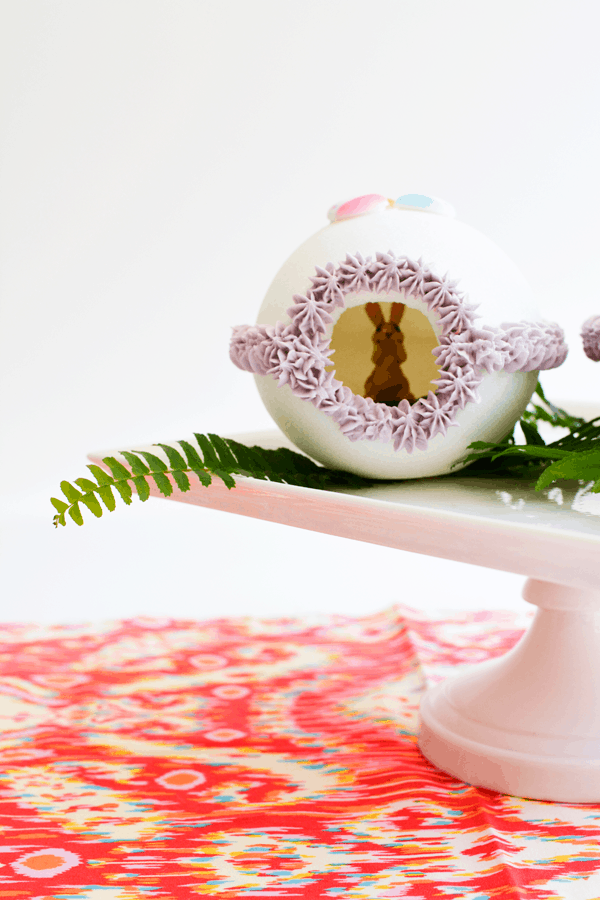
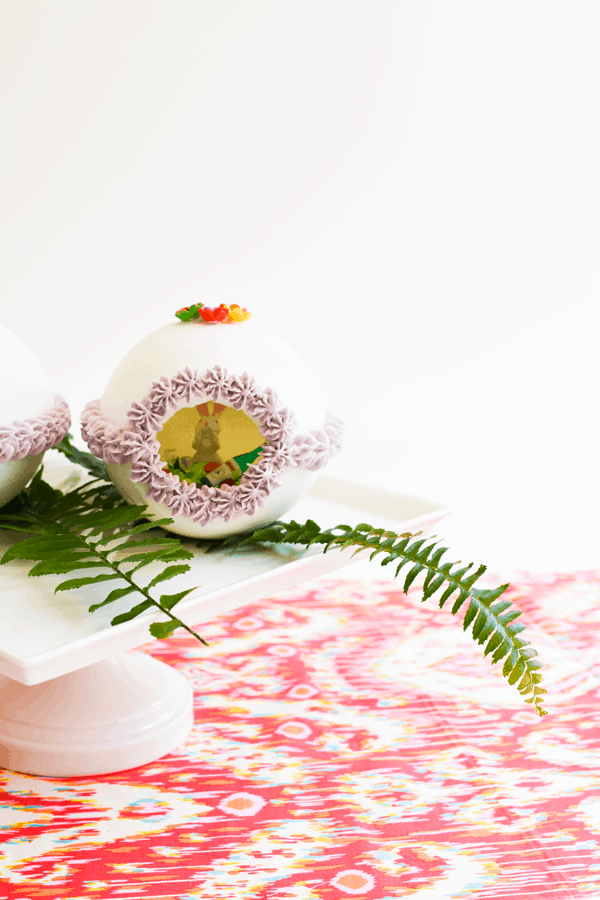
A little more icing around the front window and some sugar Easter decorations on top finish off the panoramic Sugar Eggs. Let the eggs sit for about half an hour for the icing to harden and then you can move them around your home wherever you need a decoration.
Step 6: Display the Eggs
Tips and Tricks
Here is a Royal Icing recipe you can use. You’ll need meringue powder and powdered sugar.
- You must use cold water with the sugar, in small amounts at a time so it doesn’t dissolve the sugar.
- To change things up, you can also stand them upright, and make a hole on the side instead of an end, which allows for more room for a scene inside.
- Still feeling a little unsure? Use this post to see if it helps explain things a little better.
- If you are using a smaller sugar egg mold, you won’t need to leave it to harden as long. You may only need to wait for 2 hours before you can scrape the center.
- Don’t want to mess with royal icing? You can use hot glue to adhere the miniatures and glue the two sides of the egg together.
- These will not work with just any frosting. Royal Icing hardens and holds things together really well.
- These may not work in high-humidity areas. The molded-sugar needs to dry out to harden and keep the egg shape. Humid temperatures could prevent this.
Frequently Asked Questions
Technically, these eggs are made from edible items. And your kids WILL ask to eat them. But I wouldn’t suggest it. The sugar is super hard from packing it together and your hands have been all over these. I think they are best suited for decoration.
You could potentially eat the edible decorations off the outside or the inside scene, but I’m sure it wouldn’t be as delicious as actual candy.
Wrap them with plastic wrap and keep in a box or air-tight container away from moisture.
Because the packed sugar and water dry hard, and royal icing is made to harden as well, you may be able to reuse these decorative eggs for multiple years. You would need to pack it carefully in an air-tight container somewhere that ants or rodents wouldn’t try to get to it.
They can be fragile so wrapping in paper or bubble wrap would be best. And it would be best to use decorations in place of candies which can break down over time.
It will depend on the size of the mold you use as to how many eggs can be made. You can reuse the sugar you scrape out of the center of one egg to make another one.
Where to Buy Sugar Easter Eggs With Scene Inside
If all of this sounds like too much work, you can also just buy one! Check out some ready-made sugar egg decorations.
There are a variety of Sugar Easter Eggs with scenes inside for sale on Etsy!
- This pink egg is a true classic.
- These personalized sugar Easter eggs are a great gift idea.
- I love how they used different color sugar to create almost a tie-dye effect for this sugar egg.
- These panoramic eggs are colorfully designed with stripes on top.
You can also find panoramic Easter eggs for sale on Amazon. Order soon to get them in time for Easter!
- These homemade Sugar Eggs are so cute!
- The decorations on these panoramic eggs are pretty elaborate!
These sugar eggs (they’re like a little Easter egg diorama) would be perfect for your Easter table or even as a spring centerpiece. Have you ever made these before? A BIG thank you to my mom for indulging me in this post and helping me to make the eggs!
More Easter posts
Panoramic Sugar Eggs
Equipment
- Sugar Egg mold
Ingredients
- 6 cups white sugar
- 3 TBSP water
- food coloring optional
- royal icing
Instructions
- Purchase an egg mold.
To make a sugar egg
- Add white sugar to a large bowl. Start by adding 1 TBSP of cold water at a time, stirring with a spoon or your hands before adding more water. It should hold together when you squeeze it in your hand.
- Pack the sugar into the mold filling the entire egg cavity. Use a knife to level off the top so it's flat and smooth.
- Invert the mold to remove the egg.
- Cut a flat edge on the end that will be the front window to the panoramic Easter egg.
- Carefully dig out a small section in the middle, which will help you scooping out the rest of the egg later.
- Let sit to dry for about 6 hours. The exterior will harden while the center should remain pliable so you are able to scoop it out.
- After the 6 hours, scoop out the middle, leaving about 1/2 inch of shell around the outside. Make sure you don't get it too thin or it could collapse.
- The sugar will start to get harder the closer you get to the center and you may need to use a little pick or toothpick to help get through it. (A spoon might be a little too much force.)
- Once you have the eggs scooped out, let them dry overnight to harden.
Create a scene
- Once dry, you can decorate the scene inside. Use colored royal icing or green coconut as grass. Use miniature Easter figures and candies.
- Arrange the scene inside the egg with the flat bottom that is meant to sit flat on a table.
- Let any royal icing that is meant to hold decorations in place dry completely.
To put the egg together
- Use royal icing to “glue” the two halves of the eggs together. Use a small ribbon of icing around the perimeter of one of the egg halves. Try to match that side up with the other side as close as possible. Don’t worry if it doesn’t match exactly. You’ll be able to hide the seam with piped icing.
- You can use a nail file to file down any spots where the edges don't up or there is some overhang.
- Use a star piping tip with royal icing to decorate over the seem around the center of the egg. Add more stars to the egg opening to give it a finished look.
- Continue decorating the panoramic sugar eggs with other edible and Easter decorations.
Notes
- You must use cold water with the sugar, in small amounts at a time so it doesn’t dissolve the sugar.
- To change things up, you can also stand them upright, and make a hole on the side instead of an end, which allows for more room for a scene inside.
- Still feeling a little unsure? Use this post to see if it helps explain things a little better.
- If you are using a smaller sugar egg mold, you won’t need to leave it to harden as long. You may only need to wait for 2 hours before you can scrape the center.
- Don’t want to mess with royal icing? You can use hot glue to adhere the miniatures and glue the two sides of the egg together.
- These will not work with just any frosting. Royal Icing hardens and holds things together really well.
- These may not work in high-humidity areas. The molded-sugar needs to dry out to harden and keep the egg shape. Humid temperatures could prevent this.