Sequin Tassel DIY
These easy sequin tassels are a fun and glitzy party decoration that are ready in just minutes. With a short list of supplies and some quick steps that are perfect to do while watching TV, this fun party decoration is one you need to try.

My kids practically have to drag me out of the upholstery area of the craft store since I always want to see what their tassel selection looks like. I had this huge spool of gold sequin trim just hanging out (with everything else) in my garage and knew I wanted to make something with it.
Long story short, here’s a sequin tassel DIY. I made these as flair for my balloon Valentine’s but they can be used in so many other ways!
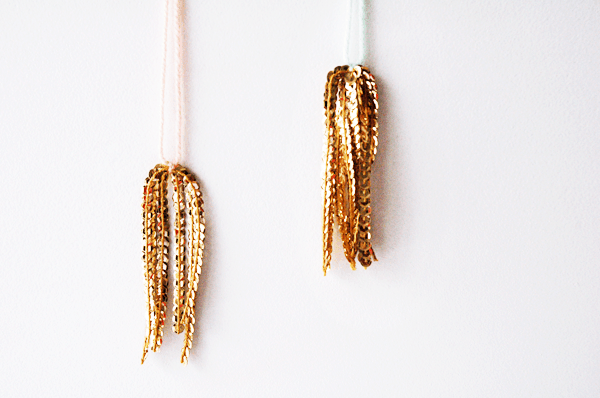
This sequin tassel is a little bit looser than a normal tassel. They remind me of a stunning, sparkly waterfall… And that they don’t require you to wrap things tight around your hand so it gets stuck and you feel like a nerd trying to get it loose. Or maybe I just always do it wrong…The way I did this tutorial, you make two at a time. Super, right?! These are a simple and fast craft idea! You definitely don’t need to slave over these.

The main supply that you might need to order for this craft is the Gold Metallic Sequin Trim I. picked mine up at Paper Mart (hey Orange County – their warehouse is in Orange and you can will call your orders. HUGE! Your welcome.) Then you just need yarn or string to tie them off and scissors. Nothing complicated about this.
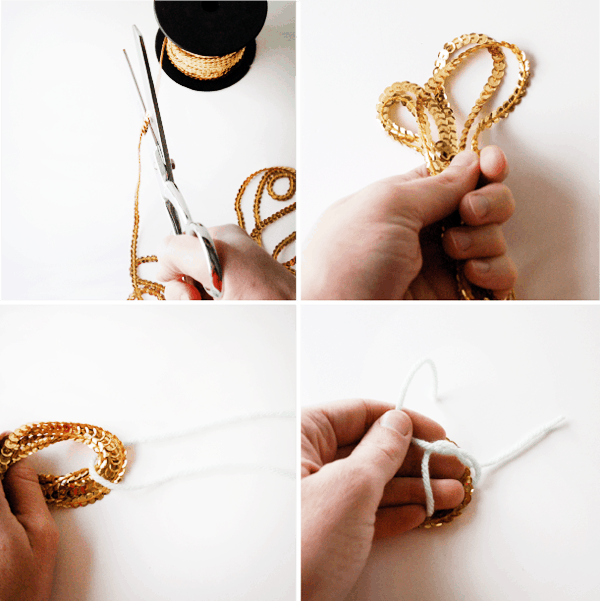
There are no measurements for this. Wing it. You will need to cut of a length of the trim. Loop it about 4-5 times. Pull the yarn through the sequin loops on one side and tie a knot. See, I told you this tassel tutorial was easy!
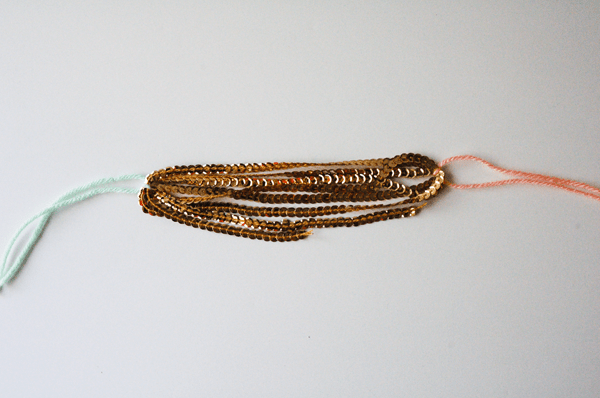
Do the same thing on the other end. Or don’t. If you want to do just one long tassel, you would cut the loops and then trim up the ends so they are even. But why wouldn’t you make two at a time?! It’s perfect for lazy crafters like me.
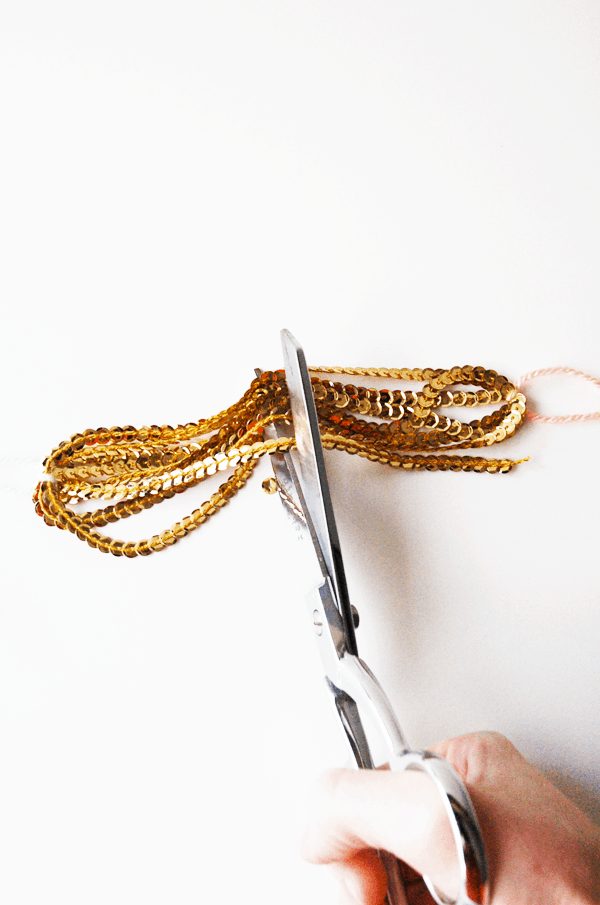
If you do want two, cut them apart in the middle. Duh.

Super easy. Super sparkly. Super fun.
How would you use these sequin tassels?
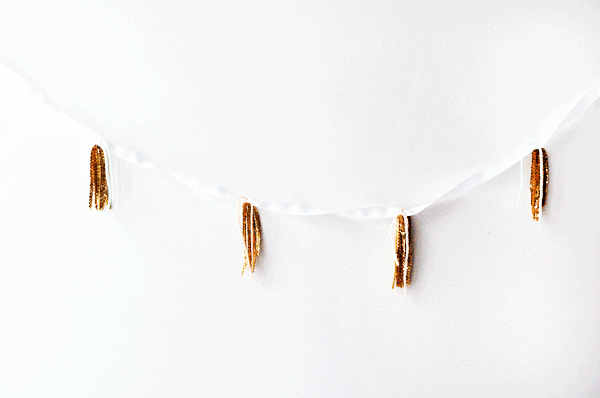
You can even make them in to a tassel garland. This one is totally whack but sometimes that is just how my crafts go. I was too lazy to dig around my garage for the perfect thing to hang them from. But you can see the potential and if you are so inclined, make it better. I also like things messy so I like the pop of color from the yarn ends. Feel free to trim it off if it offends you. Who knew a sequin tassel DIY could be so easy!
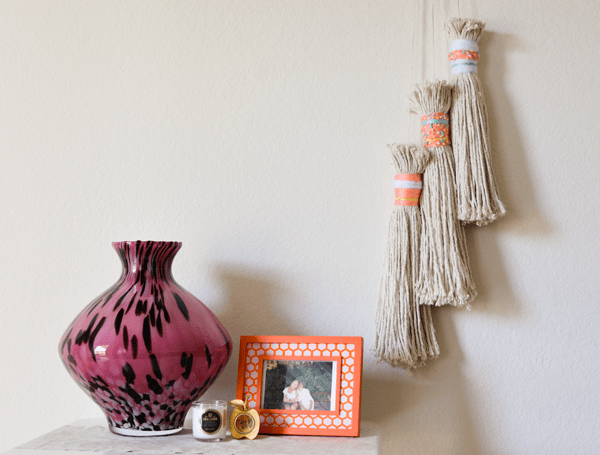
Love tassels? Don’t forget to check out these EXTRA large tassels made from mop heads!
Want more simple ideas?! Check out my Pinterest board!
This post was originally published February, 2013
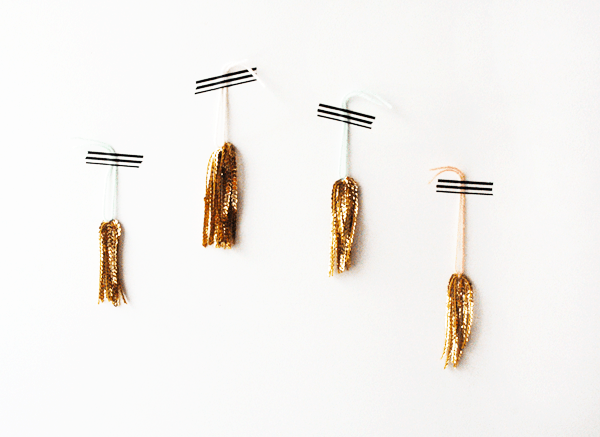
I agree with Lauren. They look awesome all taped up on the wall.
i like them taped on the wall! it’s the new garland ;)
Totally, Lauren! Who needs a pesky string?!