Skip to content
Grab a copy of my
GATHER AT HOME GUIDE
!
Contact
Instagram
Facebook
Pinterest
PRINTABLES SHOP
Recipe Index
Christmas
New Years Eve
Cocktails
About
Search for:
Search
Toggle Menu
Search for:
Search
Home
»
tutorial
tutorial
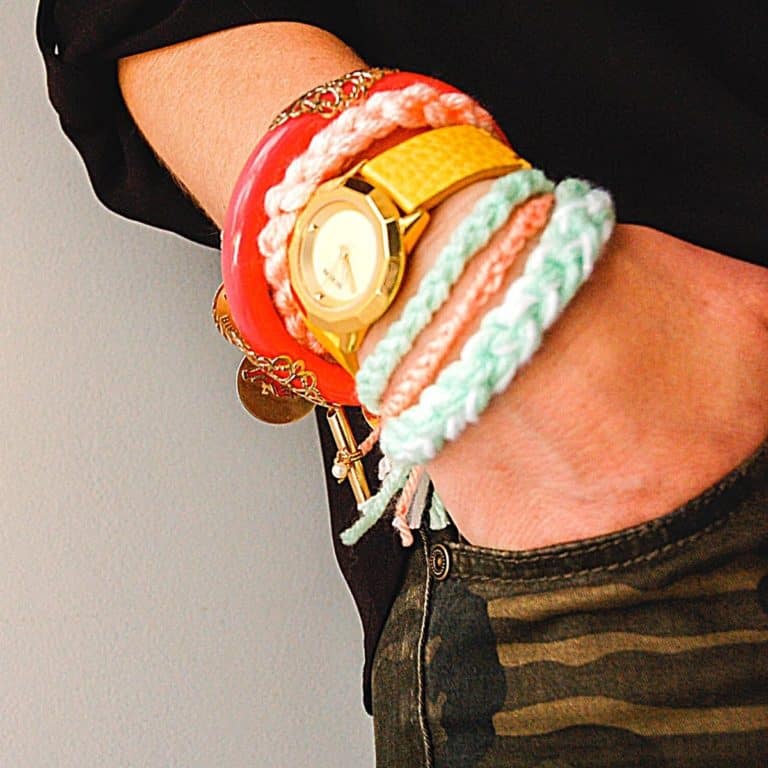
DIY Bracelets with Knotted Yarn
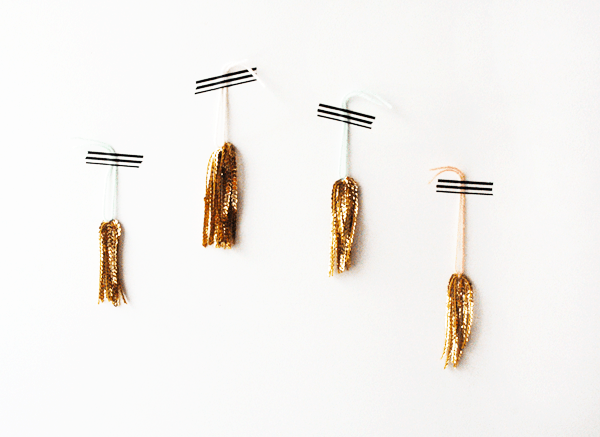
Sequin Tassel DIY
Recipe Index
Cocktails
Christmas
New Years Eve
Subscribe
About
PRINTABLES SHOP
Facebook
Instagram
Pinterest
Rate This Recipe
Your vote:
Name *
Email *