DIY Ruffled Plastic Streamers From A Plastic Tablecloth
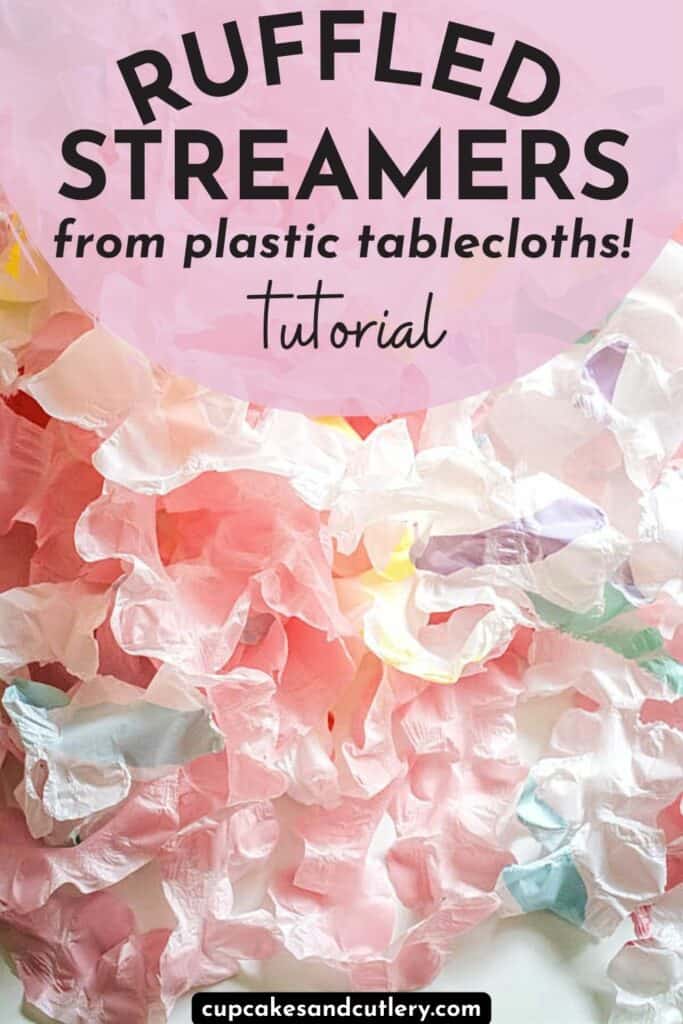
Looking for some easy and cute party decorations? These DIY Ruffled Plastic Streamers are the BEST! Grab a plastic tablecloth and make a bunch of inexpensive streamers to add pizzaz to any party theme.
If you love entertaining at home, you’ll love this simple idea.
A Cheap Party Decoration to Make at Home
These homemade party streamers are super inexpensive and add tons of color and texture to your party decor!
When my kids were younger, I used to LOVE throwing big parties! I would get crazy with decorations and DIY tons of projects.
I loved my parties to have a big visual impact but I also wanted things to be inexpensive.
And then I figured out that I could make ruffled plastic streamers from cheap disposable tablecloths!
This tutorial is YEARS old and the photography is not super great, so just bear with me. The photo above is a newer photo of the tablecloth streamers.
Why This Tutorial Works
It’s just a meeting if there aren’t party streamers, am I right?!
I LOVE using these streamers to decorate. These are really light and easy to hang with a little bit of washi or masking tape.
They are a great way to make a party look festive without much effort which is awesome! (Just like using big balloons).
Because plastic tablecloths come in so many colors and patterns, you can make these work for any party color scheme.
These plastic party streamers add a little bit of texture which I love. And they don’t show flaws that may happen during the DIY process.
If you tear one a little too much, no one can see it! Unless they were inspecting each inch of each streamer.
Related: The Best Places Online to Buy Party Supplies
Which would be odd. And you should probably ask them to leave your party.
So with just a cheap plastic tablecloth (around $2.50), you can create bunches of them. I estimate you can get about 15 long plastic streamers out of one tablecloth.
These ruffles can be made quickly so they’re great for last-minute celebrations (like when they spring teacher appreciation decorating on you the night before…).
Supplies
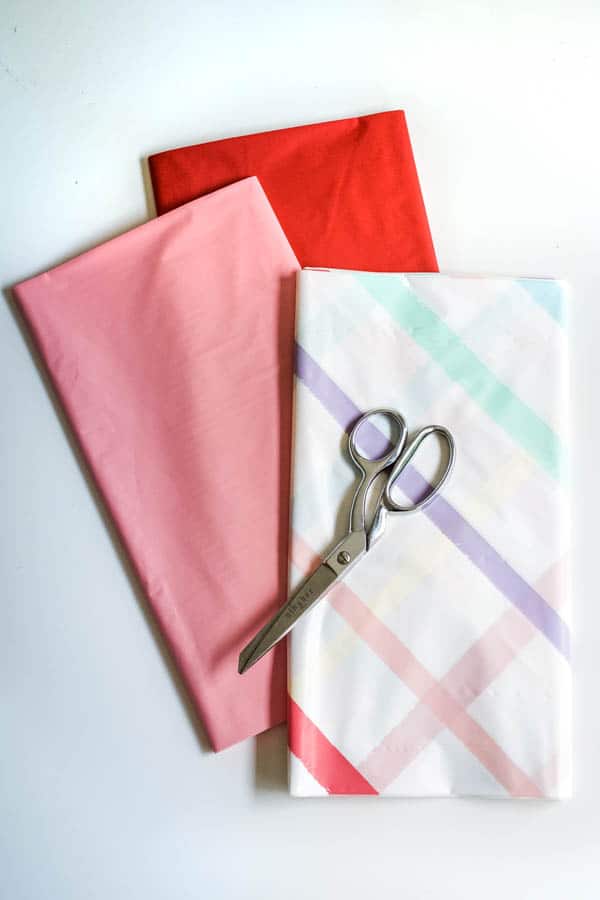
- at least one plastic tablecloth
- rotary cutter
- cutting mat
- ruler
Ok, you don’t HAVE to have a rotary cutter I guess but it sure makes it super easy.
In the video above, I used scissors and it worked fine. There’s no need to make a super straight line since the edges will be ruffled.
But if you are super type-A, especially when it comes to crafts, use the rotary cutter.
How to Make Plastic Streamers

These instructions sound more difficult than it really is. If you get confused, review the images in the post or watch my tutorial video on YouTube.
(Somehow the link already gets broken when I try to share but you can get to my YouTube page by clicking on the 3 horitzontal lines at the top left and then click the YouTube icon farthest to the right.
Step 1
Do not fully unfold the tablecloth once you take it out of the package.
Find the side with the free ends of the tablecloth, not the fold, and cut a strip approximately 2″ wide.
Cut as many strips as you want/need.
By leaving the tablecloth folded up, you are able to cut through multiple layers at once.
This means you will cut more ruffle strips at one time and be able to keep the edges relatively straight.
You should get a strip with two free edges but depending on how the tablecloth is folded, you may end up with a super wide strip with a fold in the middle.
Just cut down the fold to make two separate strips.
I make this sound so confusing, but I promise it’s so simple. Watch the video in this post if you haven’t already.
Step 2
Separate the strips that you cut.
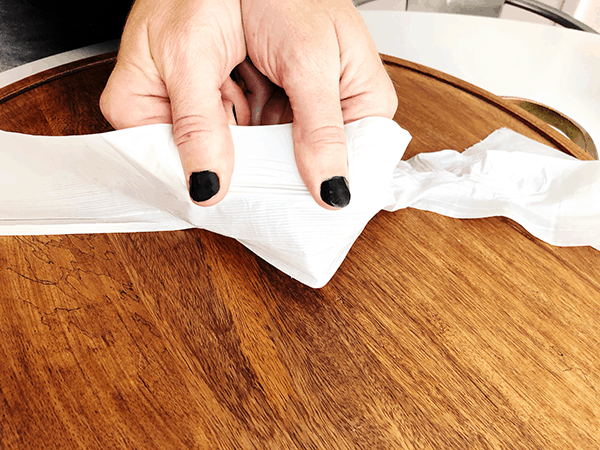
Start at one end of the strip and hold the side edge of the plastic in both hands, between your thumb and pointer fingers (see image above).
The warping motion is kind of two motions in one, you’ll pull your thumbs gently away from each other while at the same time rolling your pointer fingers toward your body and up. (see video)
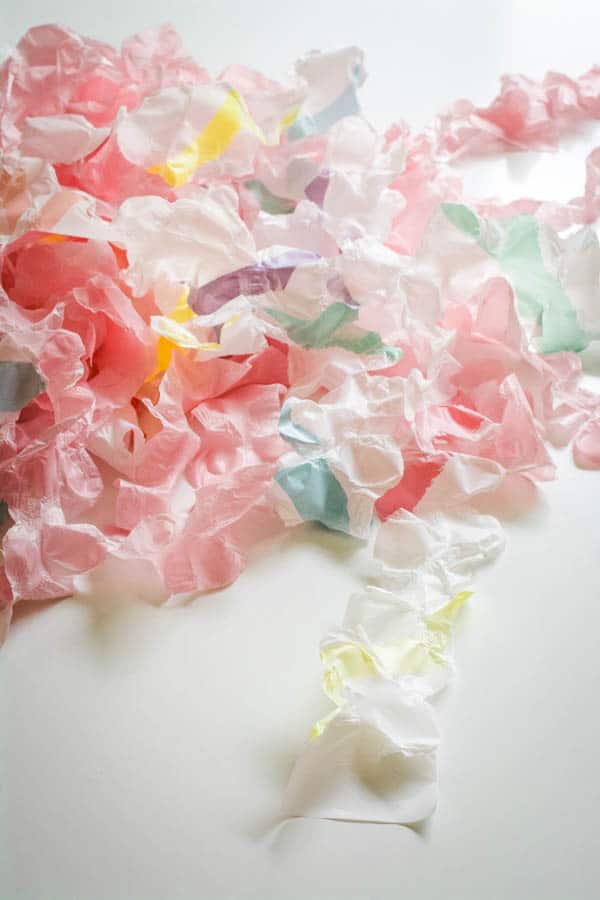
Continue down the length of the plastic strips until the whole side is ruffled.
Step 3
Then flip it over and do the other side.
You can fold the strip/s in half (long ways) so you have several layers of plastic to warp at once and you can do both edges at once. It makes it quicker and makes it harder to rip them.
I prefer to do 2 layers at a time, but you still can tear it pretty easily if you pull too hard. But of course, you could do just one plastic streamer at a time too.
I tried this with 4 layers of plastic and you have to pull pretty hard. I wouldn’t do more than 4 layers at once.
If you do several layers of plastic at once, it works best to keep the strip close to a table so it stays in line and you don’t have to stop and keep readjusting it.
When I made the video, I was hovering above a table and it was hard to keep it controlled.
But this might just be the world’s most forgiving DIY party decoration so you really don’t’ need to worry about doing anything wrong.
Also, you WILL tear the plastic a few times. As long as you haven’t torn it clear through to the other side, you don’t need to worry about it.
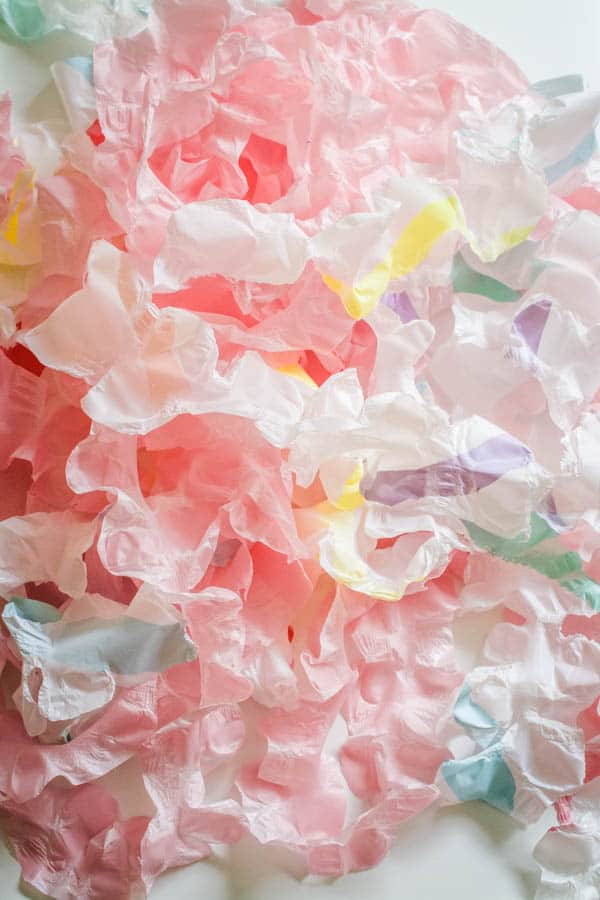
The tears kind of look like ruffles too so they blend in easily.
I wouldn’t point the tears out to my party guests but I would totally still use the garland.
If it does tear all the way through, you can easily knot the two pieces together.
I just trimmed the ends of the knot down so they didn’t stick out and it blended right in with the rest of the plastic streamers.
Warning: If you make a ton of these, just know you may give yourself a blister…
But they go away pretty quickly. And what is a little pain for the cutest party streamers ever? ;)
These plastic tablecloth streamers are an easy DIY party decoration that you can make while watching TV.
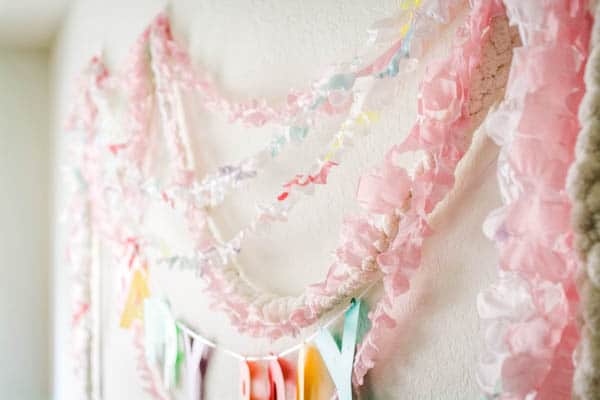
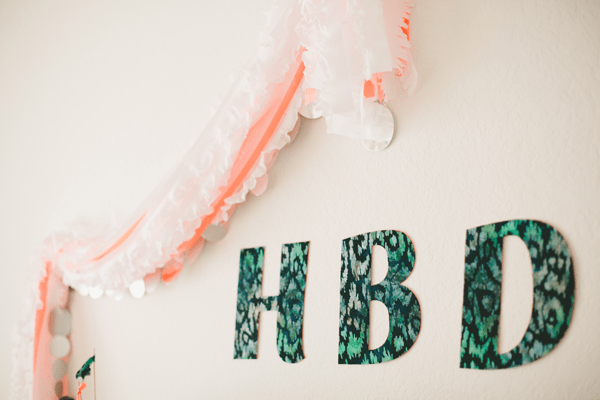
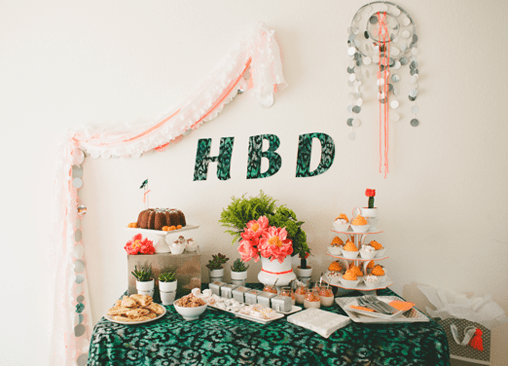
I hung a few of the finished plastic party streamers up, along with my easy knotted yarn garland, for a quick party look so you can see how fun they are.
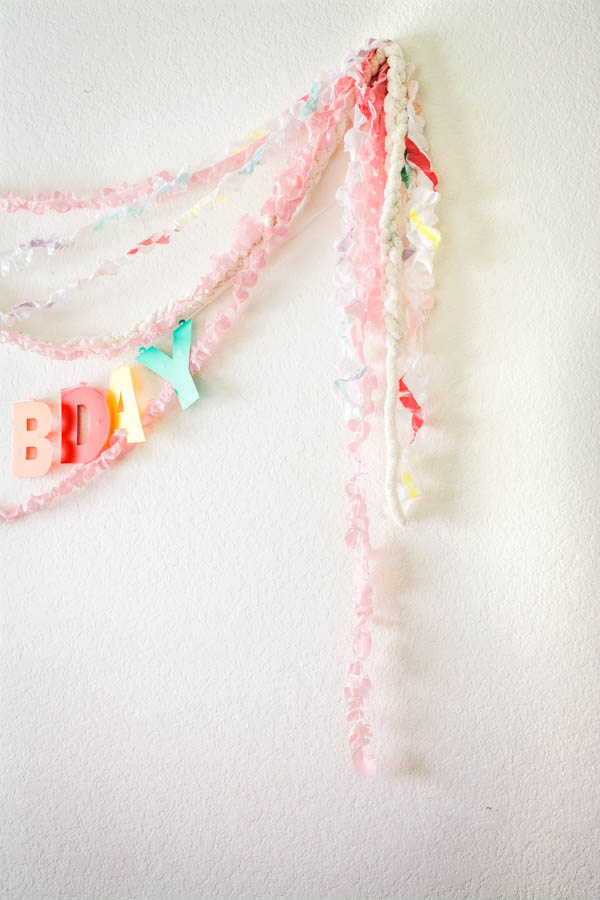
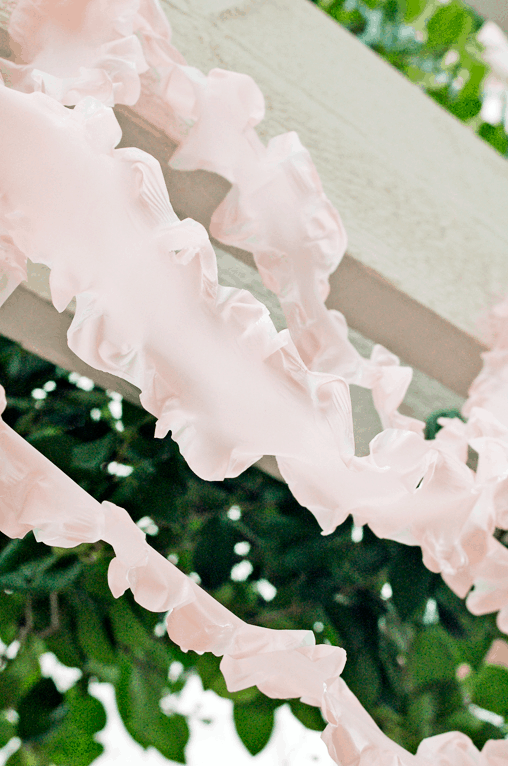
Because these are made from plastic tablecloths, they are perfect for outdoor parties!
And they absolutely won’t fall apart in a little moisture like paper streamers would. And if they get wet, the color won’t run.
How to Hang Plastic Streamers
When I used the plastic streamers outside, I put them up with a staple gun.
When I use them inside, just a little tape is all you need!
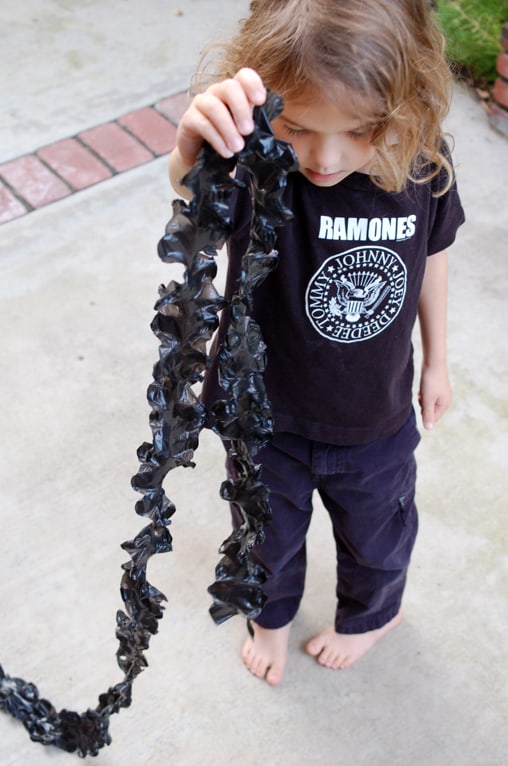
I also wanted to see if you could make them with trash bags. And you totally can!
Black utility trash bags are a little bit shiney whic adds a nice touch and they ruffle really easily.
What I like most about this plastic streamers DIY is that they are really cheap to make but look super cute. They make a great wall decoration behind a food table or as a photo booth backdrop.
I’ve had people email me to tell me they used them as plastic seaweed for underwater themed parties. So get creative and use these for all kinds of parties!
Tips
- This ruffle technique also works on the edge of a full plastic tablecloth. It adds a super girly ruffly touch.
- You can also skip this ruffling technique and use plastic tablecloth streamers to make other party decorations like tassels, photo booth backdrops and so much more.
Love it and very creative! Going to use this for our spring fling dance!!! Thank you so much!
I love this, thanks so much for posting !
I’m so glad you like it!
nice blog! do you want to purchase the velvet table cloths? get the super quality table linens at wholesale prices.
Soooo cute! Great idea, thank you! I love your little comments during the video.
I used this tutorial to make my daughter’s jellyfish costume by hanging these from an umbrella. Thanks so much for posting, it turned out perfect and saved me alot of $ instead of buying expensive ribbon!
That’s so awesome! I’m so glad that you were able to save money and make something super cute!!! Do you have a photo??