Skip to content
Grab a copy of my
GATHER AT HOME GUIDE
!
Contact
Instagram
Facebook
Pinterest
PRINTABLES SHOP
Recipe Index
Christmas
New Years Eve
Cocktails
About
Search for:
Search
Toggle Menu
Search for:
Search
Home
»
Party Food
Party Food
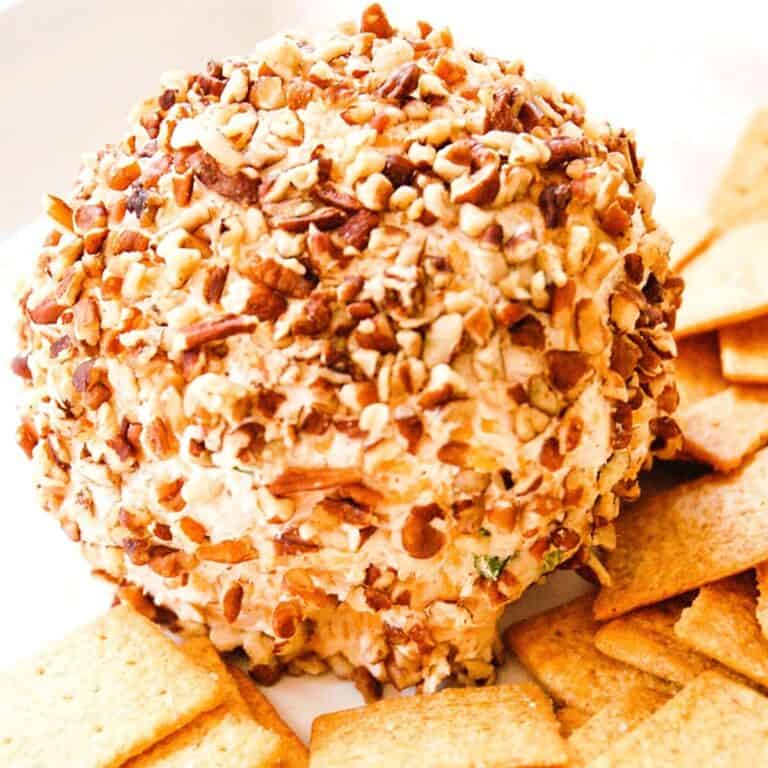
The Best Blue Cheese Cheese Ball Recipe Ever
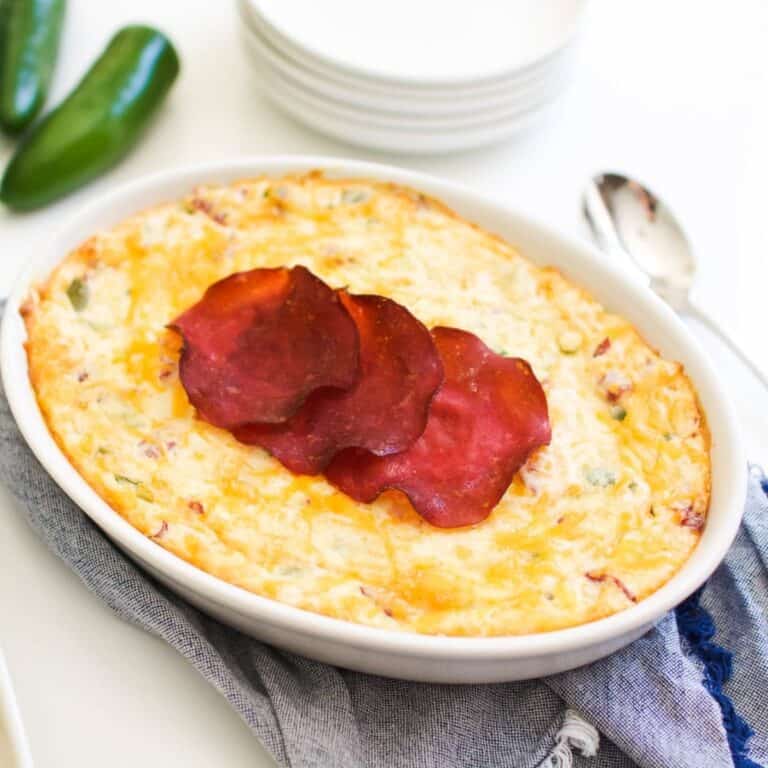
Jalapeno Cream Cheese Dip Recipe with Dried Beef
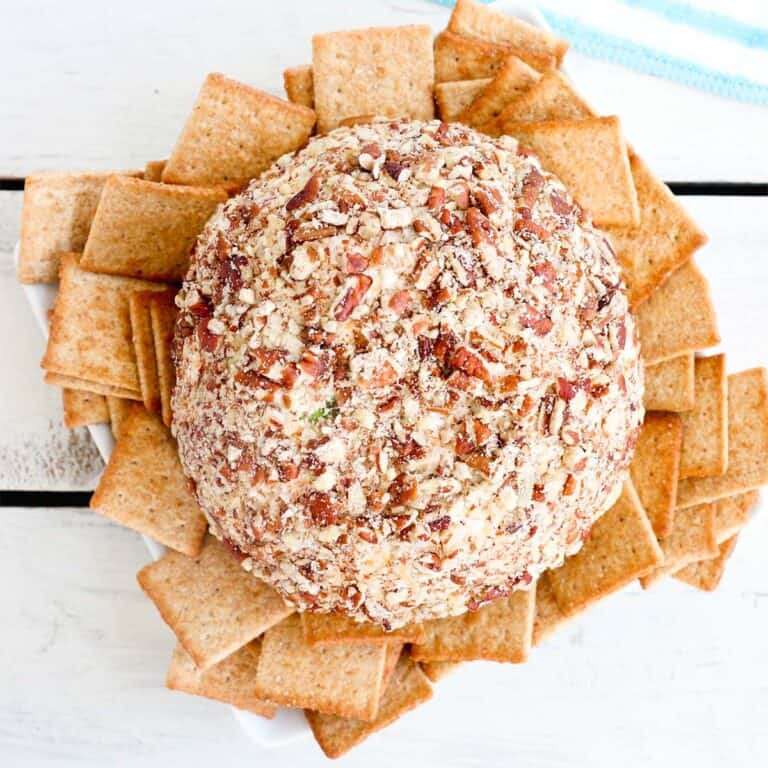
Chicken Cheese Ball
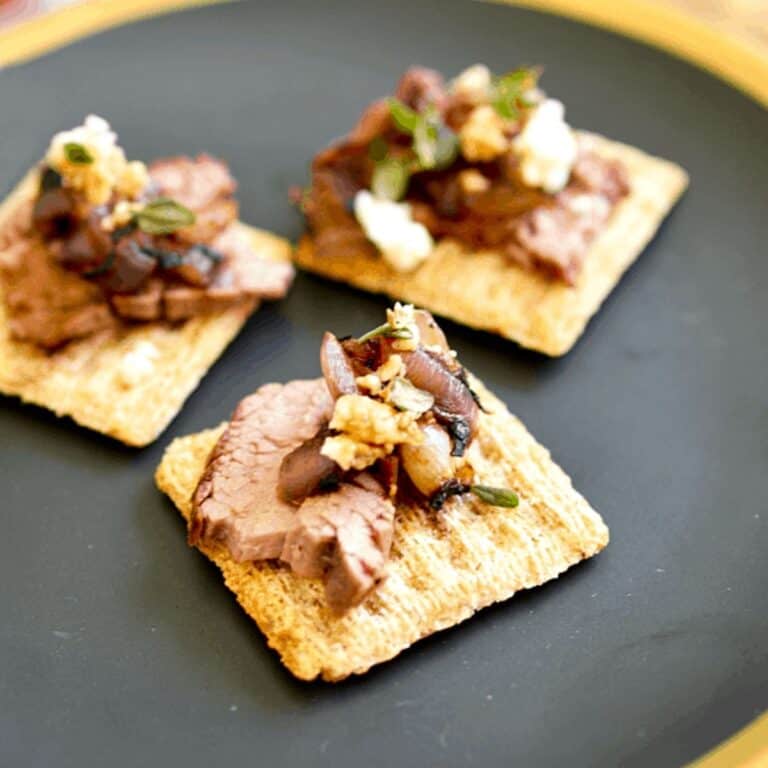
Steak Appetizer Recipe with Blue Cheese (Triscuit Appetizer)
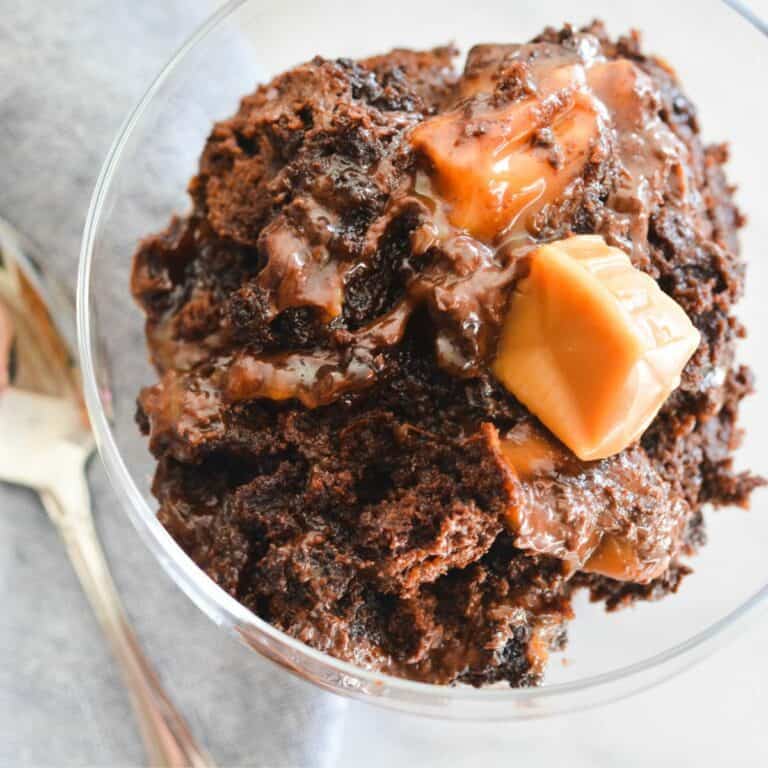
Gooey Chocolate Caramel Dump Cake Recipe
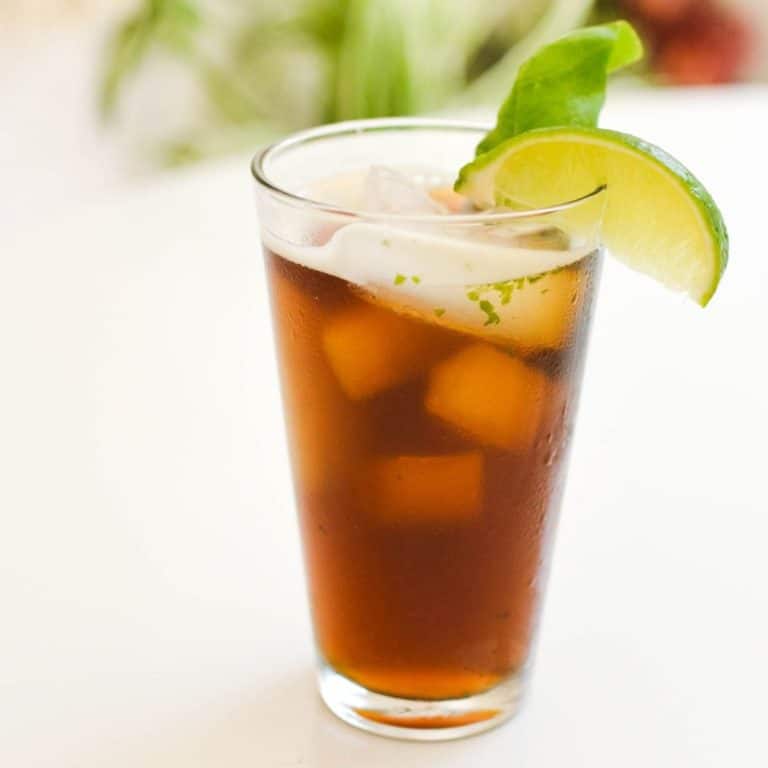
Shaken Basil Iced Tea Recipe
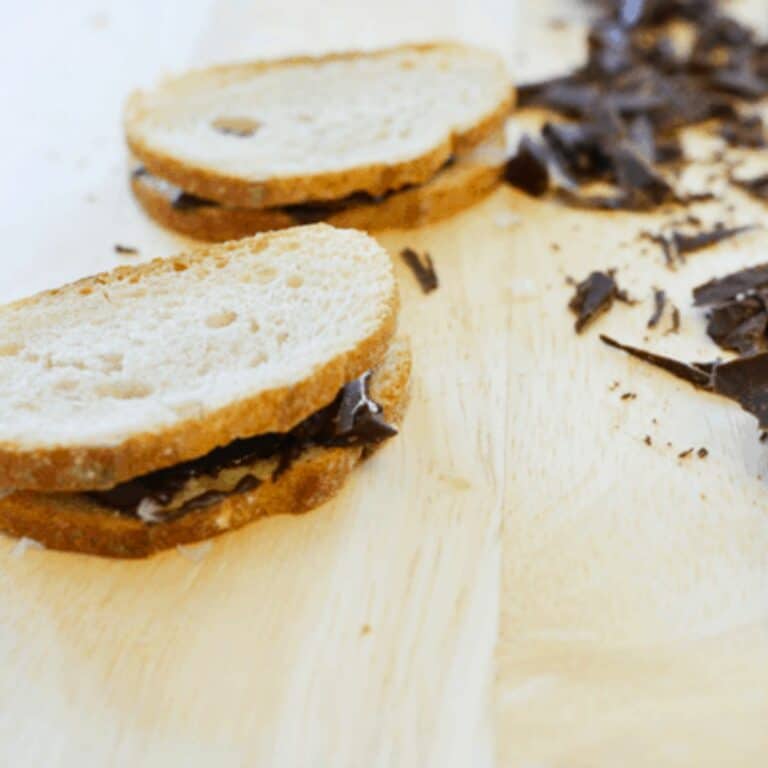
Toasted Chocolate Sandwiches for Dessert
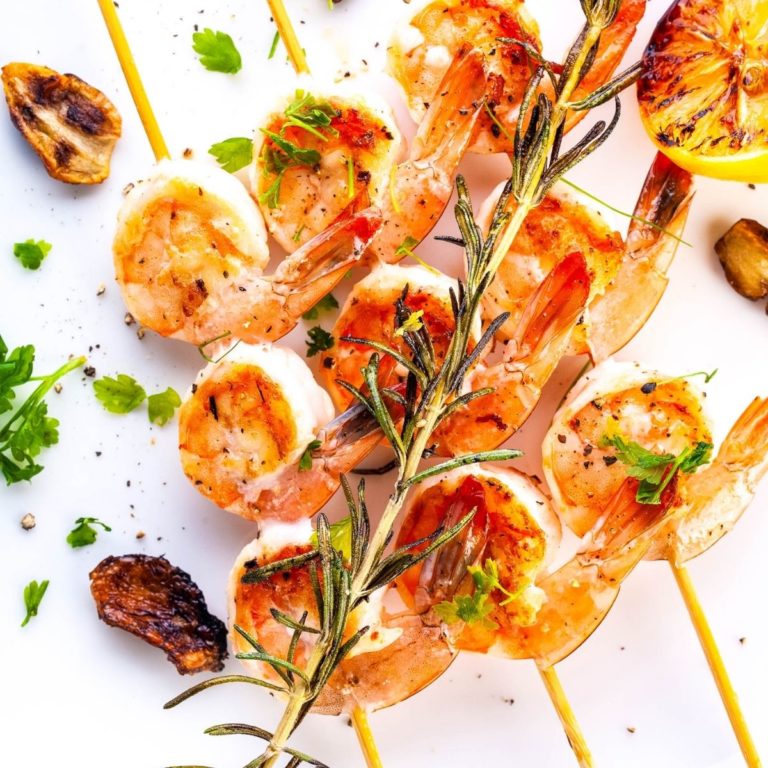
Garlic Shrimp on Grill Recipe with White Wine Spritz
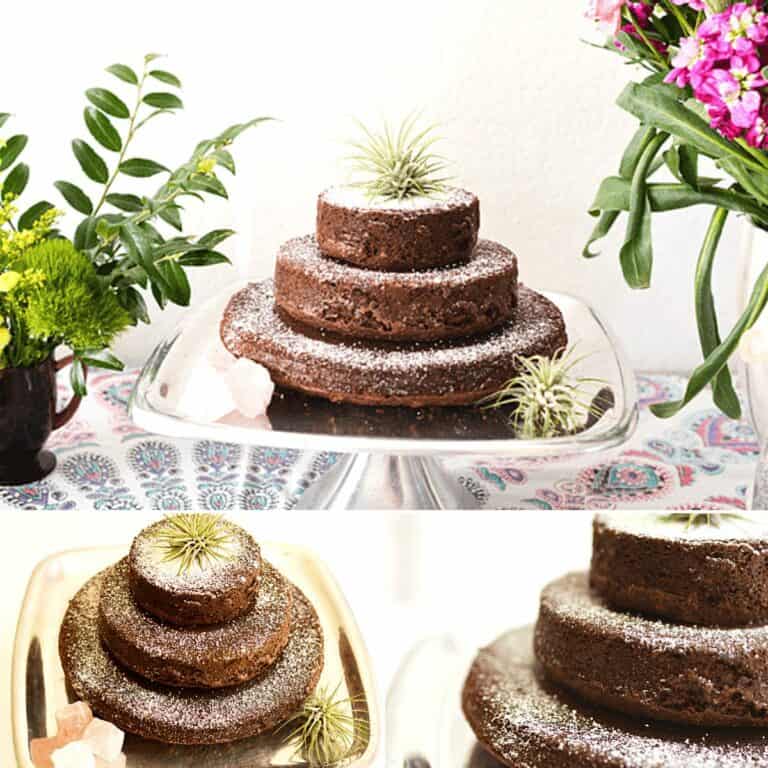
Easiest Ever Brownie Birthday Cake Idea
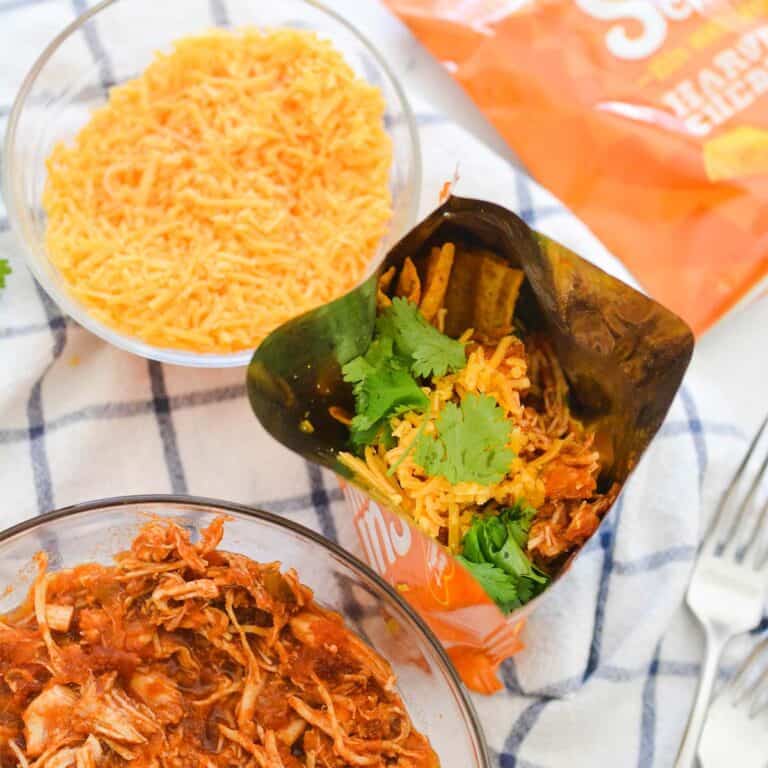
Easy Chicken Walking Tacos Recipe (Tacos in a Bag!)
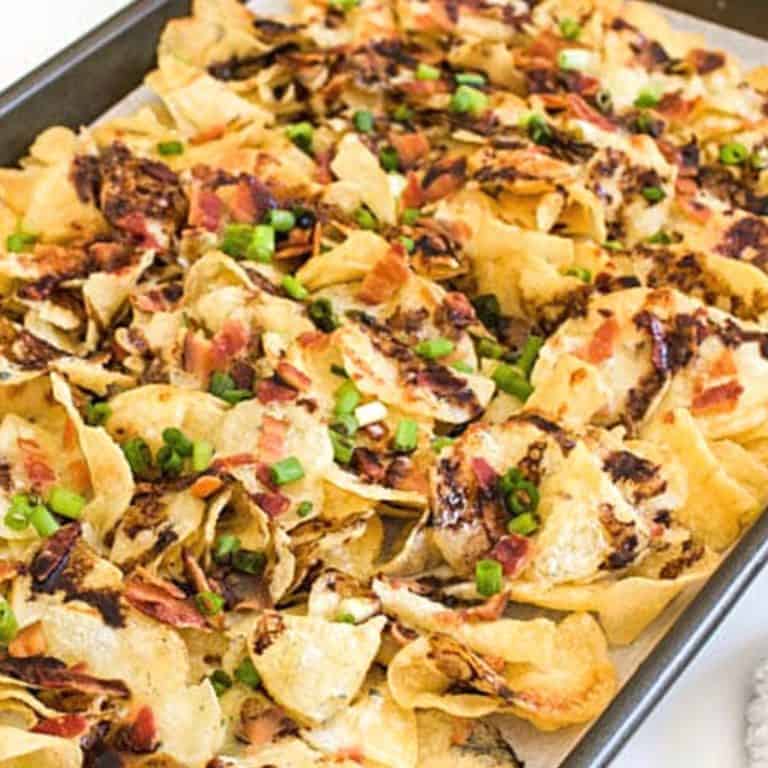
Easy Blue Cheese Potato Chip Nachos with Bacon
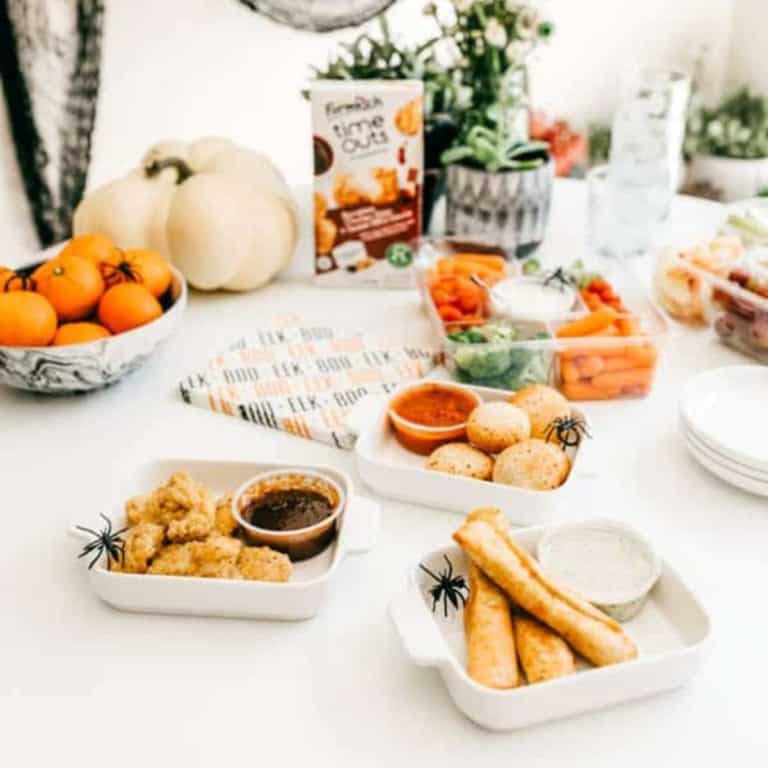
Easiest Ever Party Snack Ideas for Before Trick-or-Treating
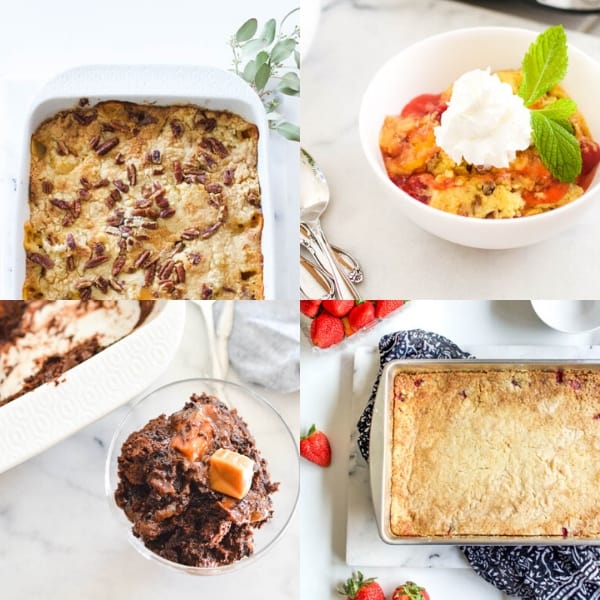
22 Easy Dump Cake Recipes to Make Right Now
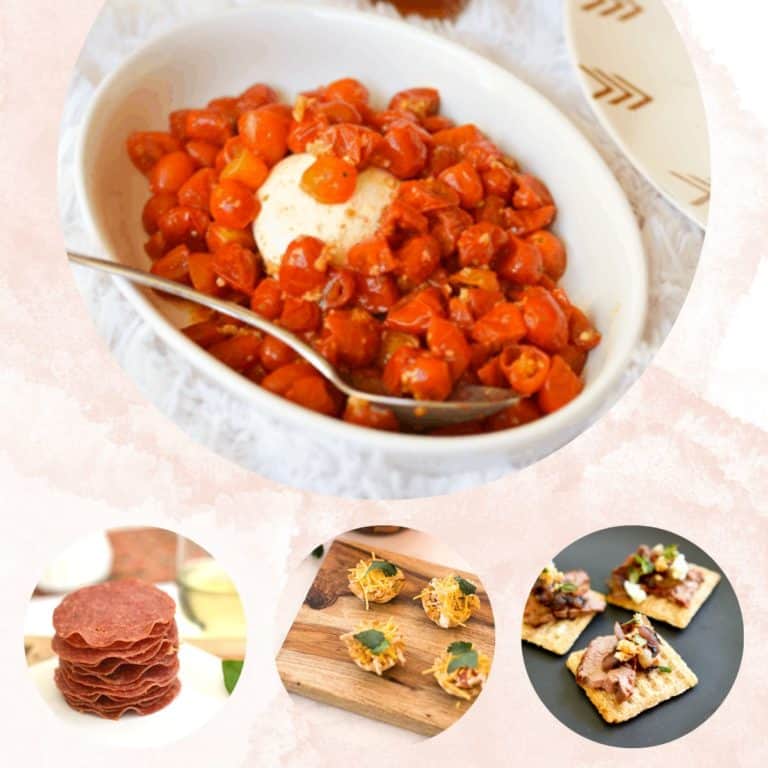
21 Quick and Easy Dinner Appetizer Ideas
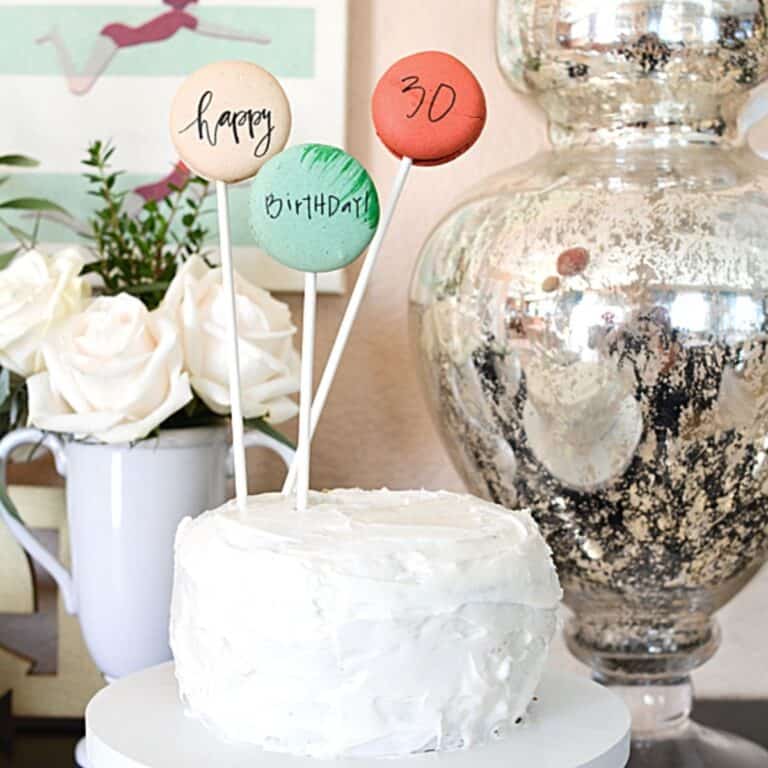
DIY Cake Topper with Macarons
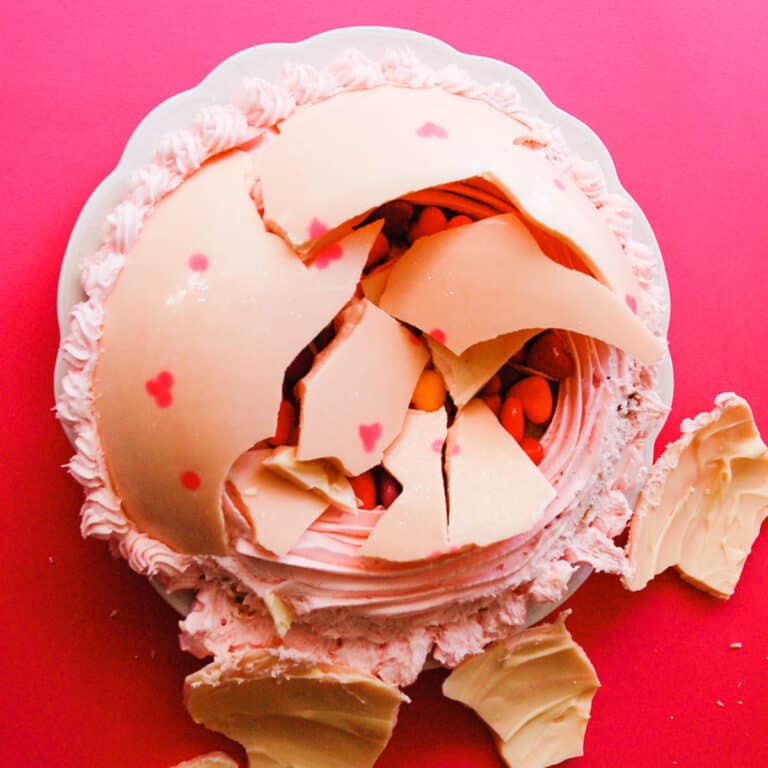
How to Make a Pinata Cake Filled with Candy
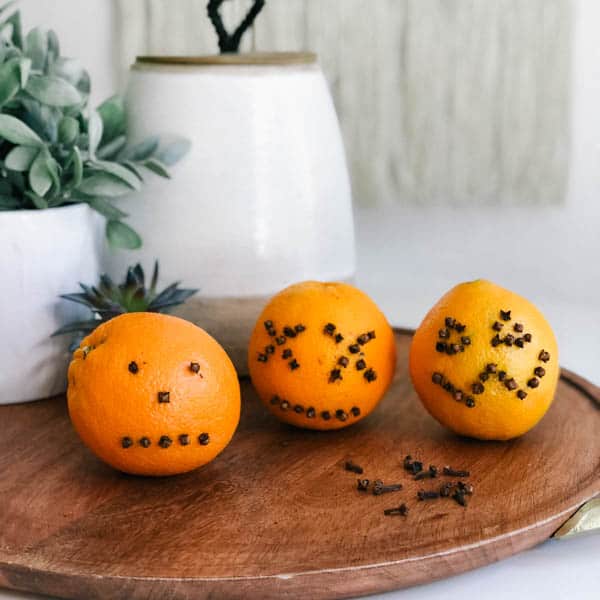
Pumpkin Oranges with Cloves for Halloween
Dirty Dancing Outdoor Movie Night Party
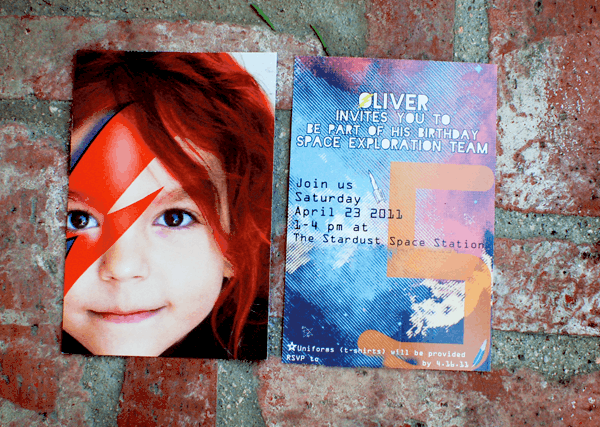
Ziggy Stardust Inspired Space 5th Birthday Party – Part 1
Recipe Index
Cocktails
Christmas
New Years Eve
Subscribe
About
PRINTABLES SHOP
Facebook
Instagram
Pinterest
Rate This Recipe
Your vote:
Name *
Email *