Skip to content
Grab a copy of my
GATHER AT HOME GUIDE
!
Contact
Instagram
Facebook
Pinterest
PRINTABLES SHOP
Recipe Index
Christmas
New Years Eve
Cocktails
About
Search for:
Search
Toggle Menu
Search for:
Search
Home
»
Party Decor
Party Decor
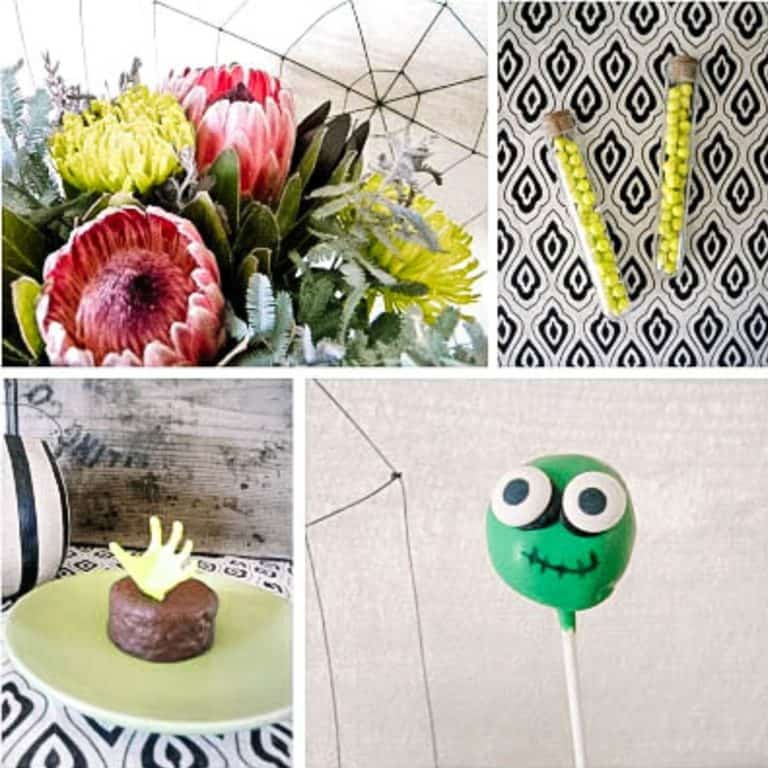
Cute and Creepy Zombie Party Ideas
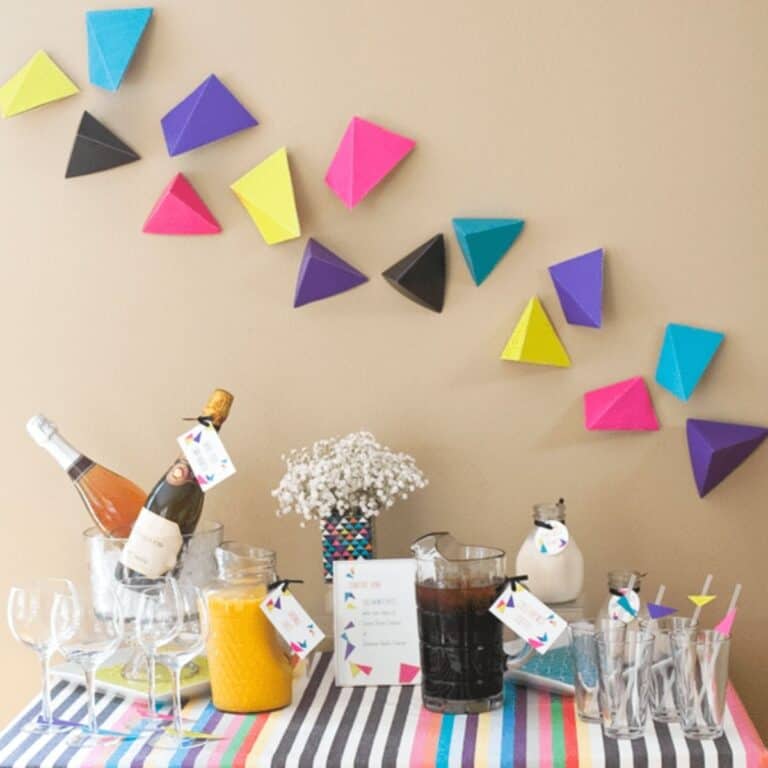
How to Host a Back To School Party [Mom’s Champagne Brunch]
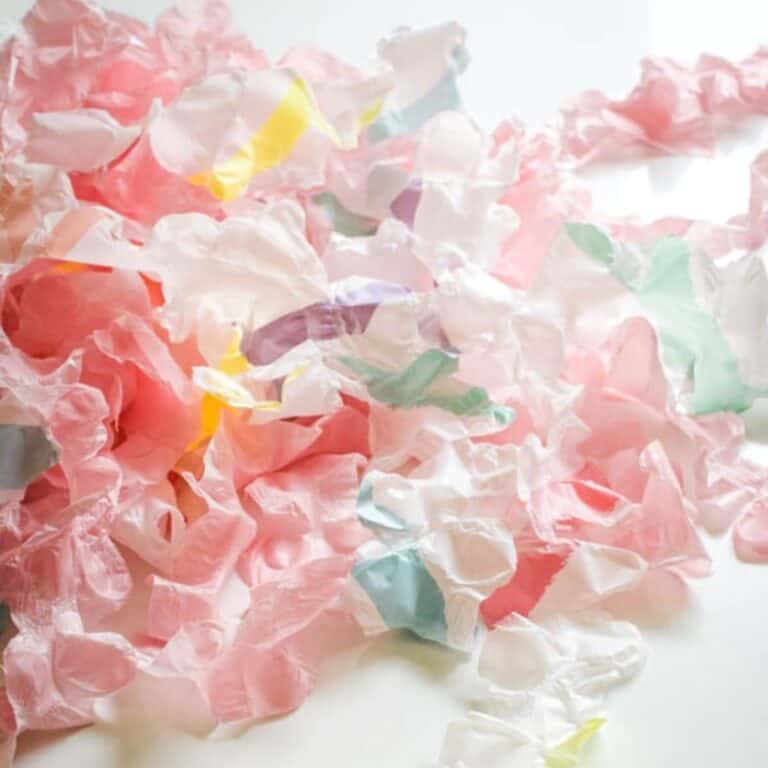
DIY Ruffled Plastic Streamers From A Plastic Tablecloth
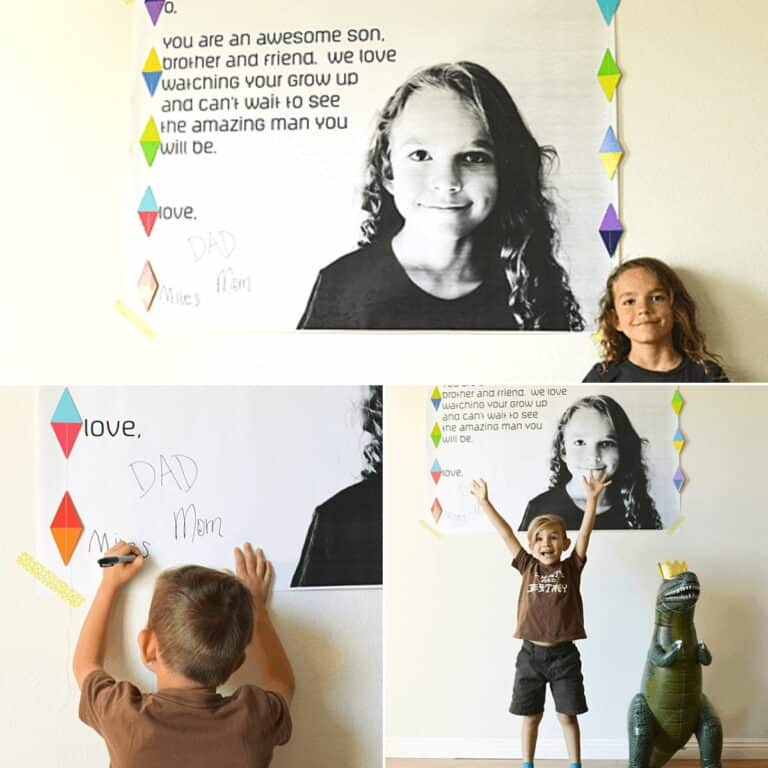
DIY Homemade Birthday Poster with Photo Idea
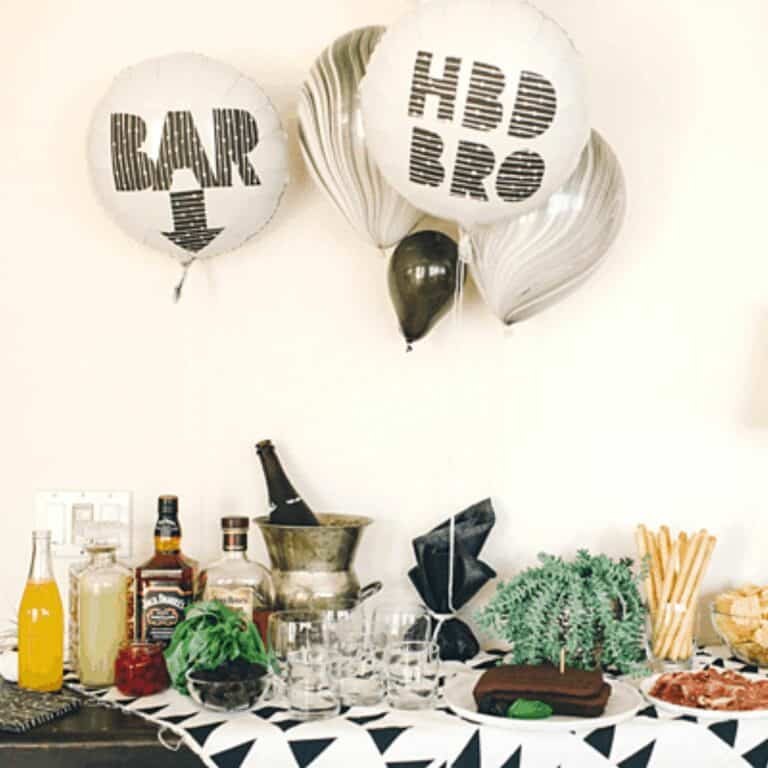
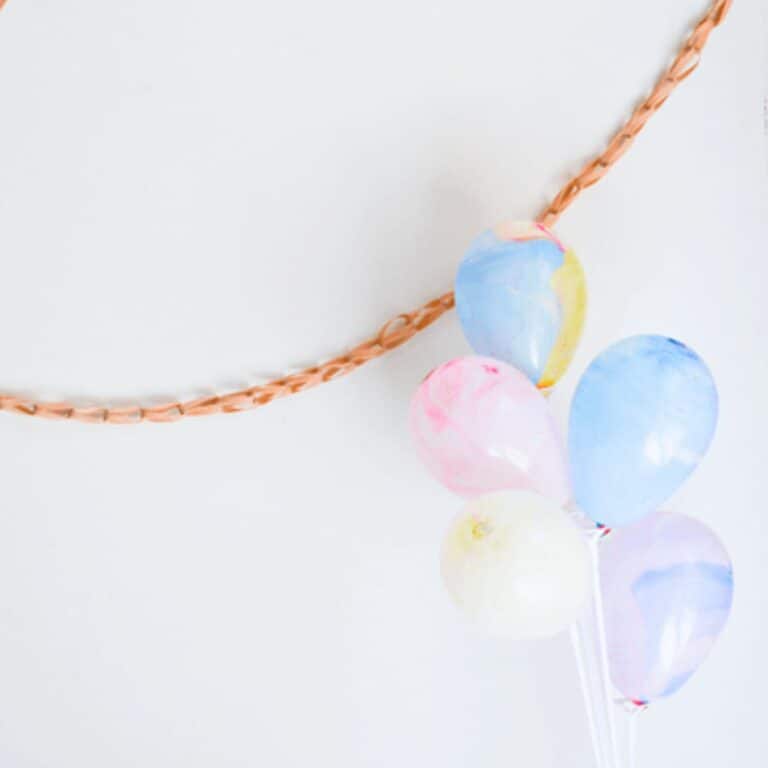
DIY Balloon Sign for a Party (Easy Balloon Decoration)
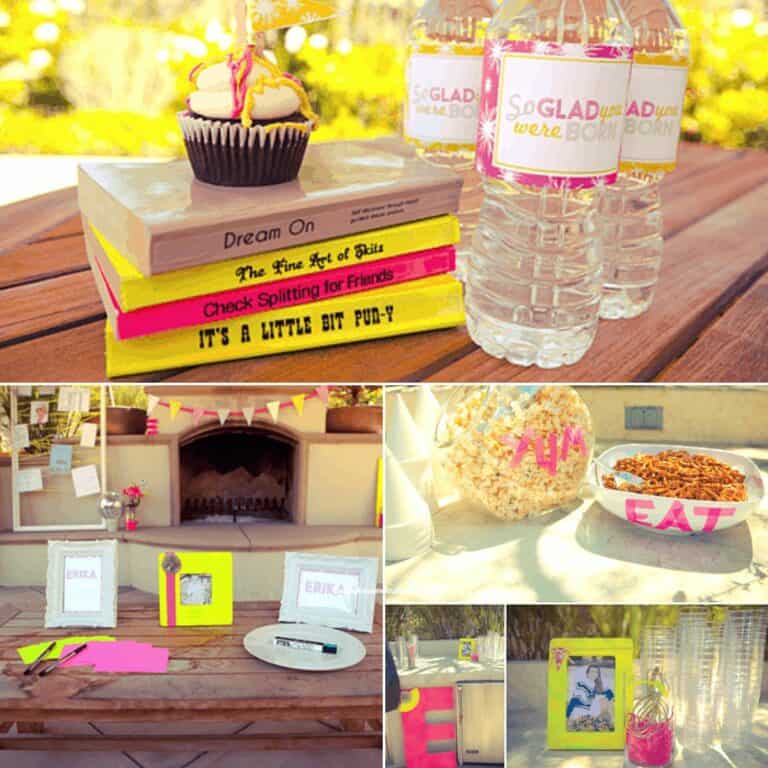
Neon and Neutral So Glad You Were Born Party Idea
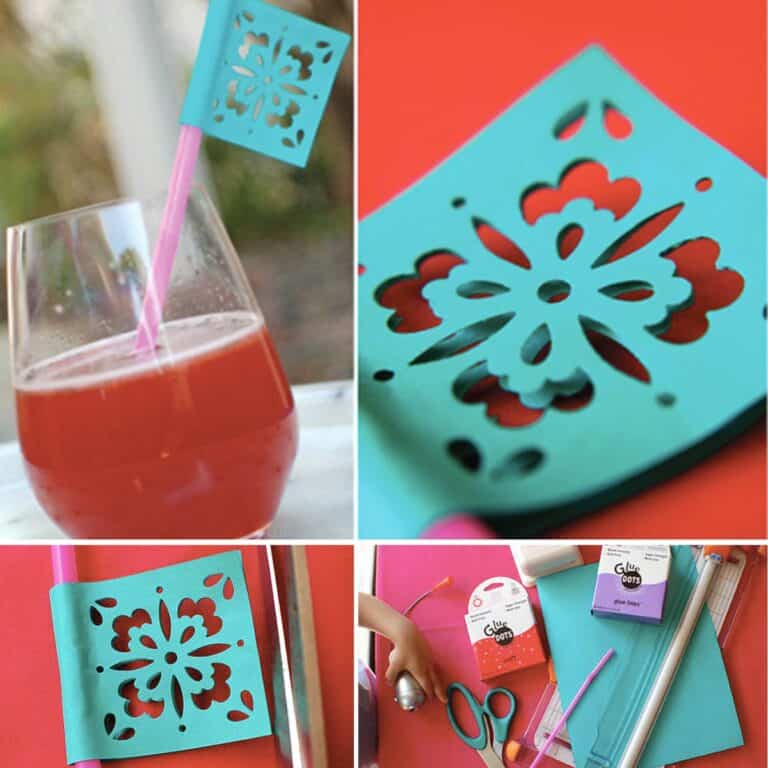
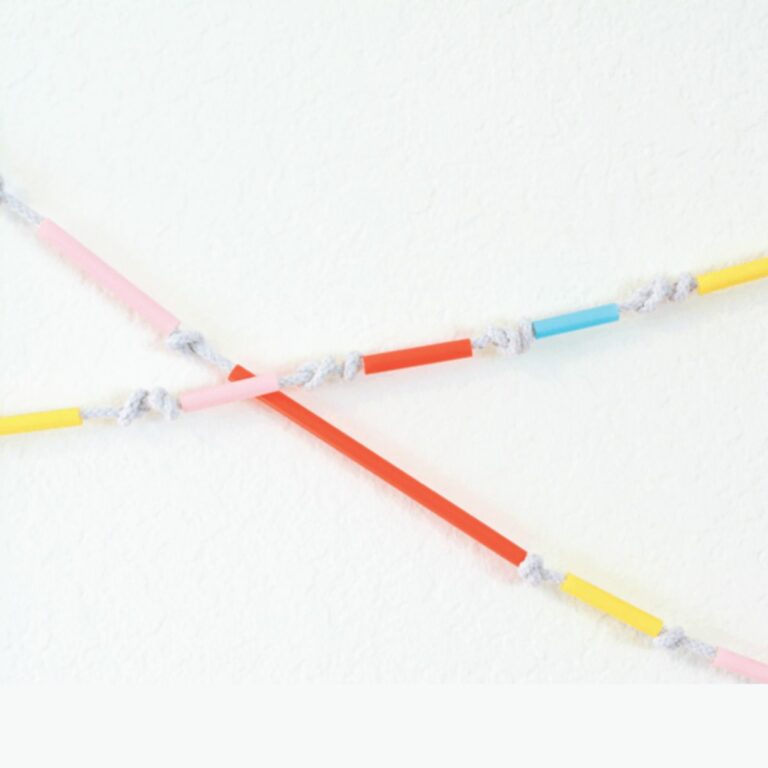
DIY Papel Picado Inspired Paper Straw Flags
Adult Birthday Party Idea with Desserts and Gin and Tonic Bar
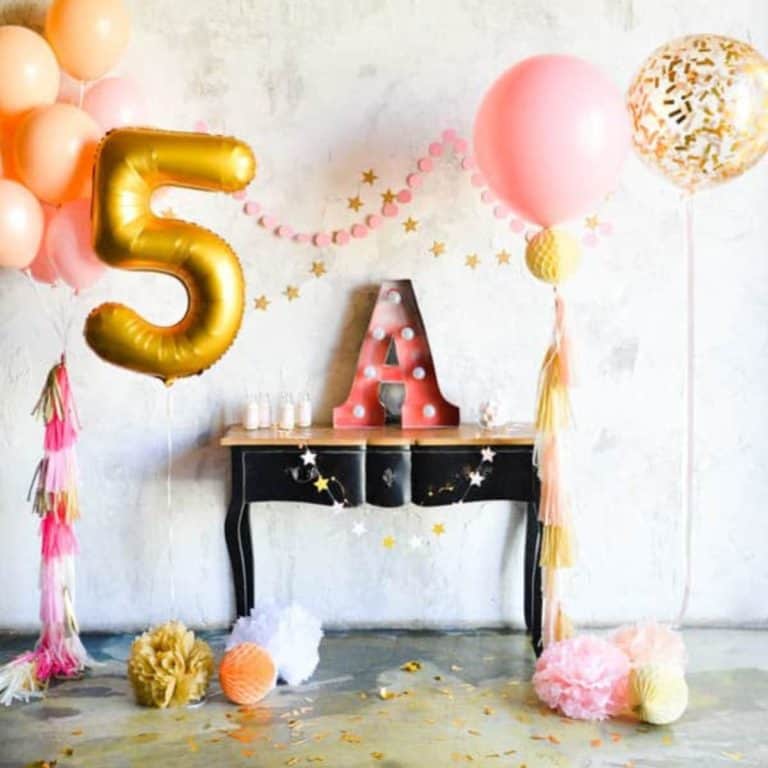
Big Balloons are Awesome
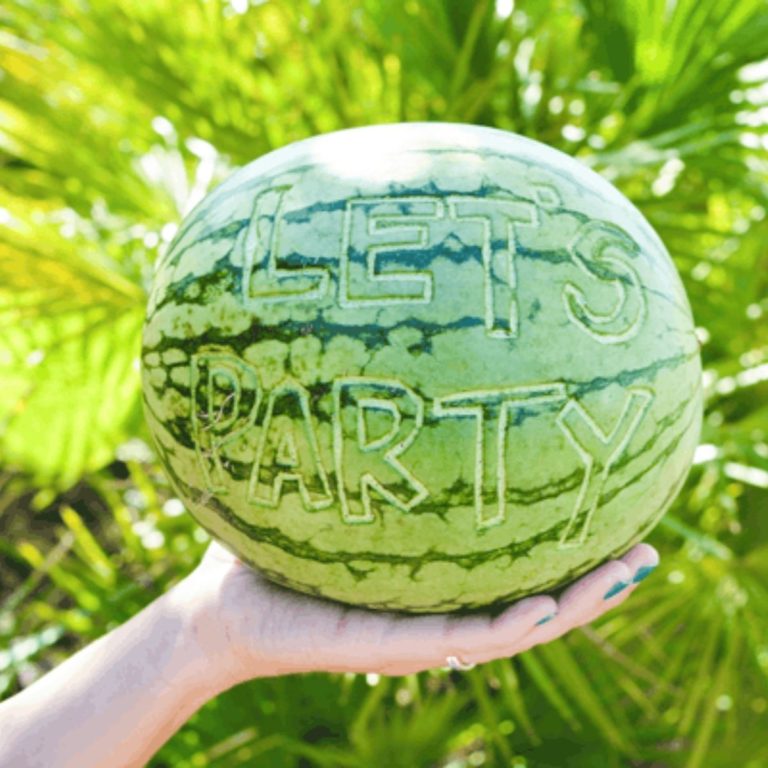
Fun Party Decor Idea : Carved Watermelons
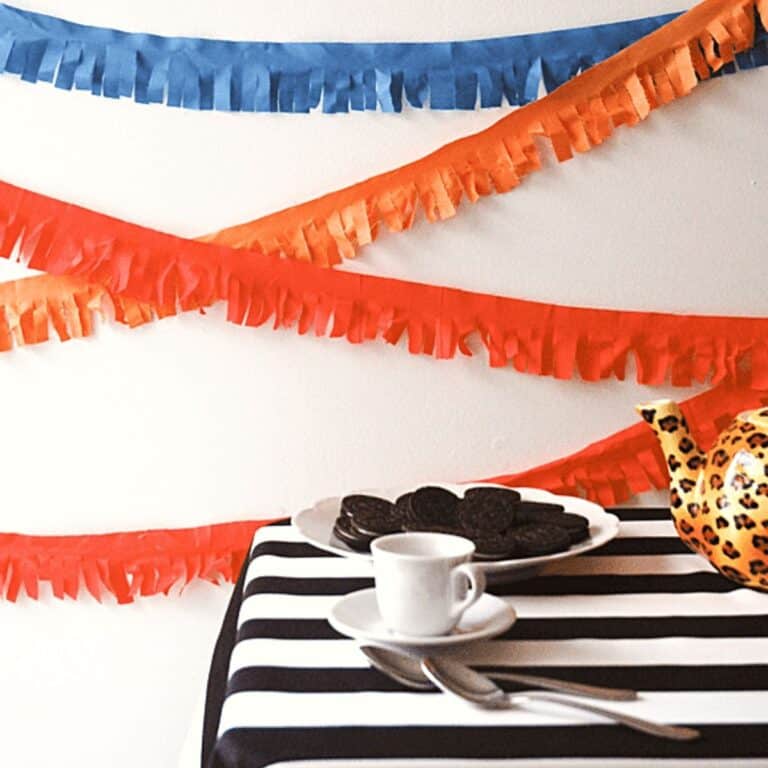
DIY Garland with Fabric Fringe
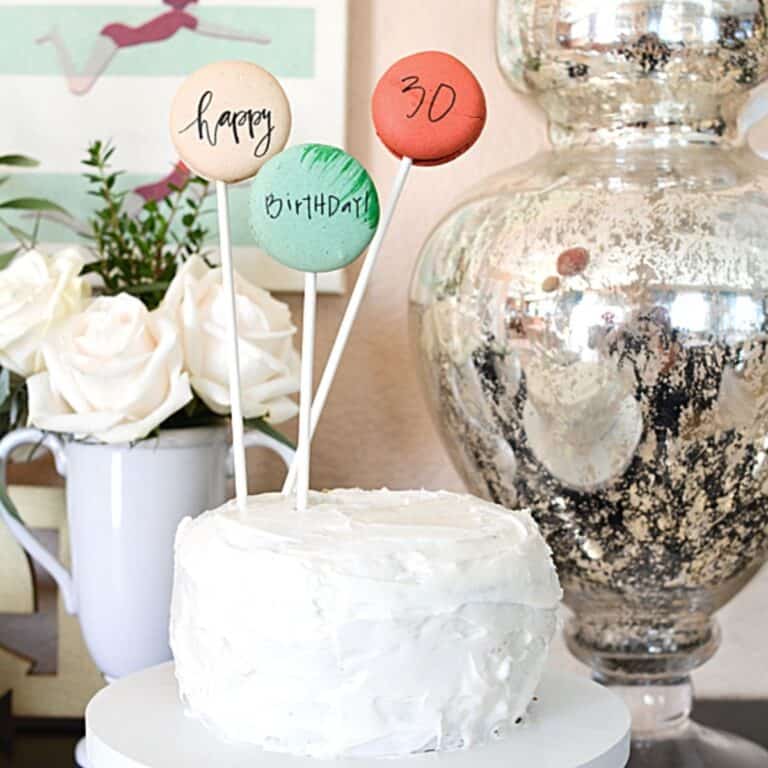
DIY Cake Topper with Macarons
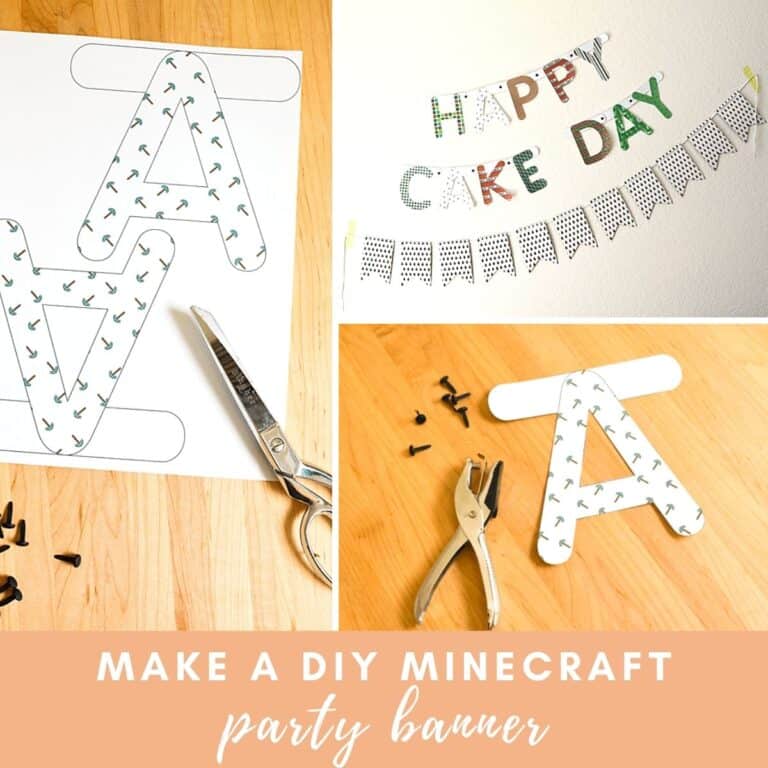
DIY Minecraft Birthday Banner
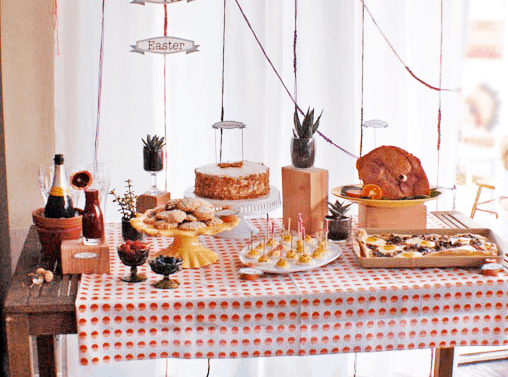
Easter Table Settings
Old School 3rd Birthday Party
An Awesome 2nd Birthday Party
Kid’s Monster Birthday Party
Loom Inspired Rubber Band Garland
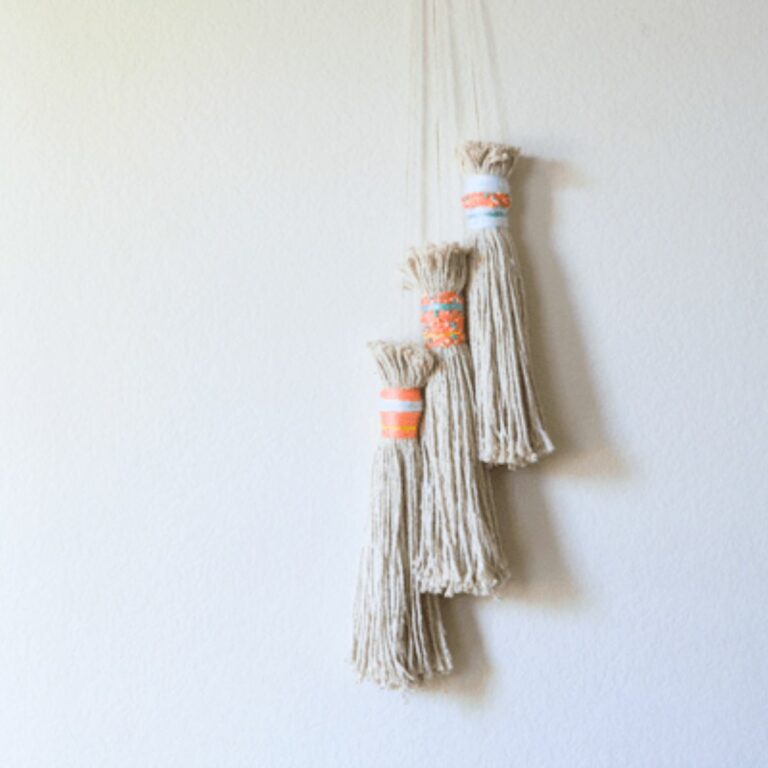
Large DIY Tassels Out of Mop Heads
Straw Garland Party Decor Kids Can Help With
A Holiday Entertaining Tip for the Lazy Hostess
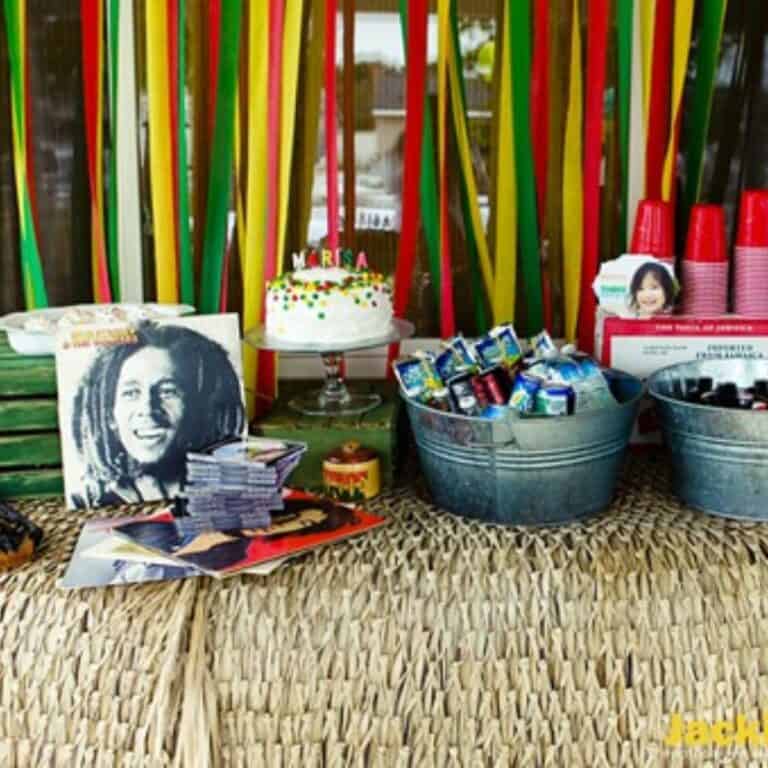
Three Little Birds Adorable Bob Marley-themed 3rd Birthday Party by Jackie Culmer
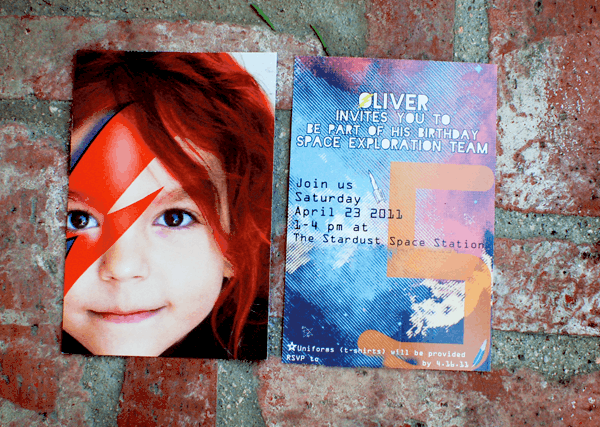
Ziggy Stardust Inspired Space 5th Birthday Party – Part 2
Ziggy Stardust Inspired Space 5th Birthday Party – Part 1
Easter Brunch Menu Ideas
Recipe Index
Cocktails
Christmas
New Years Eve
Subscribe
About
PRINTABLES SHOP
Facebook
Instagram
Pinterest