![DIY Heart-Shaped Pillows for Valentines Day [No-Sew Pillows]](https://www.cupcakesandcutlery.com/wp-content/uploads/2021/01/diy-valentine-fabric-heart-768x768.jpg)


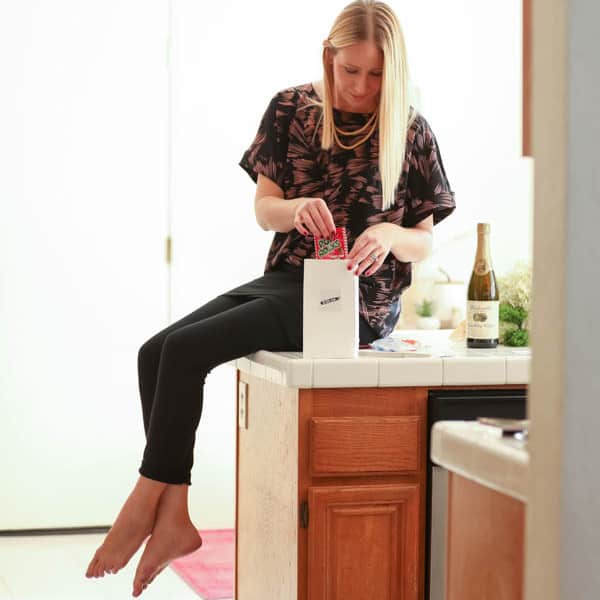

Grab a copy of my GATHER AT HOME GUIDE!
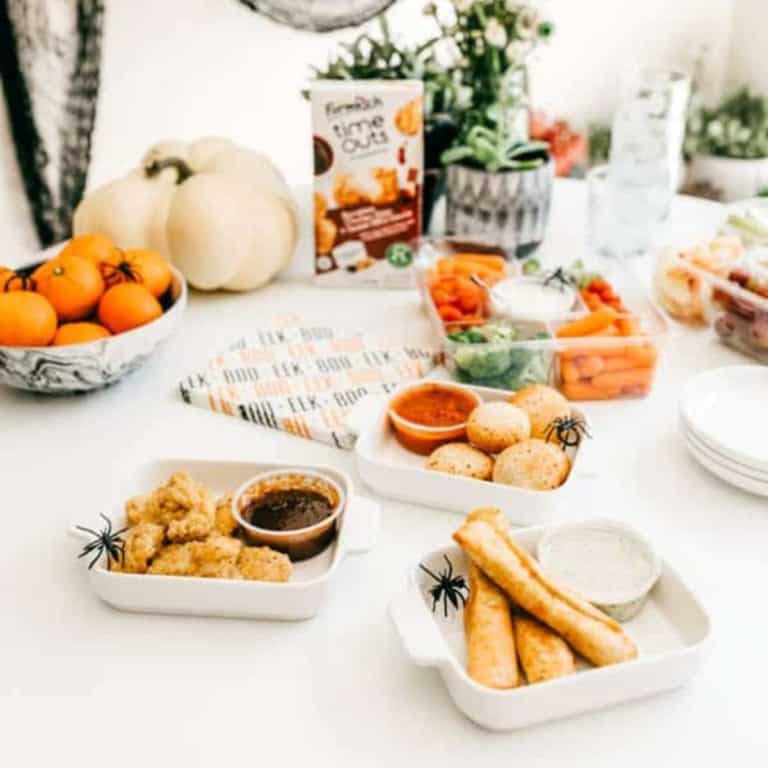
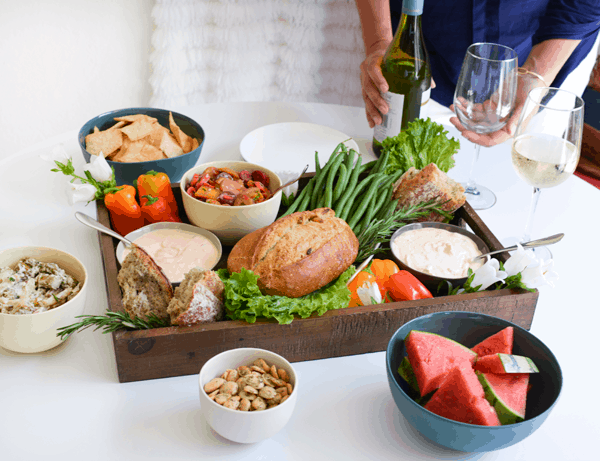
From Halloween to Christmas and beyond, we’ve got you covered with creative and fun DIYs, party ideas and recipes for celebrating every holiday.
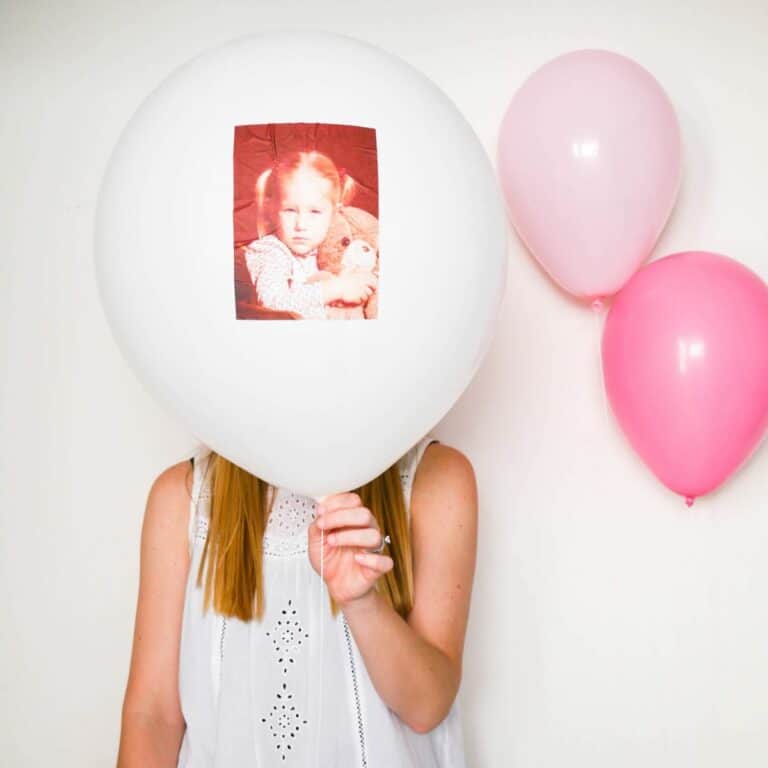
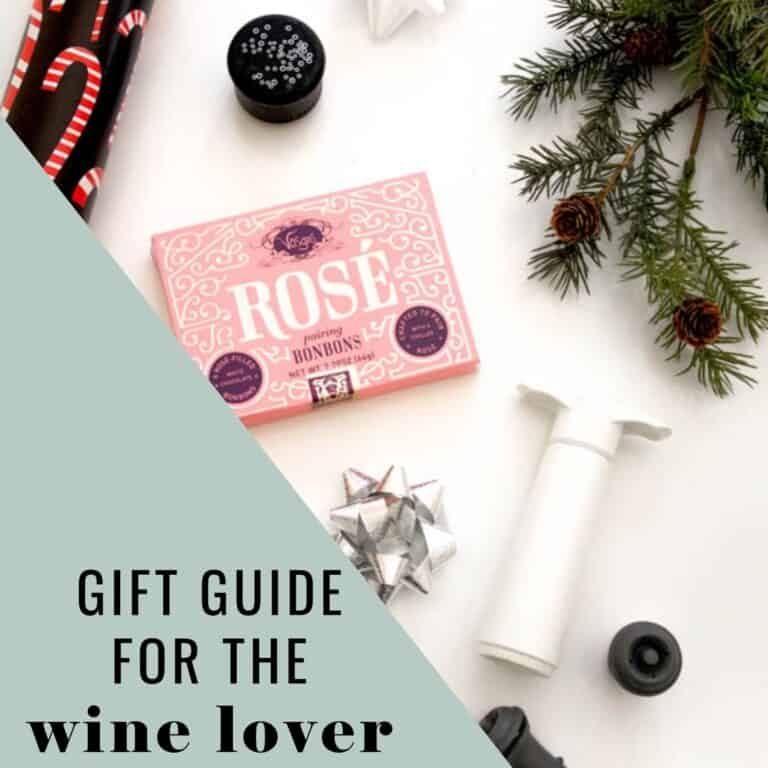
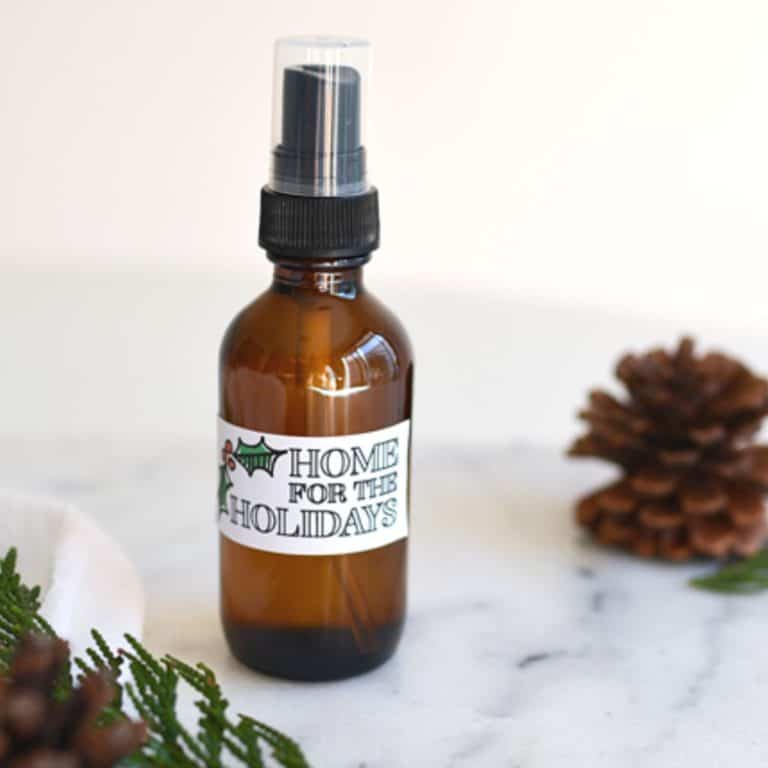
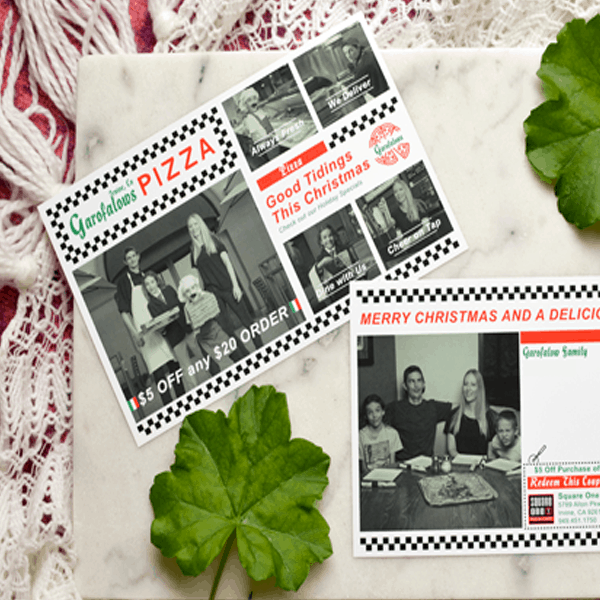
Discover unique and budget-friendly DIY decoration ideas for each holiday (like this Photo Banner using your kid’s photos), or explore our curated gift guides (have any Hallmark lovers to buy for?). The holiday section has everything you need to make the most of each season.
So, get ready to create memories that will last a lifetime and have some fun along the way with our holiday section!